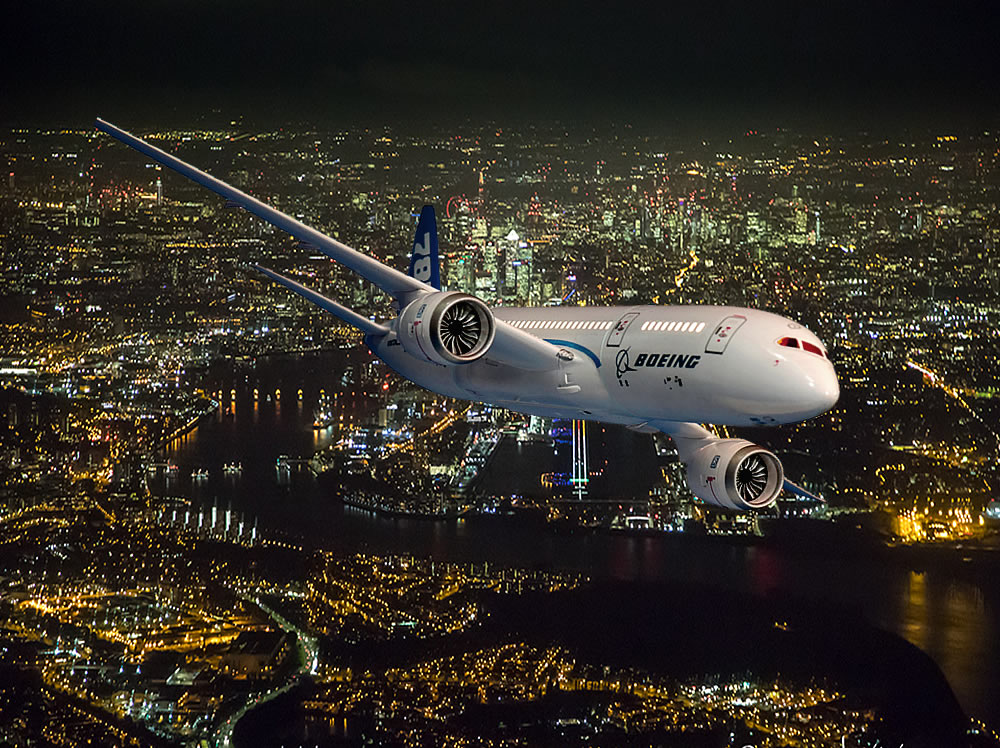

787 Dreamliner Lighting Kit
Getting Ready:
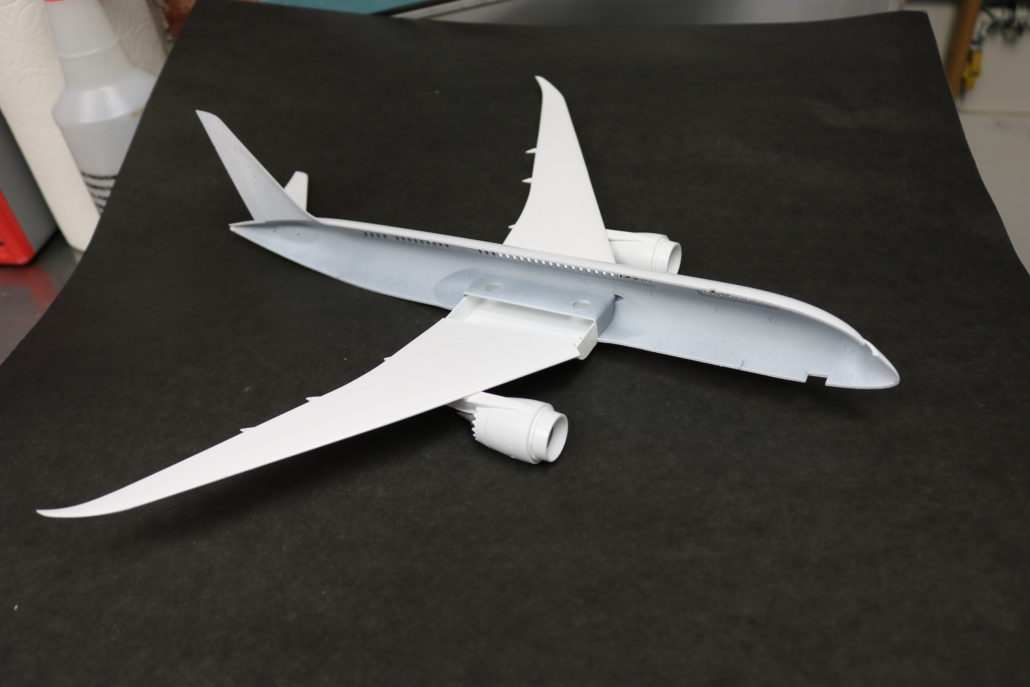
In this blog we will be going over the general lighting kit for the passenger windows & cockpit. This lighting kit fits the Revell 1:144 Boeing 787-8 Dreamliner model kit.

(INSTALL INSTRUCTIONS VER: 1)
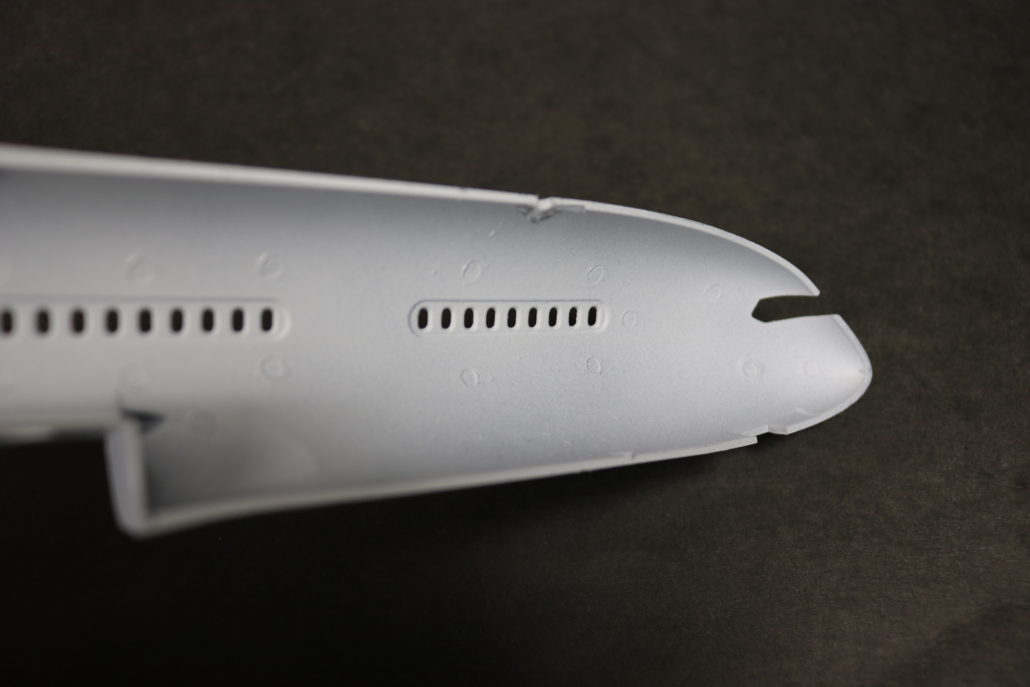
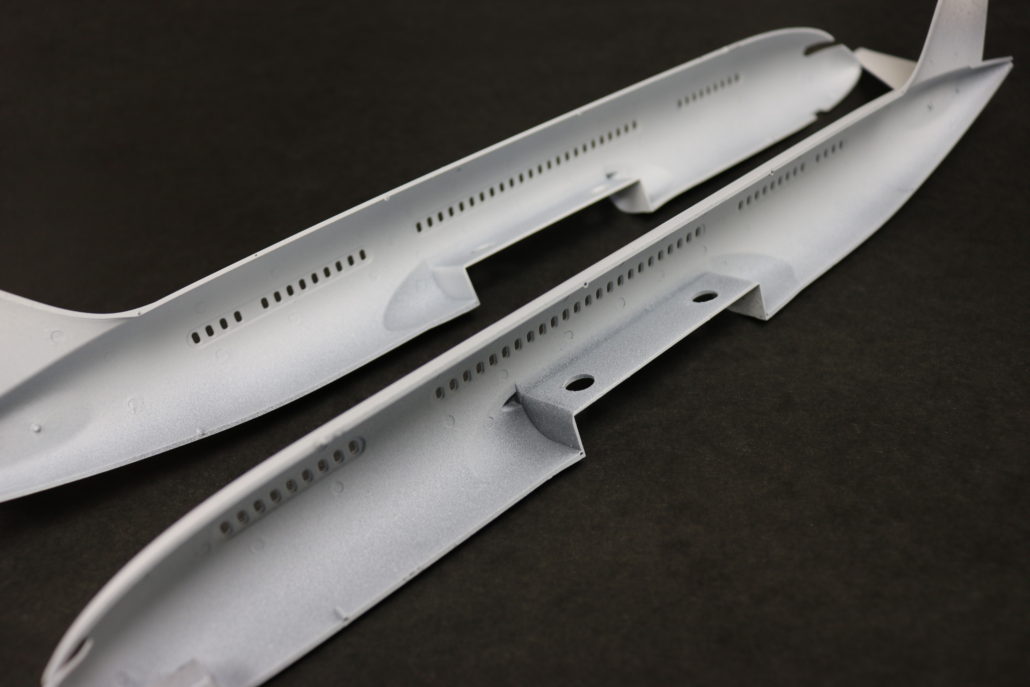
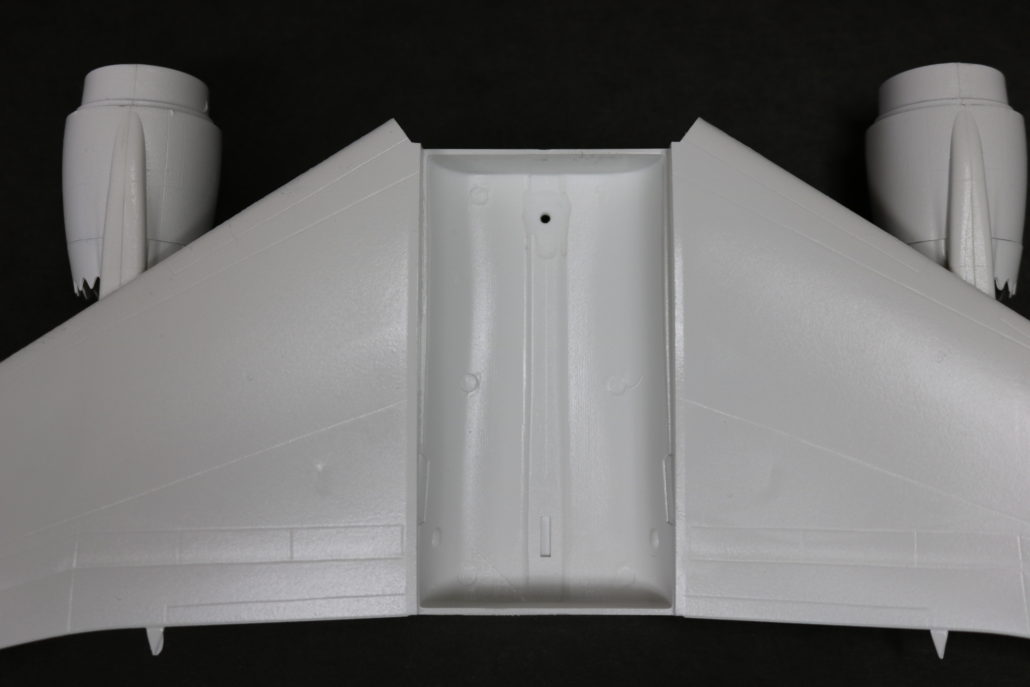
Start by getting the two half-sections of the fuselage and test fitting them together. When lighting passenger window areas, you will need to light block the inside of the windows with paint. I personally suggest priming the surface first with white primer, followed with light gray primer. For the second coat, apply flat black & finish with another sheen of flat white. Test for full light block by using a bright light on both sides to see if you have any hot spots. Re-apply where need.

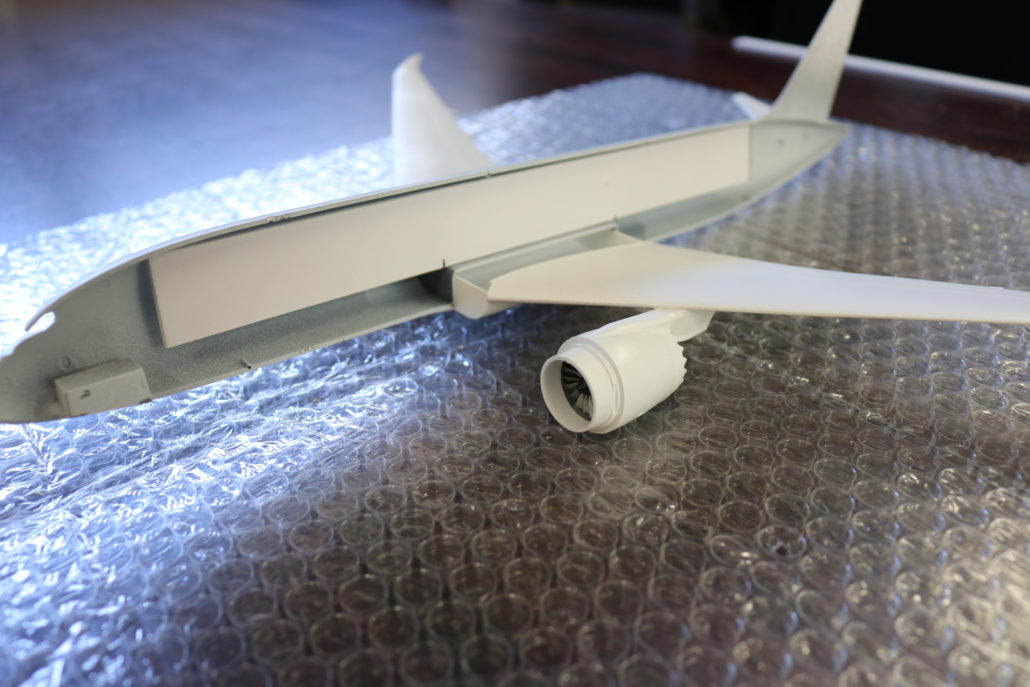
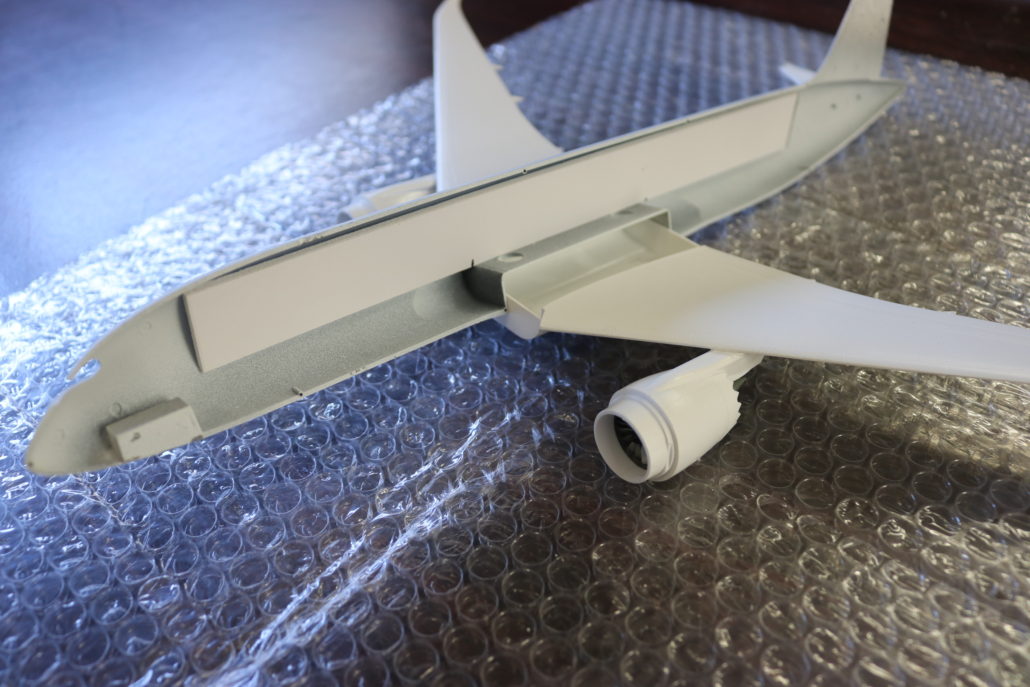
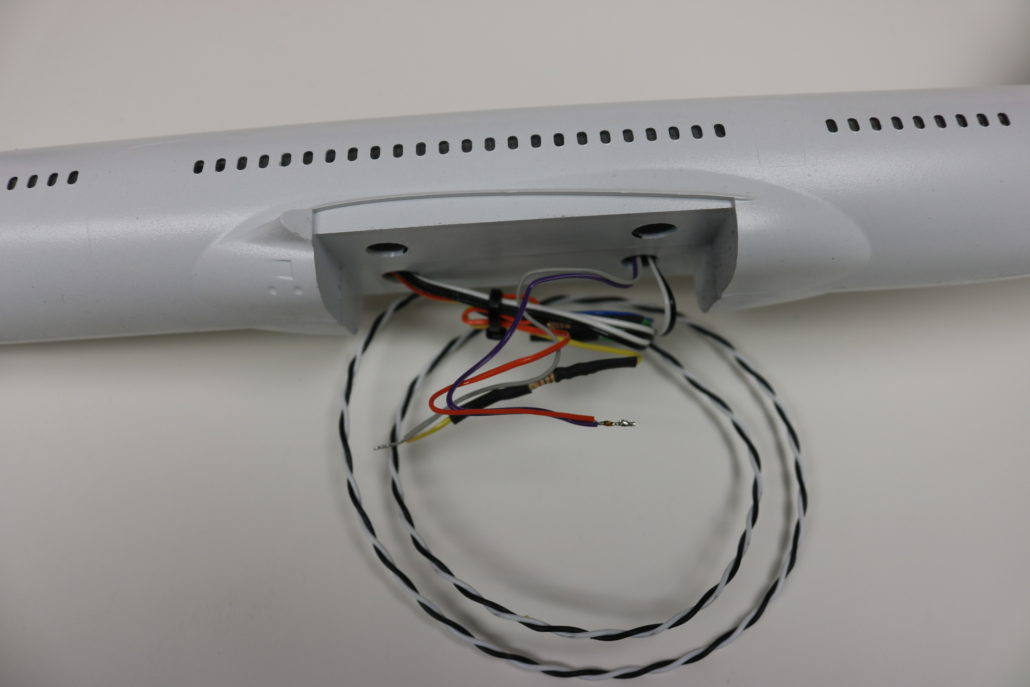
Second, you will need to scratch build a center support panel for mounting the strip lights. It is best to trace the main fuselage pattern on a piece of paper to create your polystyrene panel shape; it can be a little undersized, preferably to fit without binding inside the model. A piece of .030 polystyrene panel is suggested. When you’re happy with the fit, glue down some small hold down tabs to the panel, as this will provide anchor points inside the model. At this stage, it is advisable to scuff the inside of the window glass to get it ready for mounting. Finally, use a small amount of CA or white glue to hold the window glass in place.
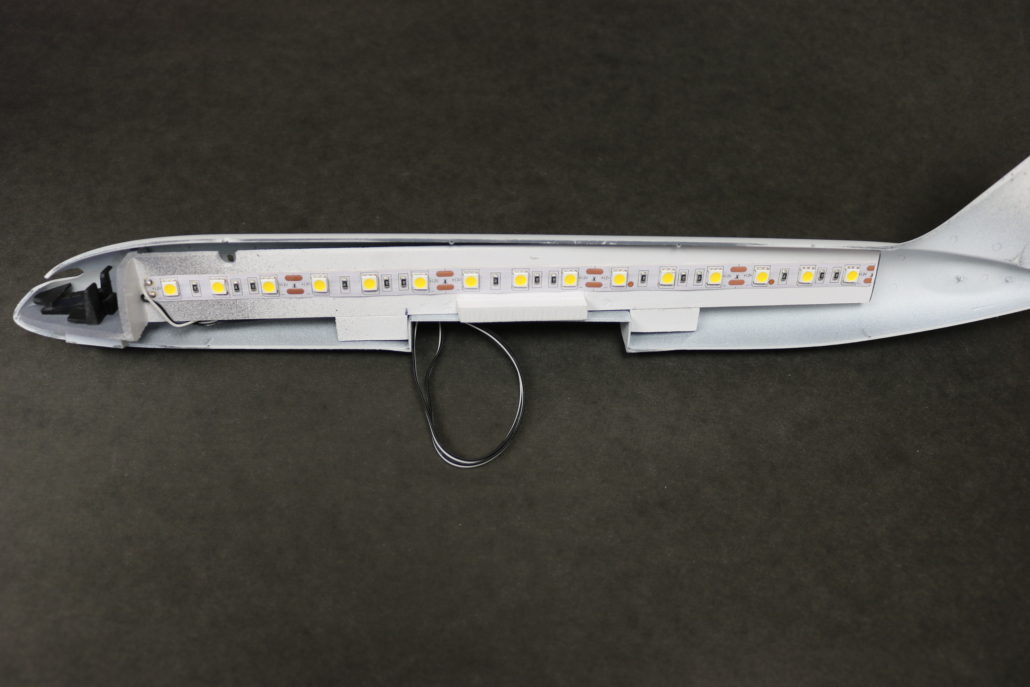
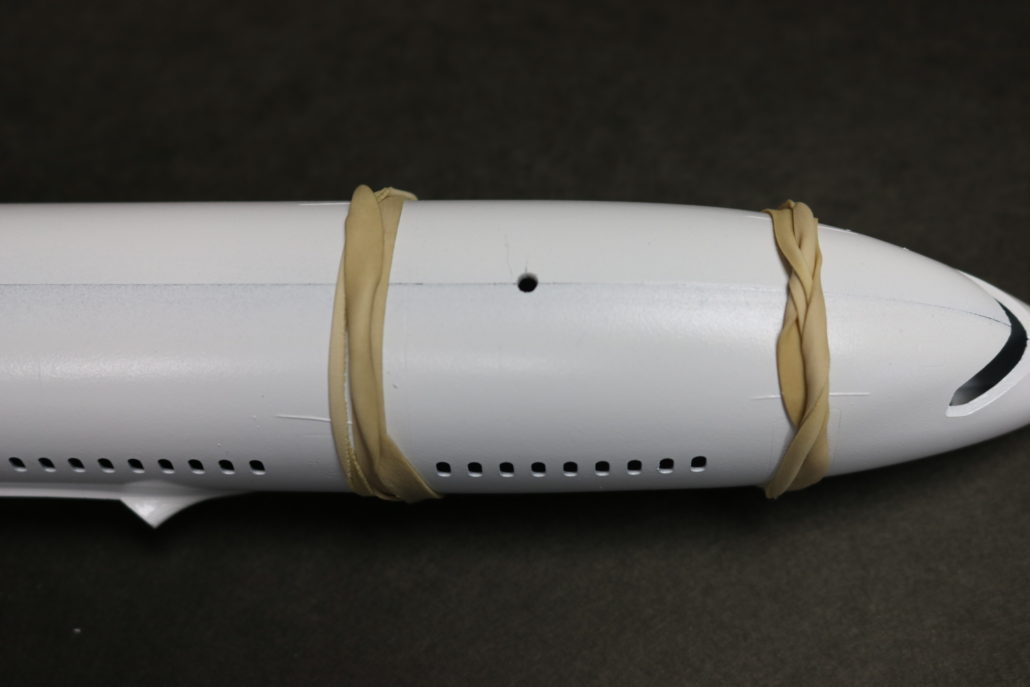
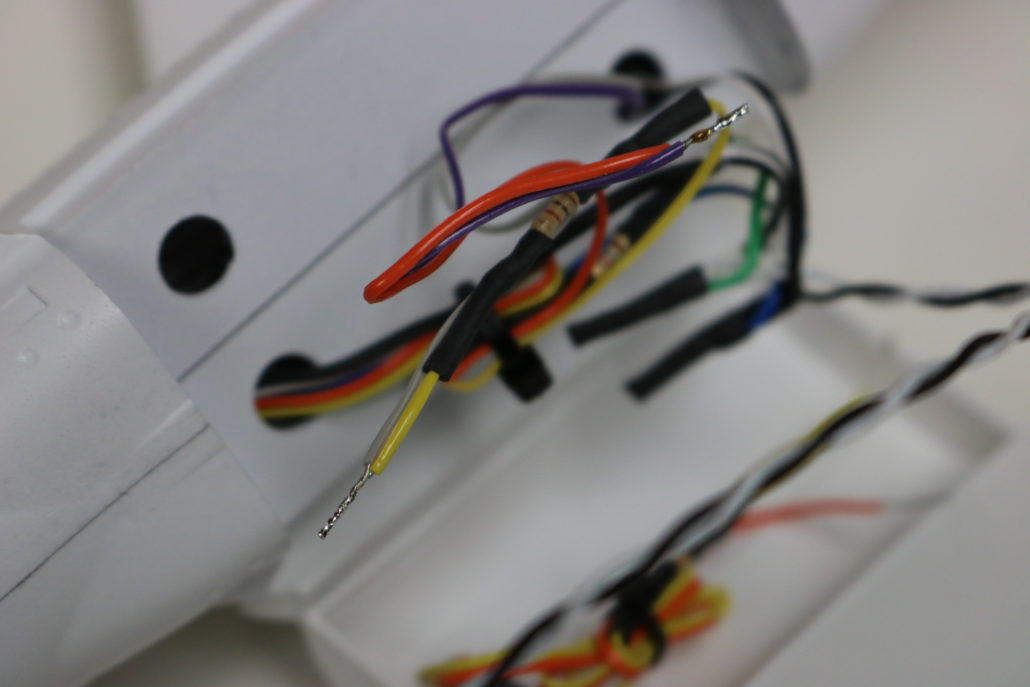
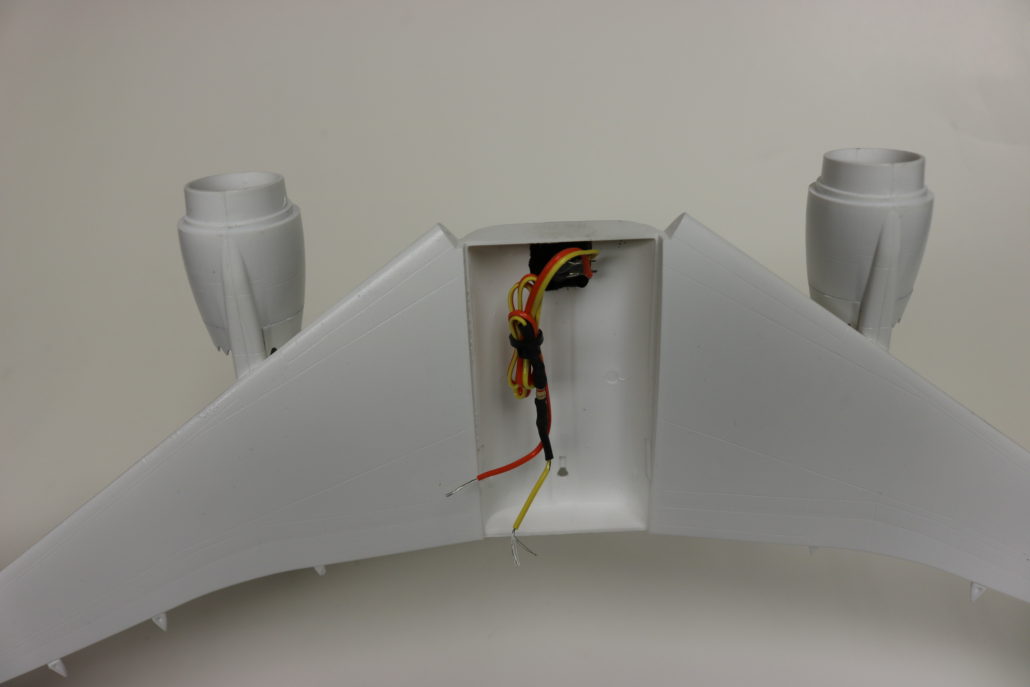
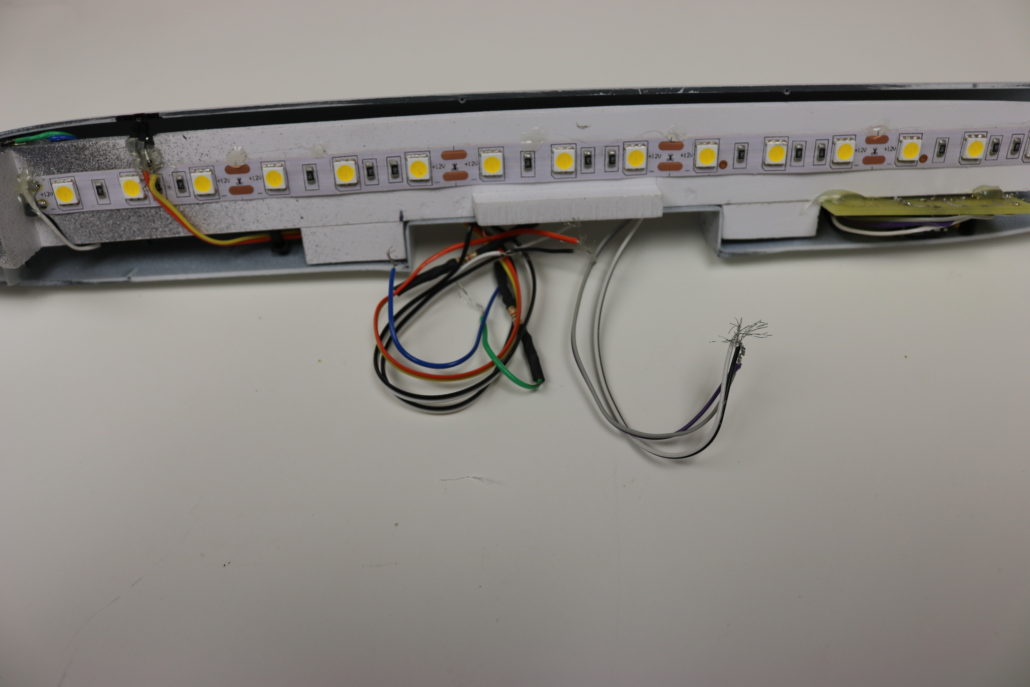
Before you mount any of the passenger lighting, you must have all the other effect lights in place. The cockpit light can be placed in multiple areas… but for this project we mounted it on the back wall of the cockpit bulkhead. If you’re adding more effects, make all necessary hook-ups at this time. Pre wire & mount LED strip to each side of the panel, running it down the center until secure. Test fit the panel once more before final install. To add a nice touch of realism in the passenger lighting, black out some of the windows or cover up LED’s here and there. Before making the final closure of the fuselage, test all the lighting features, making sure to run main power leads outside of the model. Also pay close attention to any loose wires or areas that may fit too tight. Make any final adjustments and mount fuselage halves together. Most of the model can be pre-painted & finished prior to the final install. pre-fabricate electronics as much as you can before install, running wires to areas that cannot be easily accessed. If you have any questions please check our blog page or email me at randy@voodoofx.com.

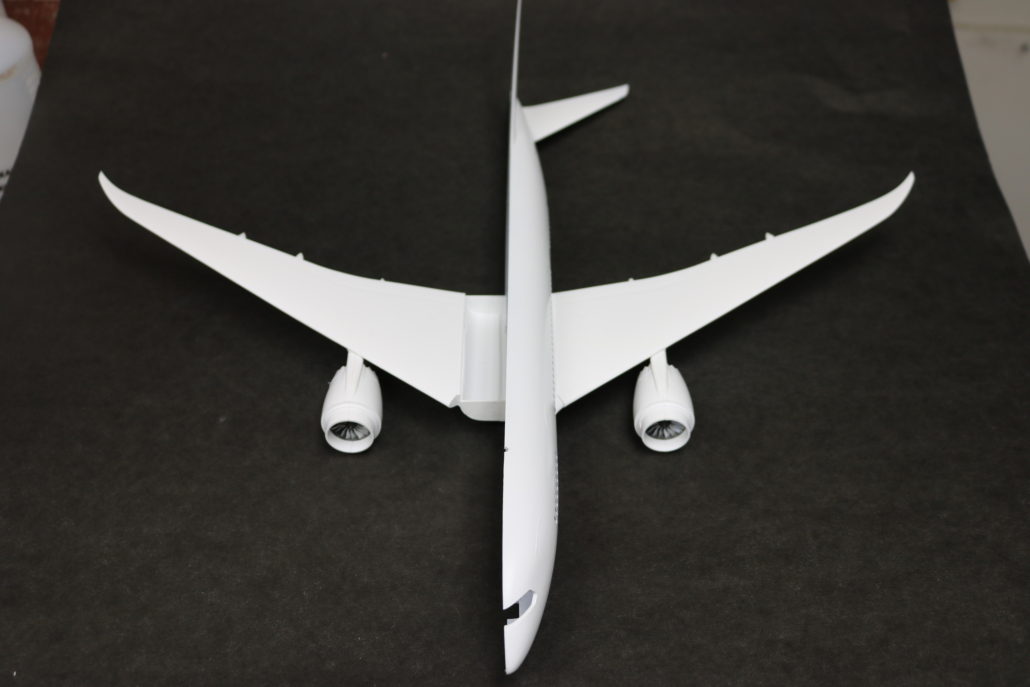


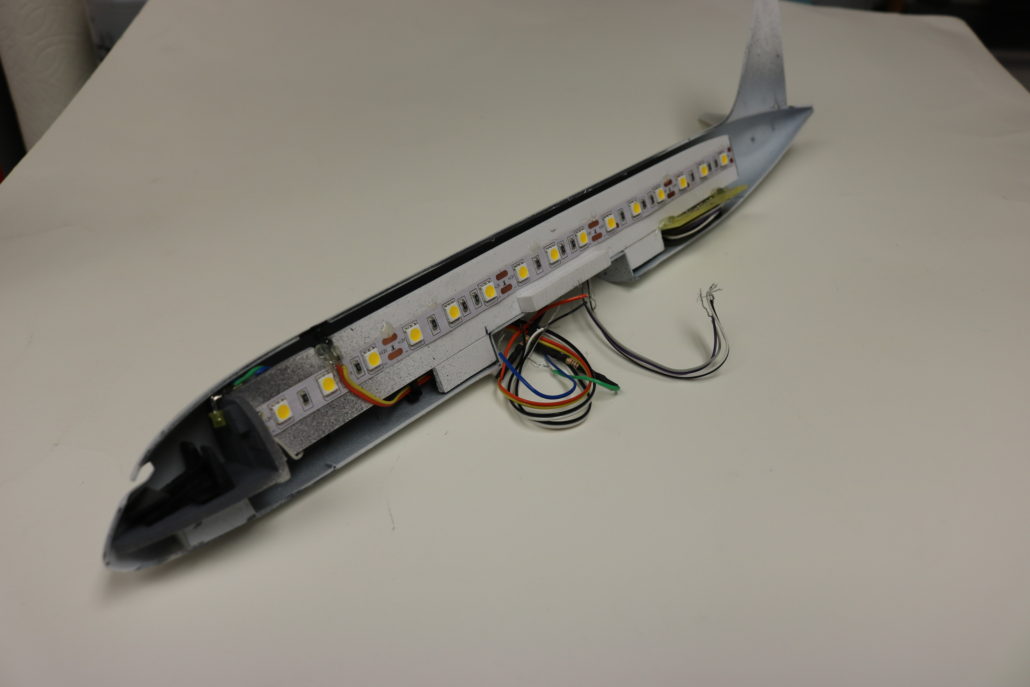
Finished Comp Photos