Space 1999 Commlock Build
Getting Ready:
First start by getting yourself familiar with all the model kit parts & where they are positioned to assemble the model. Second read all the information regarding the model lighting kit & wiring diagram. There are only a few modifications that will need to be made for the lighting system.
Preparing The Parts:
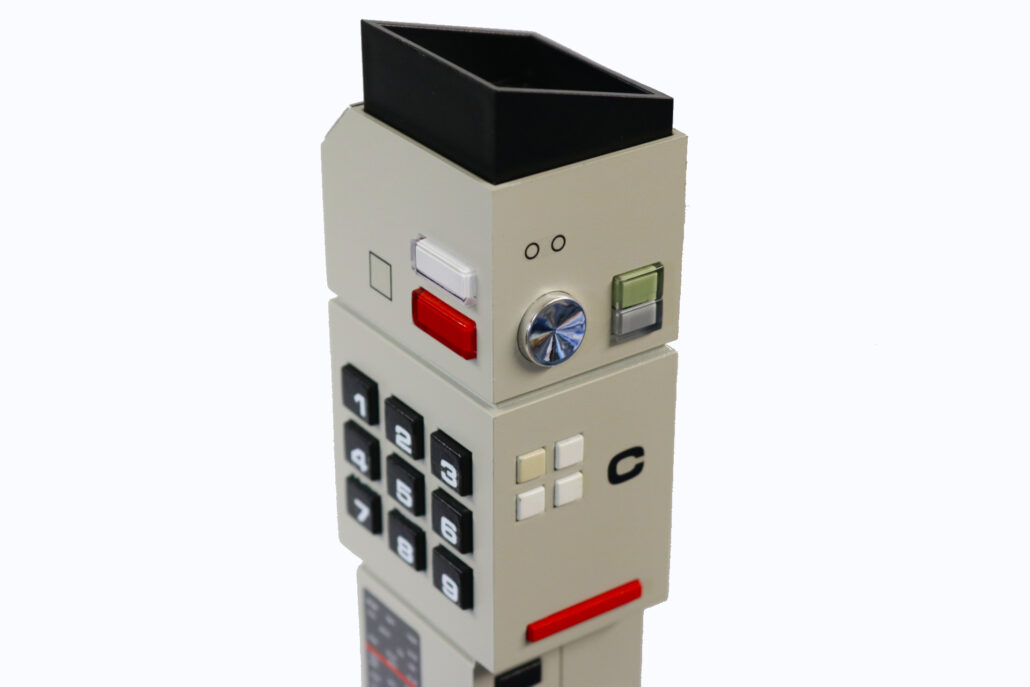
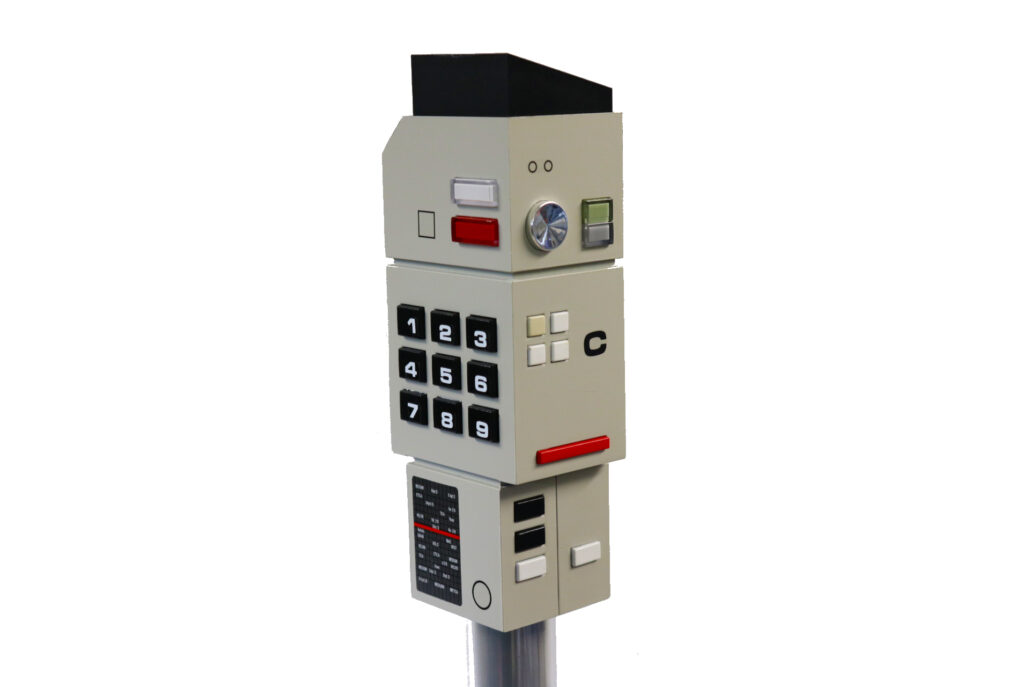
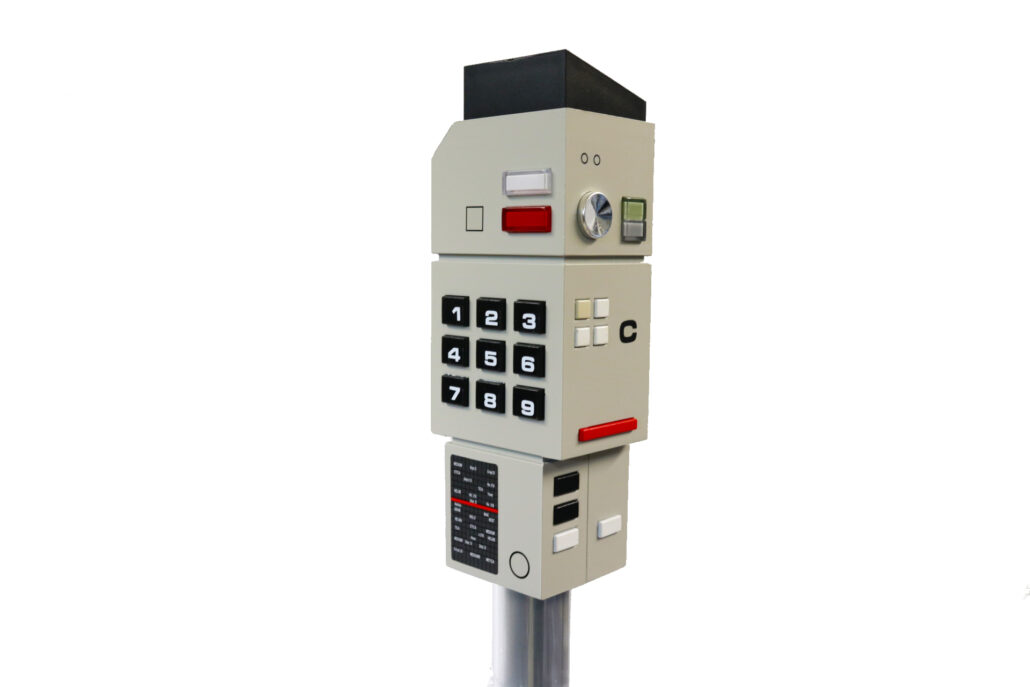
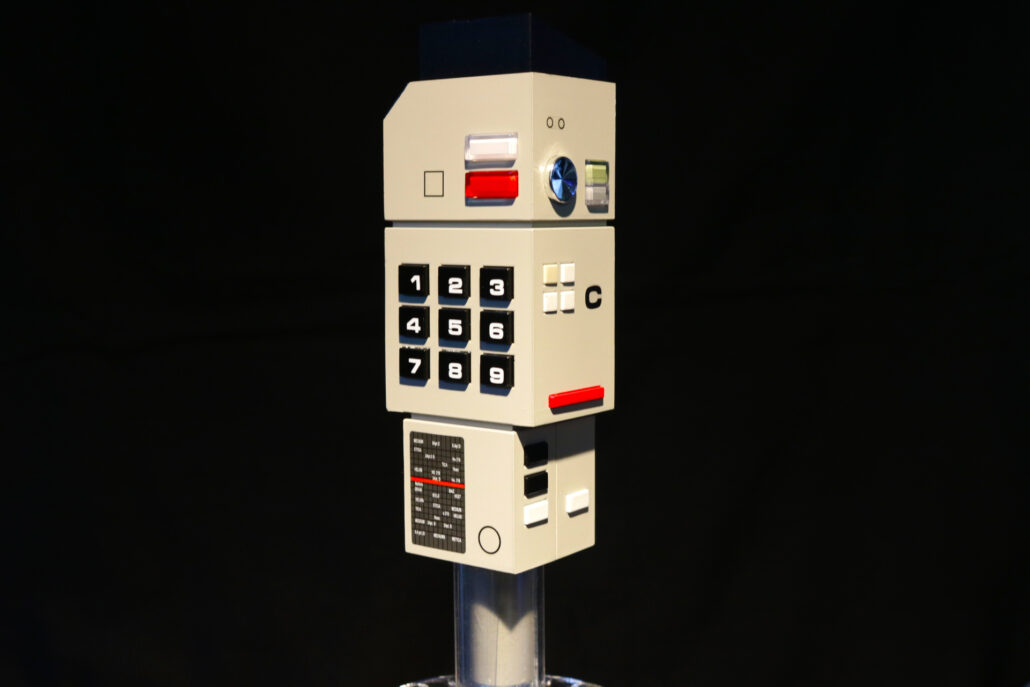
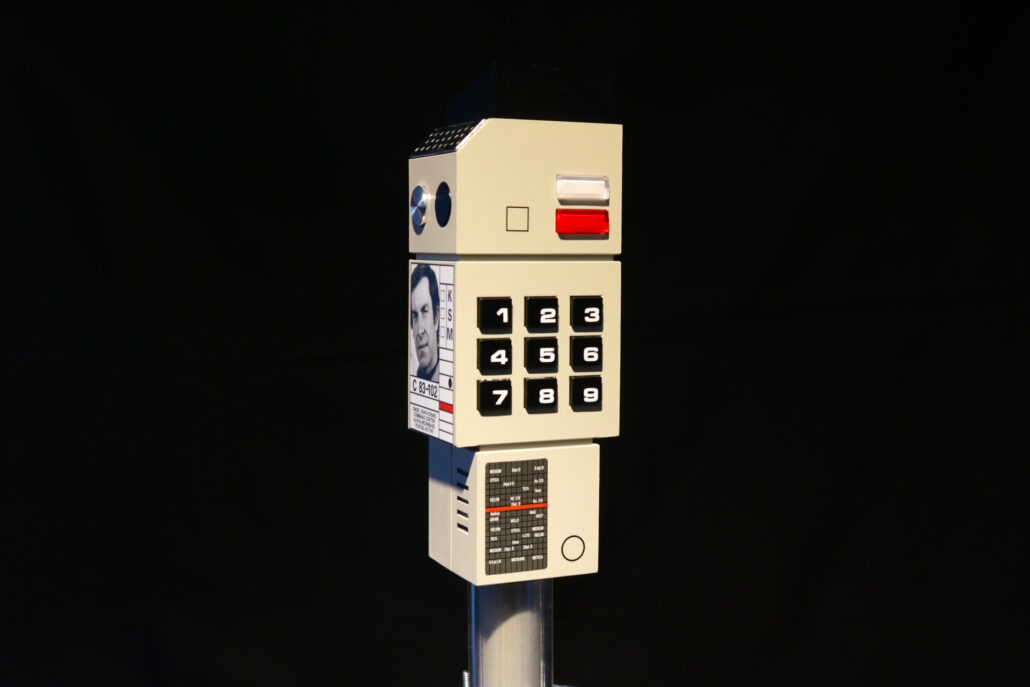
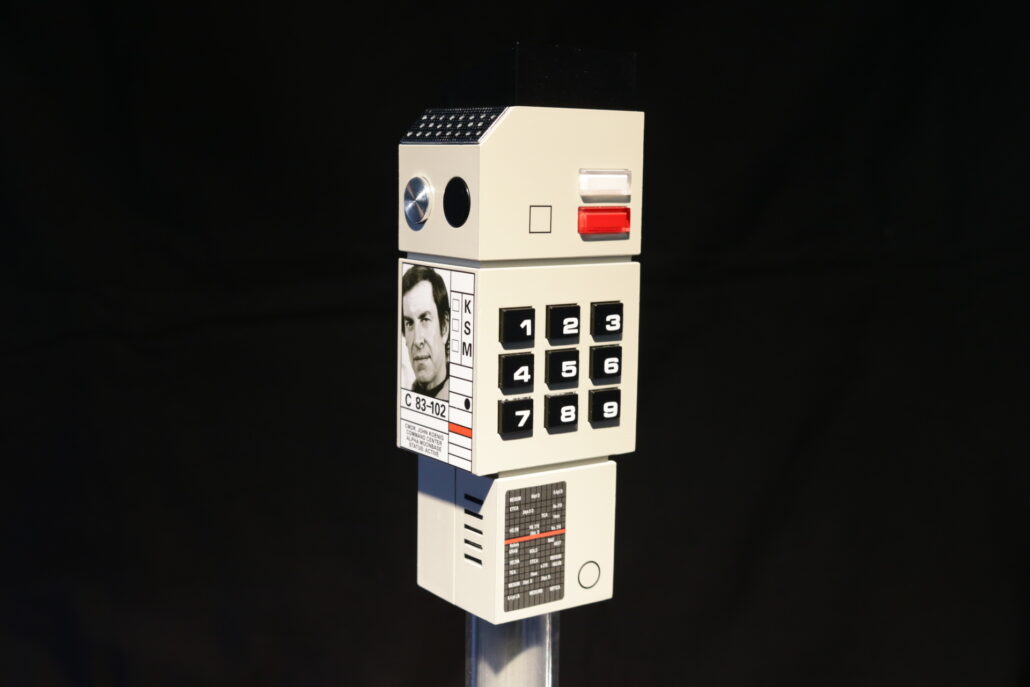
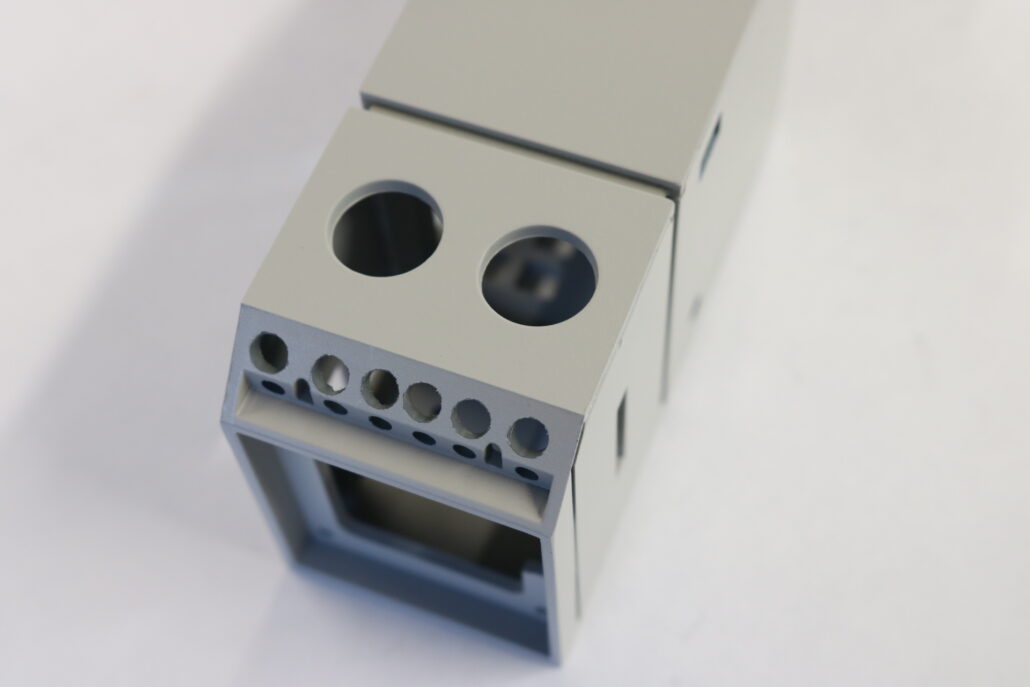
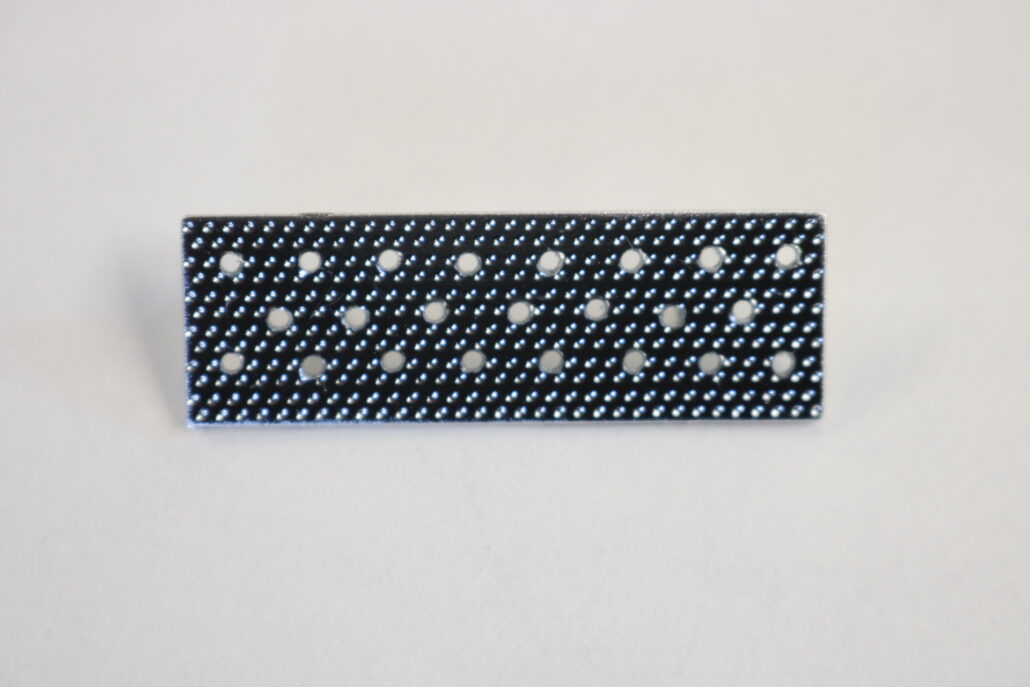
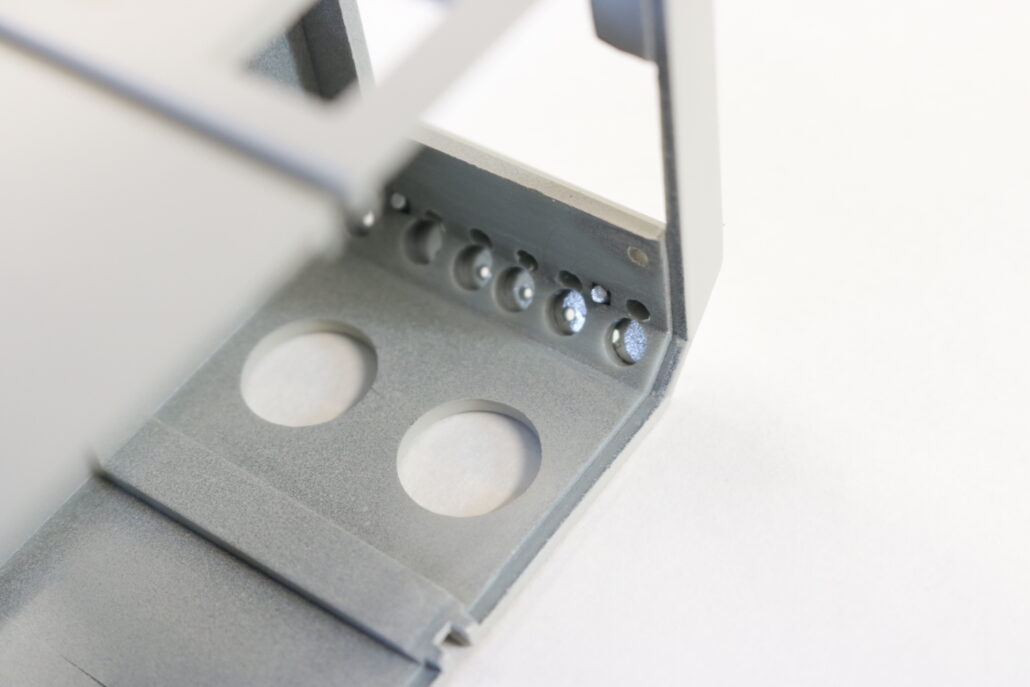
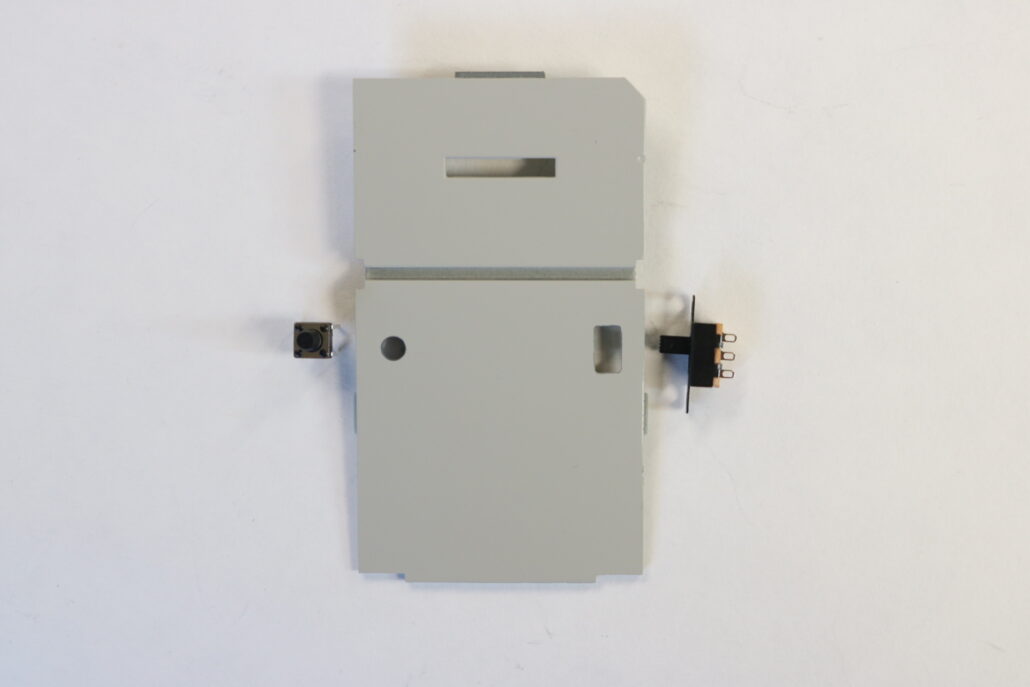
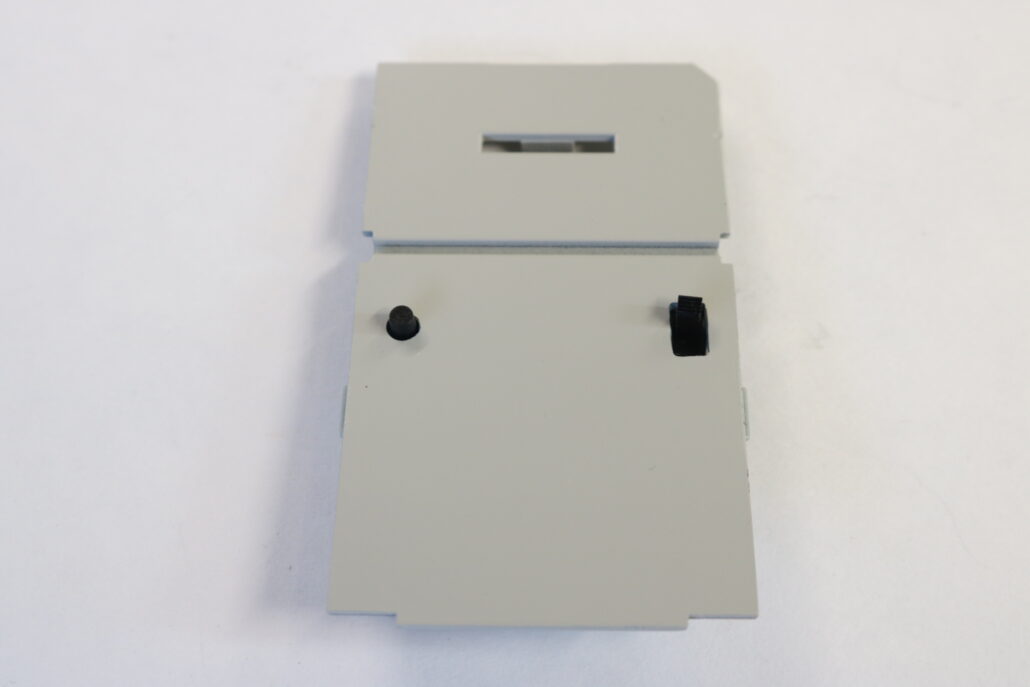
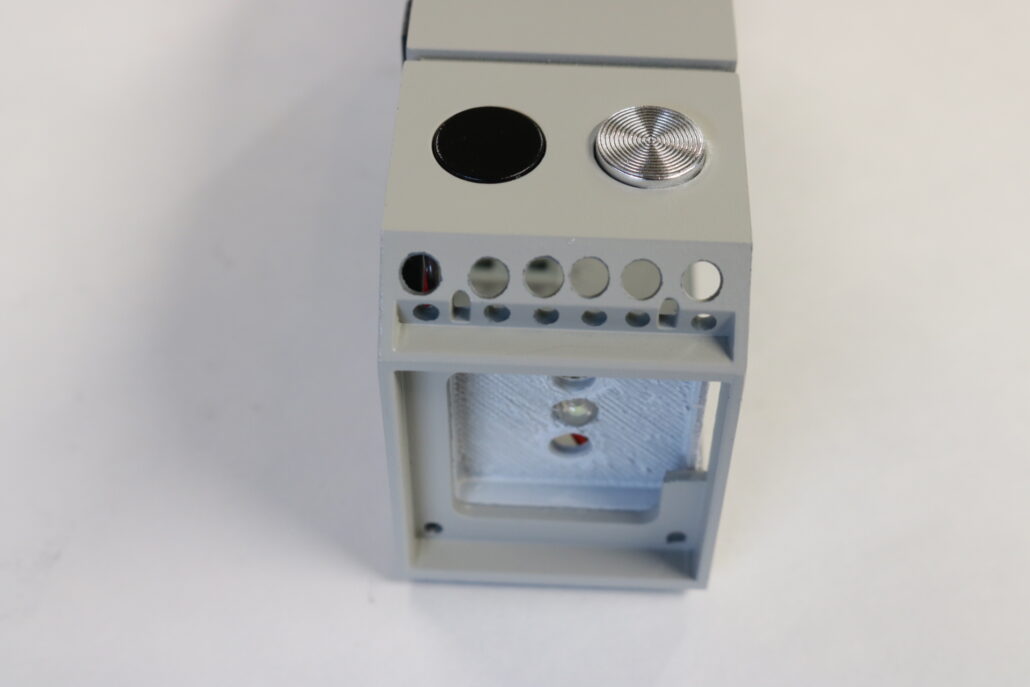
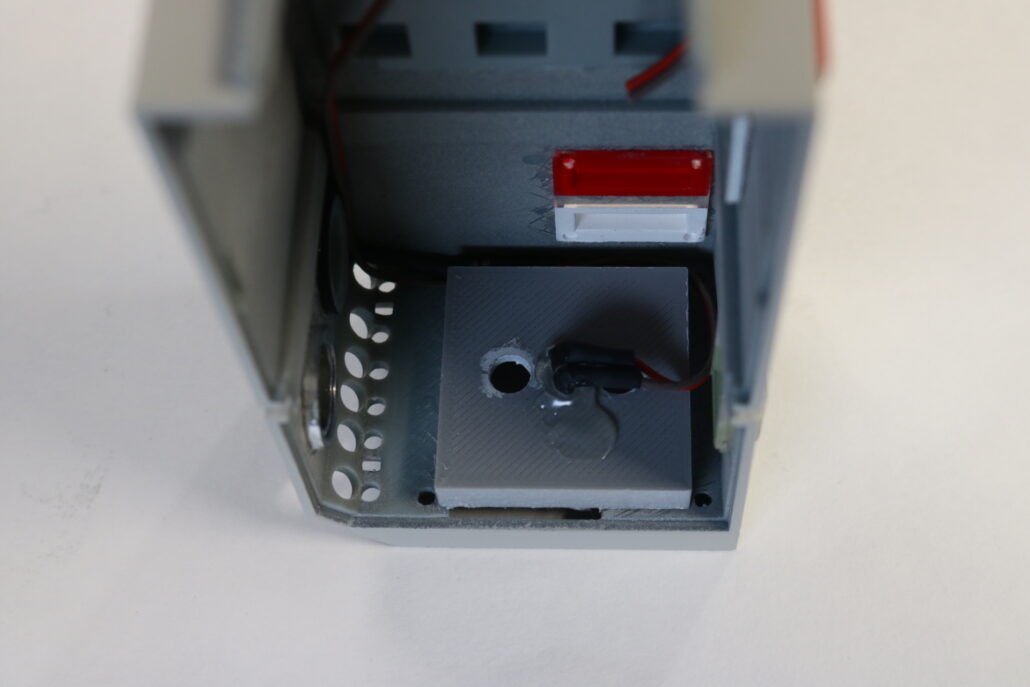
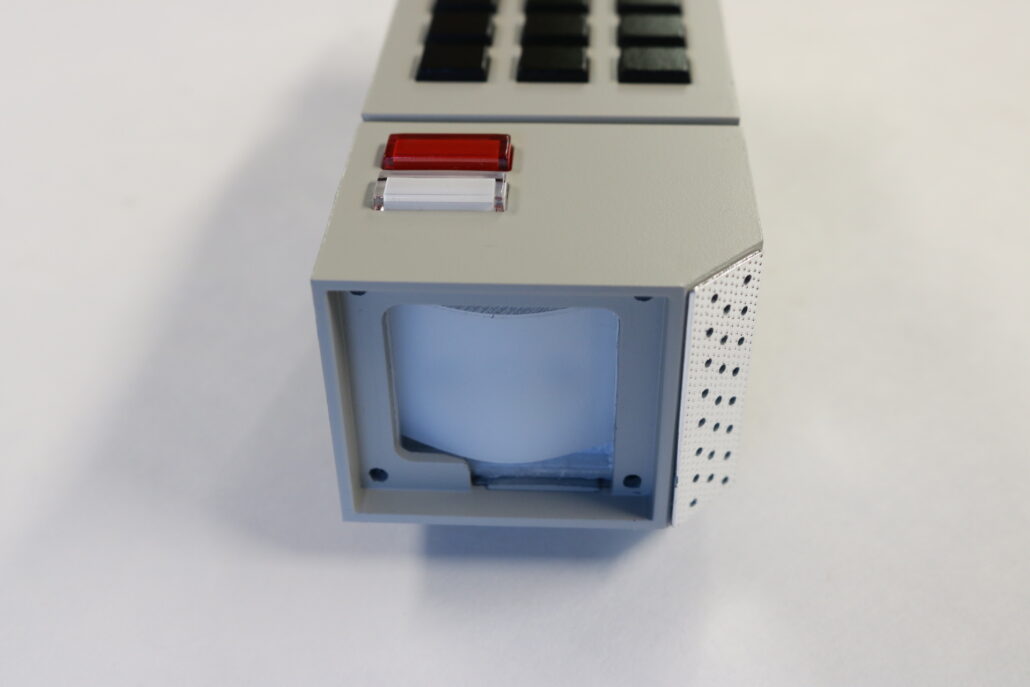
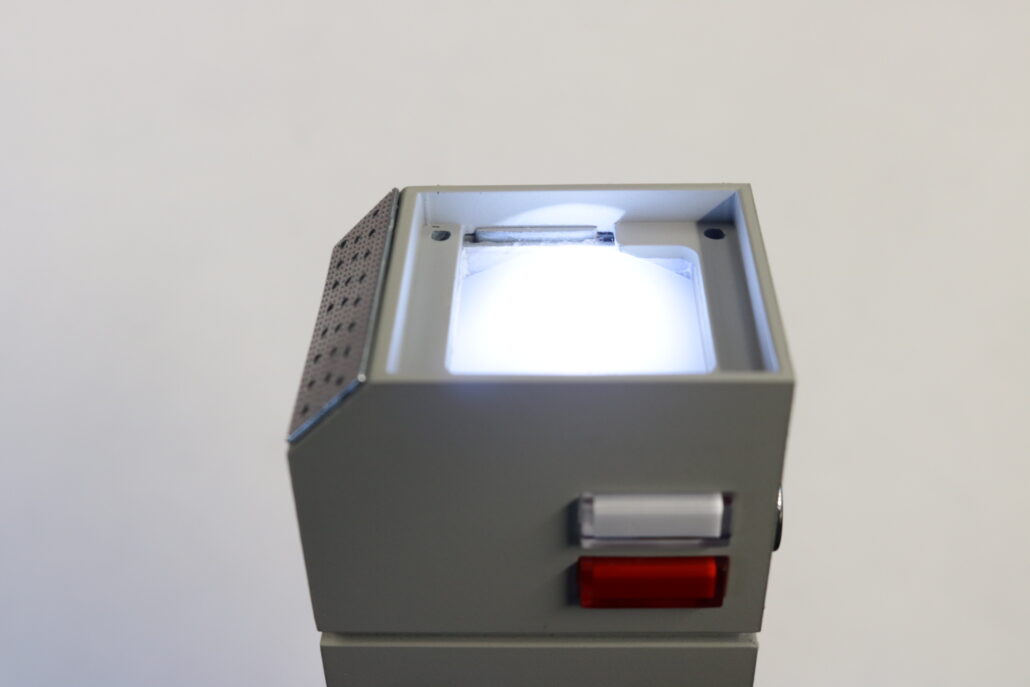
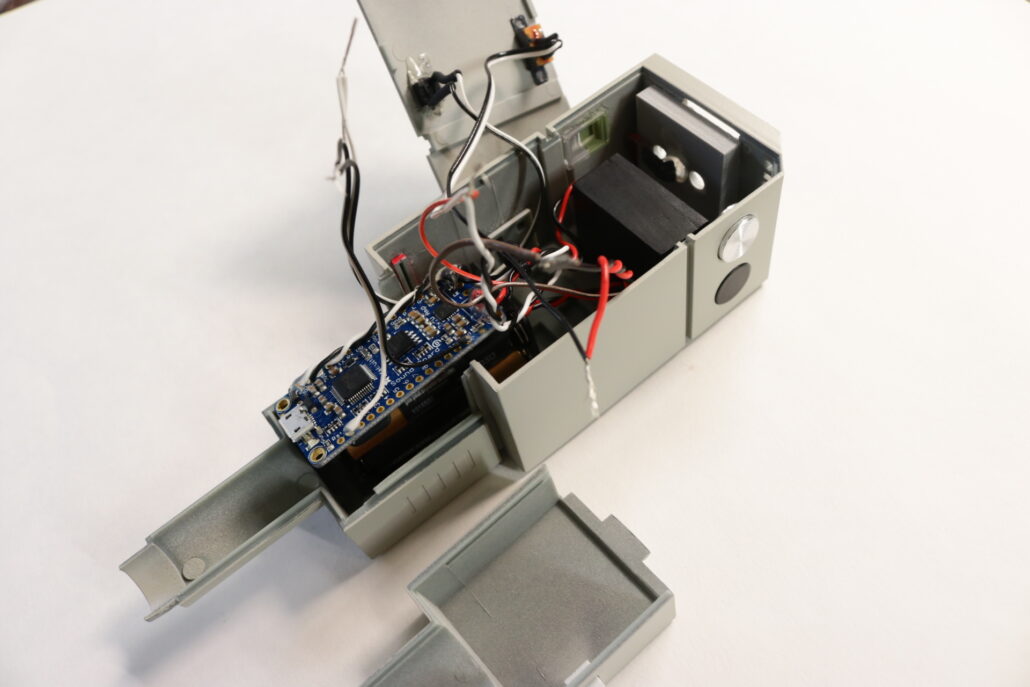
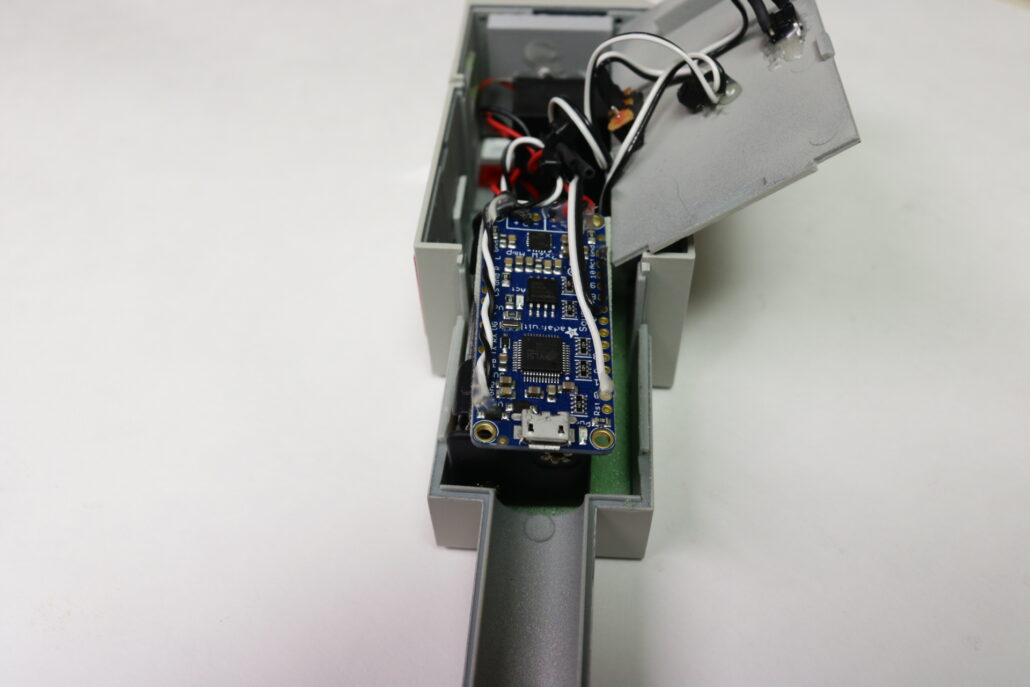
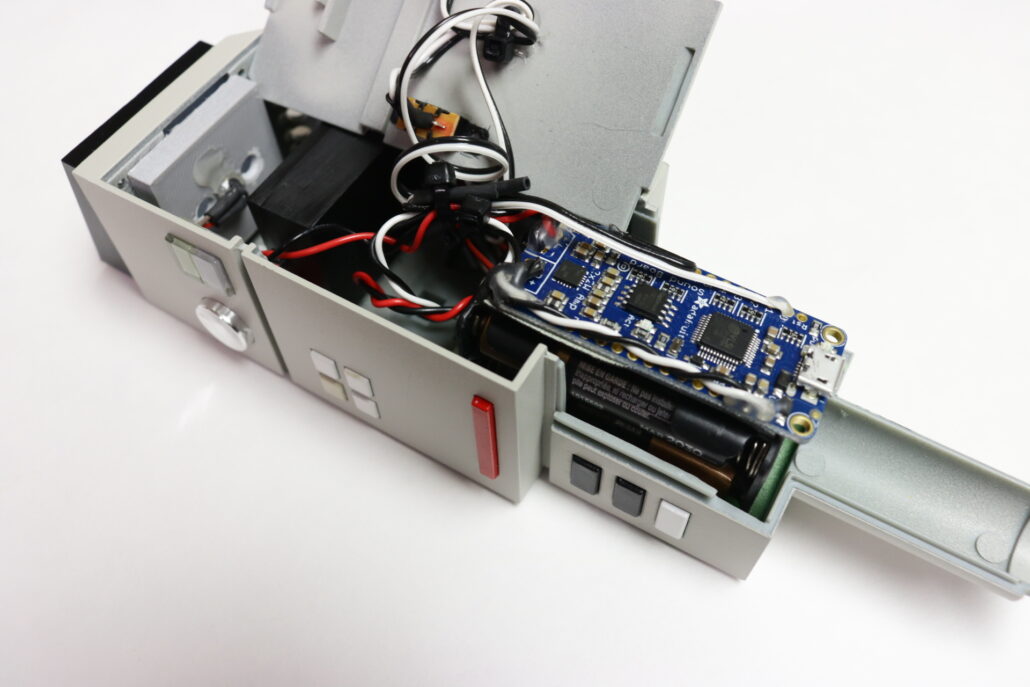
There are only a few areas that will need to be modified. One of the areas that will need to be drilled out is the speaker grill & the commlock body under neath the grill. You will need to make a series of holes to let the sound through the speaker grill & body. Another area is the back side of the belt clip, in this build I used the backside to the hide the on/off switch & momentary trigger for the sounds. You may decide that you want to use the keypad or other buttons to active these two main functions, additional switches will need to be purchased separately.

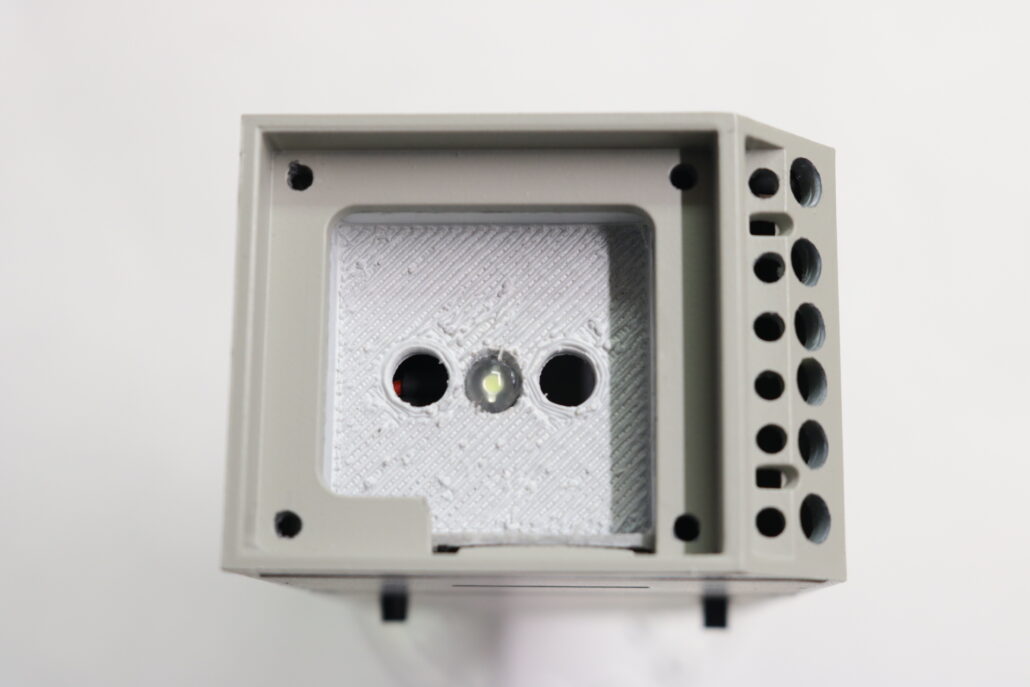
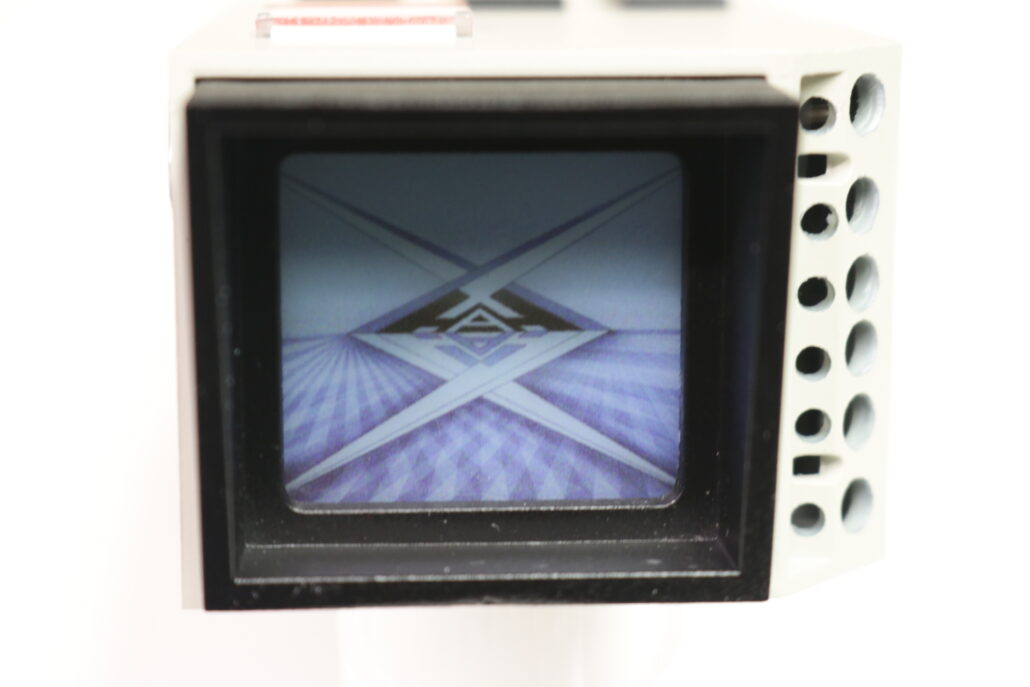
Preparing Led & Light Box:
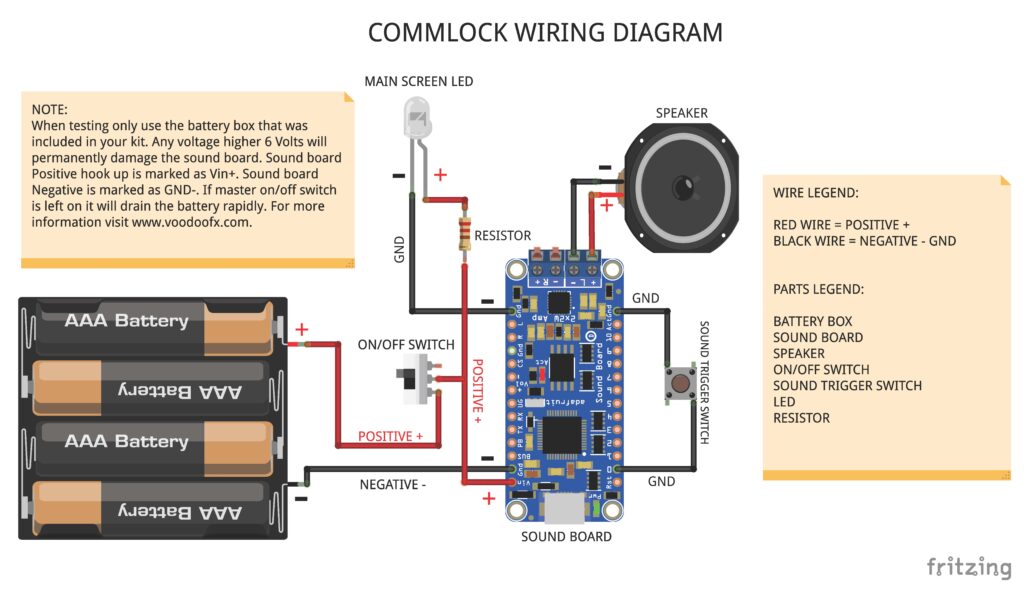
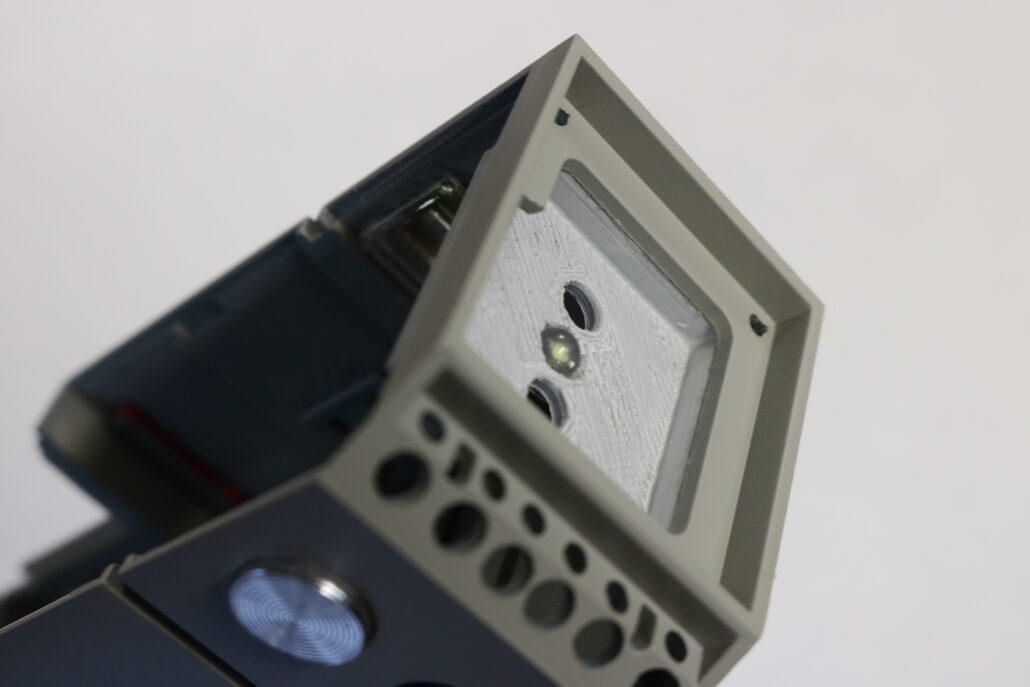
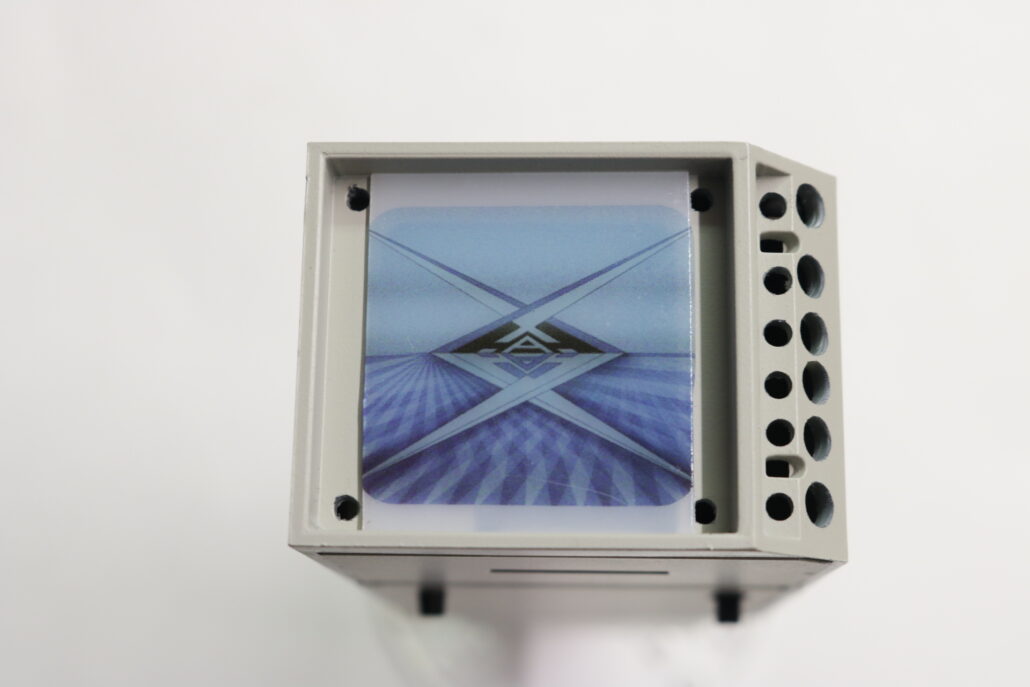
Since their is only one led for the main viewing screen it is best to prefabricate the led with a single in line resistor for this application. The view screen led is tied direct to the on & off power switch & only comes on when the main power is turned on. The light box files are provided as a free download STL file for 3D printing but if you do not have a printer you will need to scratch build a shallow light box to support the one led for the view screen. The view screen will also require a small piece of diffusion material cut out for both the light box & the decal being used. The light box diffusion can be slightly bent causing a curve but not going over the main body part. If you dont have the after market translite decal from Yaymonsters.com than you will need to cut to fit the diffusion material to fit the screen space & mount the stock decal on to the diffusion material.
Fitting Of Parts:
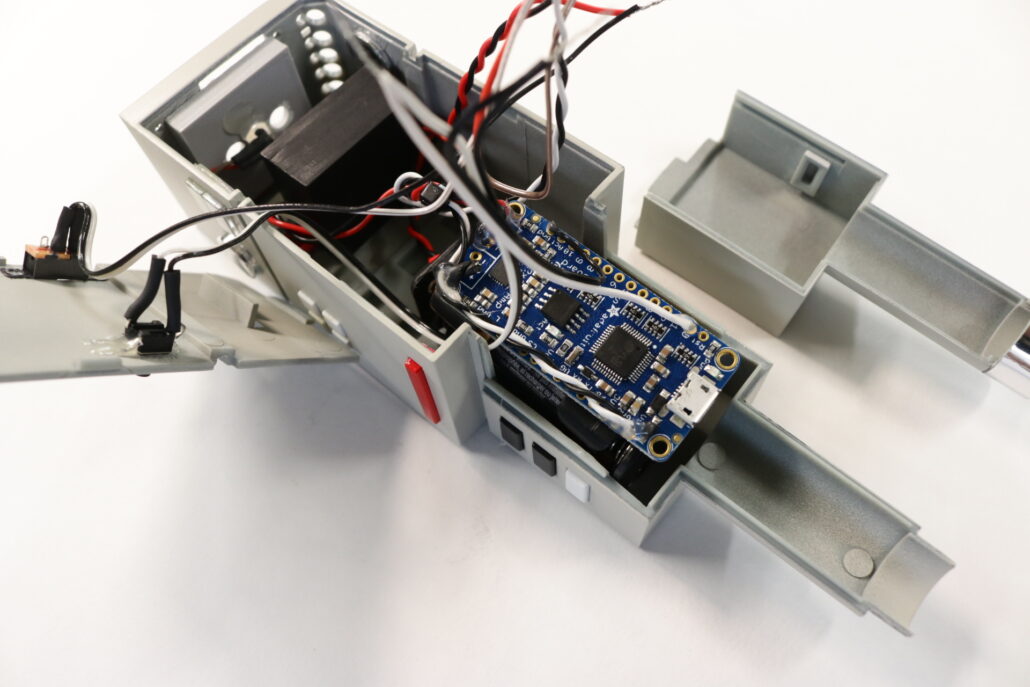
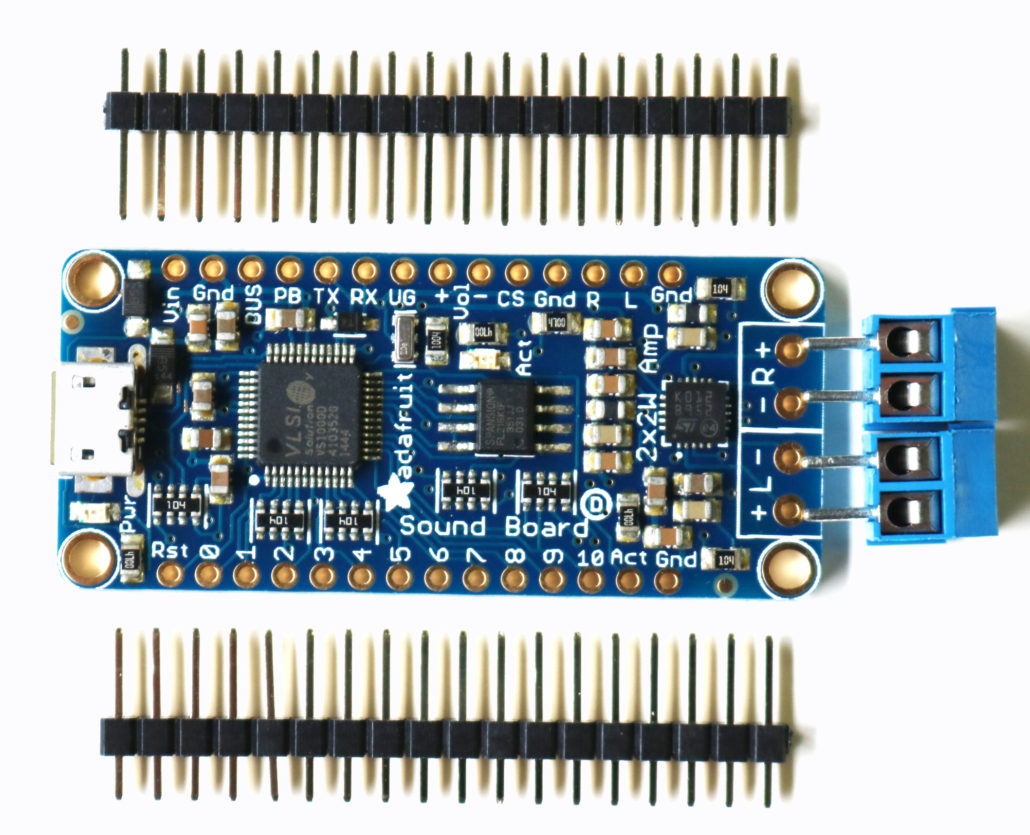
Sound Board & Trigger:
The sound board is based on a “5V Only” power set up, so it is important to only power this unit with 5 volts, any power greater that 5 volts will permanently damage the sound board. The sound player can be set up in 5 different modes or functions. All the sound features are triggered by a momentary switch tied to a corresponding port number on the circuit board. One side if the trigger switch is tied to the port selected and the other side goes to ground or GND port. Its all on how the sound files are set up to play. Down below is the basic trigger function brake down.
This page will talk only about using it in trigger mode since that’s what we think most people will do.
How Many Triggers Are There:
There are eleven trigger pins – named #0 thru #10
You don’t have to use them all! We just had lots of pins so we made them all available.
Each trigger pin is an input that we recommend using with a pushbutton or tactile button or other kind of switch. When the # pin is connected to GND for more than about 125 milliseconds it will trigger! There is a 100K pull up resistor on each one, so you do not need any extra resistors or pullups.
Remember, you don’t have to use a mechanical button or switch – you can use conductive thread, tilt switches, two pieces of tinfoil, the output from some other electronic thingy, just anything that will send a ground signal to the pin.
How Long Does It Take For Audio To Play Once I’ve Triggered The Pin:
Good question! It matters whether you are using WAV or OGG. Compressed audio takes a little more time to get going.
From the moment the SFX board sees a ground level on the pin, it takes ~120ms to play a WAV file and ~200ms to play an OGG file.
If ‘repeating’ a file by keeping the button hend down, or doing a latching trigger type, theres a ~20ms delay (imperceptable) between WAV replays and ~120ms between OGG replays (noticable if the audio is meant to perfectly loop)
Trigger Types:
There’s a lot of different ways you may want to play your sound effects. Normally a microcontroller would be required to get exactly what you want, but the Sound Board is pretty smart and has the ability to play audio a couple different ways depending on the file name
There’s no code or firmware involved, only the file name of the audio file!

Let’s understand this by going through the five types:
Basic Trigger – Tnn.WAV or Tnn.OGG
The first type is the ‘basic trigger’ – when the button is pressed, audio plays. The entire file is played from beginning to end once.
To enable this trigger, name the file Tnn.WAV or Tnn.OGG where nn is the trigger #. For example, if you want to use pin #0, the file could be called T00.WAV (that’s two zeros after the T), if you want to use pin #6, T06.OGG – all the way up to T11.WAV
Hold Looping Trigger – TnnHOLDL.WAV or TnnHOLDL.OGG
This is a more complex trigger. Instead of pressing once the button to play, it plays ONLY when the button is held down. Great for “hold the button down to play the ray gun blaster sound effect” Call the file T02HOLDL.WAV for example
As long as the trigger pin is connected to ground, it will continue to play the same track on repeat. If you want a perfectly smooth transition between the end and beginning, we suggest WAV files, as OGG decompression takes a few milliseconds and has a noticable delay.
Latching Loop Trigger – TnnLATCH.WAV or TnnLATCH.OGG
This is a little like the Hold Looping trigger but you do not need to keep the button held down. Instead, press the button once to start the looping effect, then press it again to stop.
This is maybe good for if you want a continuous effect without having to keep the pin held down. Call the audio file T08LATCH.OGG for example
If you want a perfectly smooth transition between the end and beginning, we suggest WAV files, as OGG decompression takes a few milliseconds and has a noticable delay.
Play Next Trigger – TnnNEXT#.WAV or TnnNEXT#.OGG
Lets say you want to have one button but many different sound effects. For example, a stuffed animal that has a squeeze sensor trigger. It would say different things each time it is squeezed. For this kind of effect, use the Play Next Trigger.
This trigger is basically like the basic trigger, one button press per play, but you can have multiple effects on one pin
You can have up to 10 audio files triggered on one pin, they will play in order. For example, if you’re using pin #3, the files would be named T03NEXT0.WAV, T03NEXT1.WAV, T03NEXT2.OGG etc. up to T03NEXT9.WAV
Just make sure it starts with #0, and put as many as you like up to #9. You do not need to use all 10 ‘# slots’ up. If a number is missing, like T03NEXT3.WAV doesn’t exist, it will automatically play #0 again.
Play Random Trigger- TnnRAND#.WAV or TnnRAND#.OGG
OK so you like the Play Next mode but you don’t want to have it always in the same order? Use Play Random mode. You can have up to 10 audio effects, from say T07RAND0.OGG uo to T07RAND9.OGG
When the button is pressed, a ‘random’ track will be played.
Please note, this is not ‘cryptographic quality’ randomness 🙂 In fact, it will play through all of the tracks at least once (but in any order) before repeating.
Creating Your Own Audio Files:
You can easily put your own sound effects into the sound player by using the micro USB cable connector & your computer. The file shows up as a external drive devise, all you will need to do is build your own sound loops remove the ones that are on the board & copy & paste them to the drive.
Now you know it all works, you’ll need to create your own audio files. The sound board does not support MP3 so if you have your audio clips in MP3 format you’ll have to convert them to OGG or WAV
You can use either OGG or WAV format, and you can ‘mix and match’ so some files are OGG and some are WAV
There’s some pro’s and con’s to the two formats:
- OGG is compressed, but still sounds great. It uses much less space so if you want to say store a full 2 or 3 minute song, you’ll need to go with this. However, it does take a few milliseconds to start playing the file, so if you want to have perfectly looping audio, OGG will have a gap in between each play through
- WAV is uncompressed, so its the highest quality. But it takes up a lot of space. Since it’s uncompressed, it starts playing instantly, and if you’re looping an effect, this will have no discernable gap.
If you want to use your own sound files, you can! Record, sample, remix, or simply download files from a sound file sight, such as freesample.org. Then, to make sure you have the files converted to the proper specifications, check out this guide here that’ll show you how! Spoiler alert: you’ll need to make a small, 22Khz (or lower), 16 bit PCM, mono .wav file!
There’s tons of software that can generate OGG or WAV, we used this service and it worked very nicely without needing to install any software: http://audio.online-convert.com/convert-to-ogg
FREE SOUND EDITOR LINK:https://www.audacityteam.org/download/
Generating audio files, especially if you want to keep them small, can take a little experimentation: higher bit rates and sample rates will sound ‘better’ but take more space. You can go with 44.1KHz sample rate which is basically audio CD quality, or down to maybe 8KHz for spoken word or low-rez effects.
Another way you can save space is to convert stereo files to mono. The decoder supports stereo but if you only have a single speaker it doesn’t matter if you have stereo output and stereo takes 2x as much space!
Audio Editing Service:
You can contact us if you need audio editing service here: randy@voodoofx.com
Wiring Diagram: