Space 1999 Stungun Build
Getting Ready:
First start by getting yourself familiar with all the model kit parts & where they are positioned to assemble the model. Second read all the information regarding the model lighting kit & wiring diagram. There are only a few modifications that will need to be made for the lighting system.
Preparing The Parts:
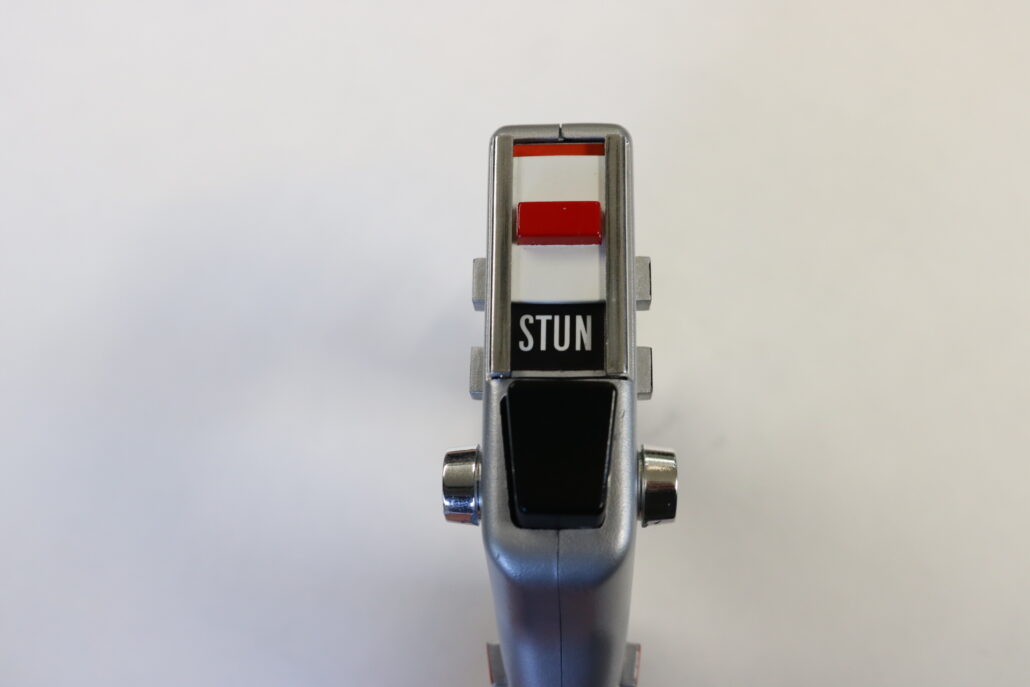
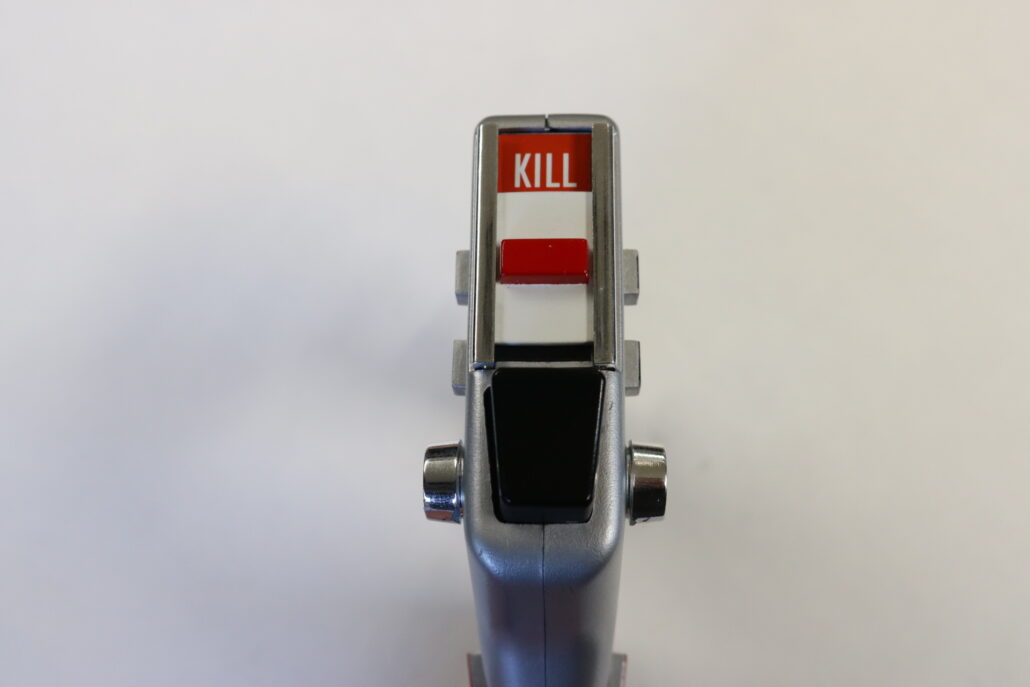
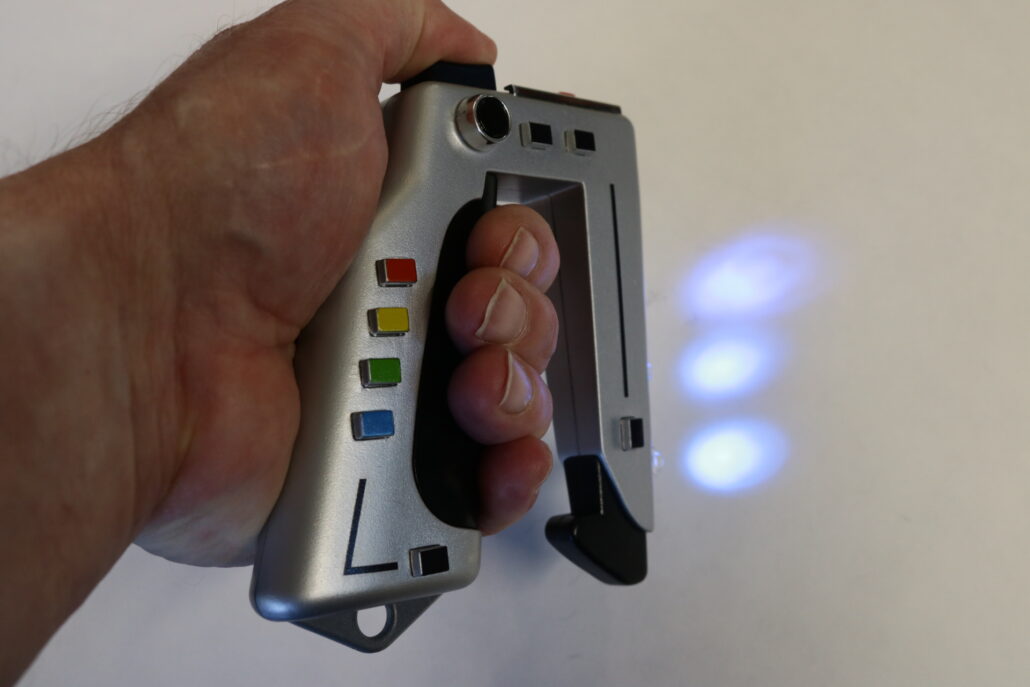
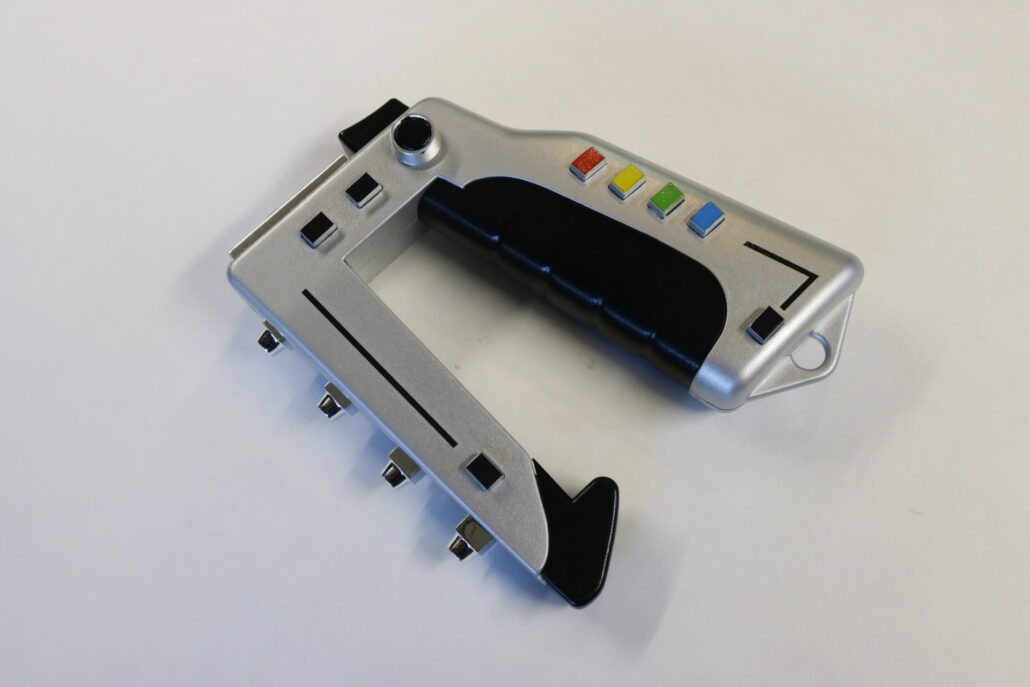
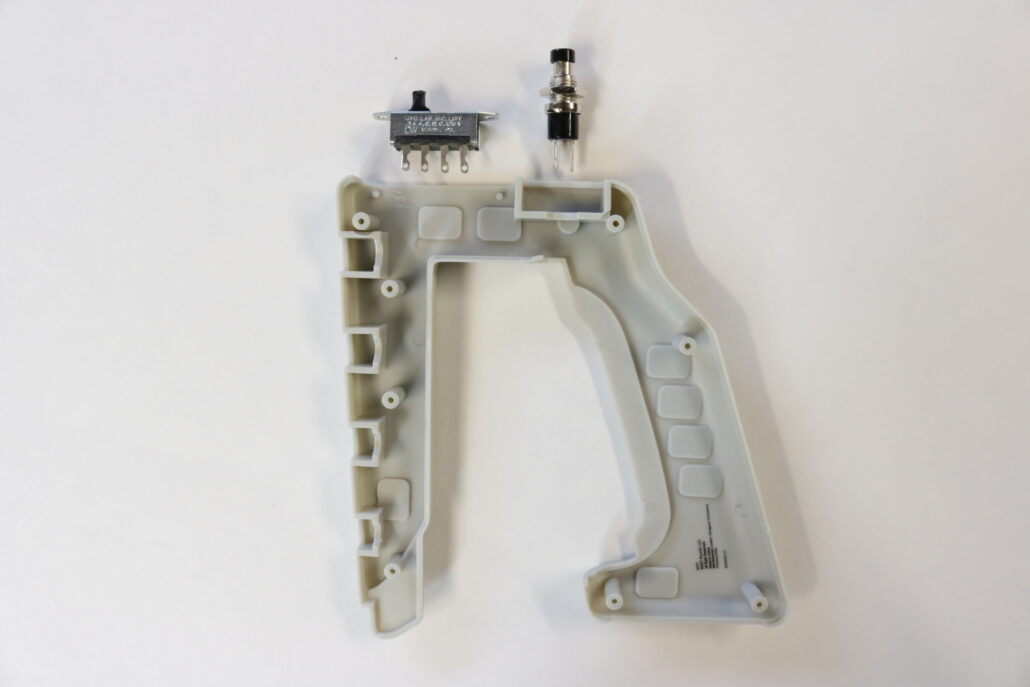
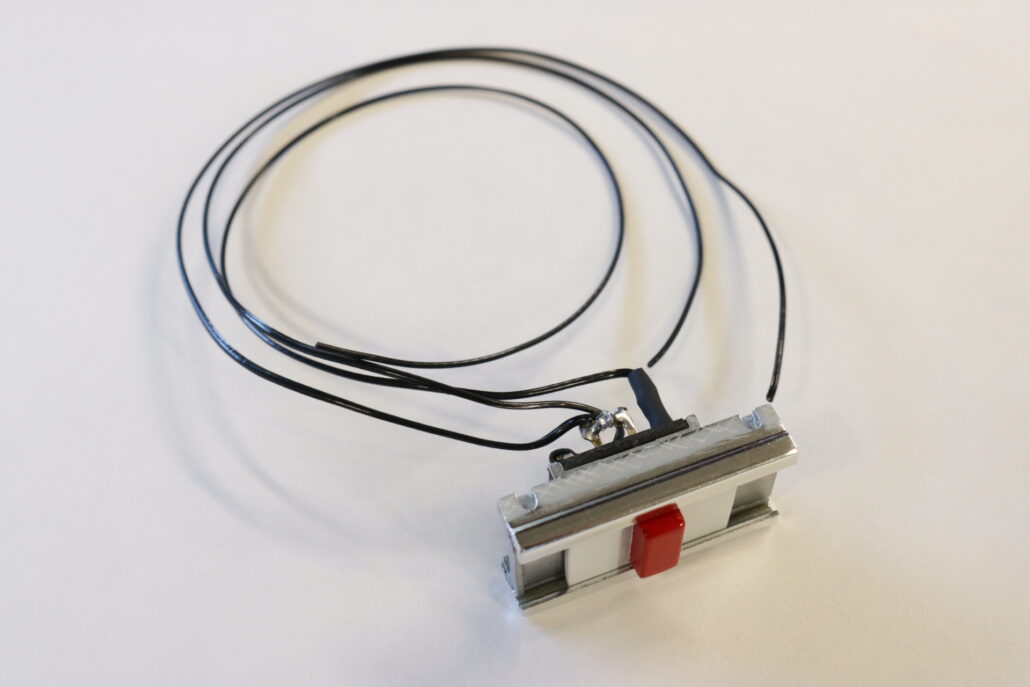
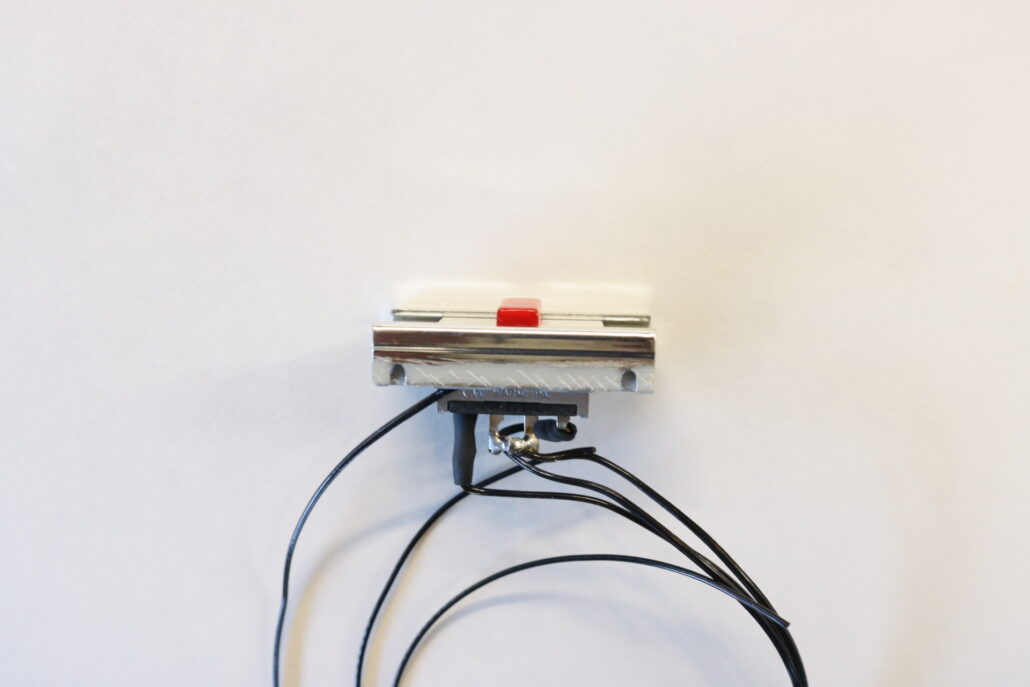
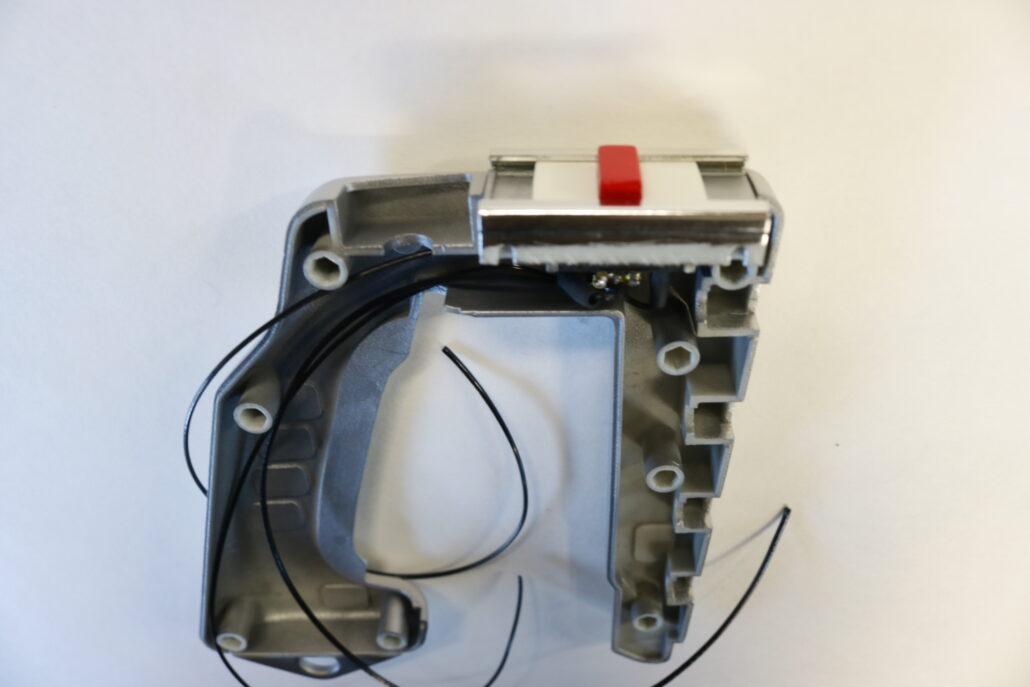
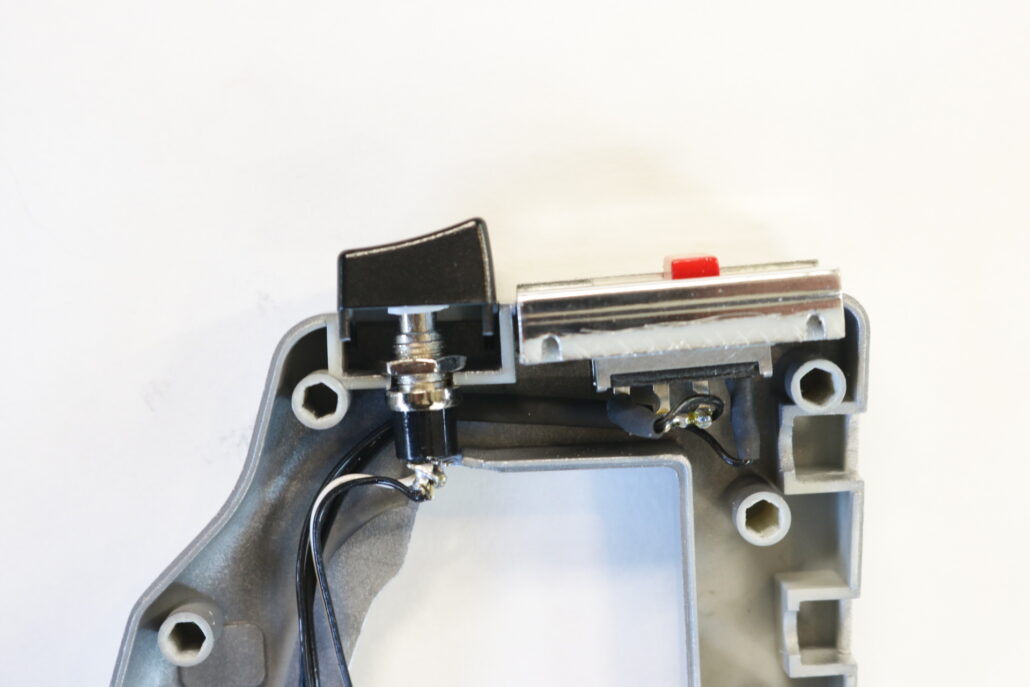
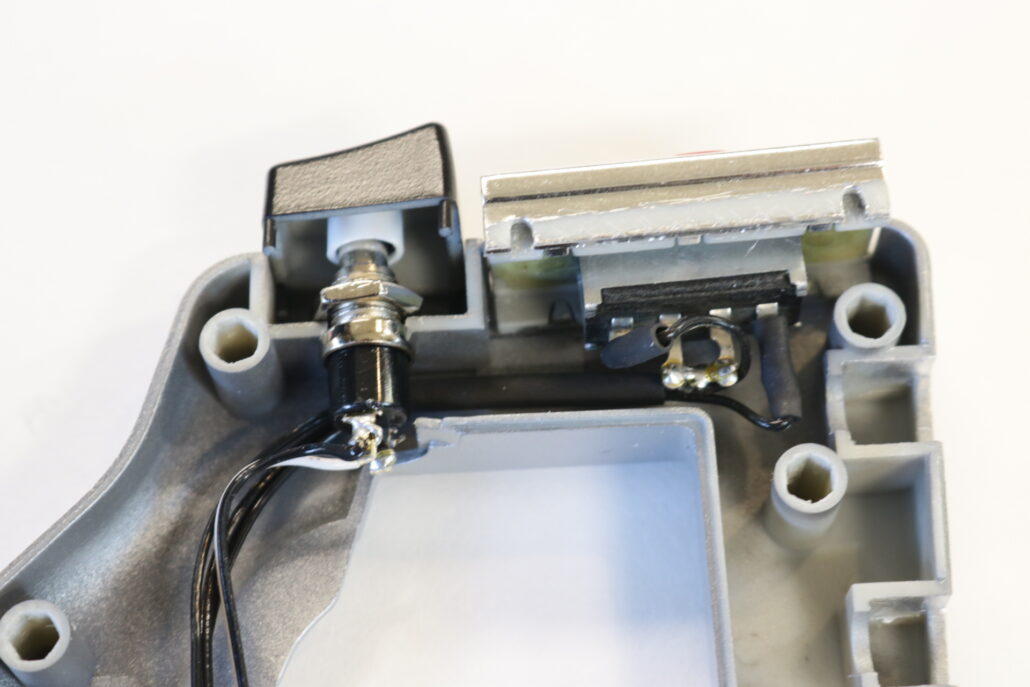
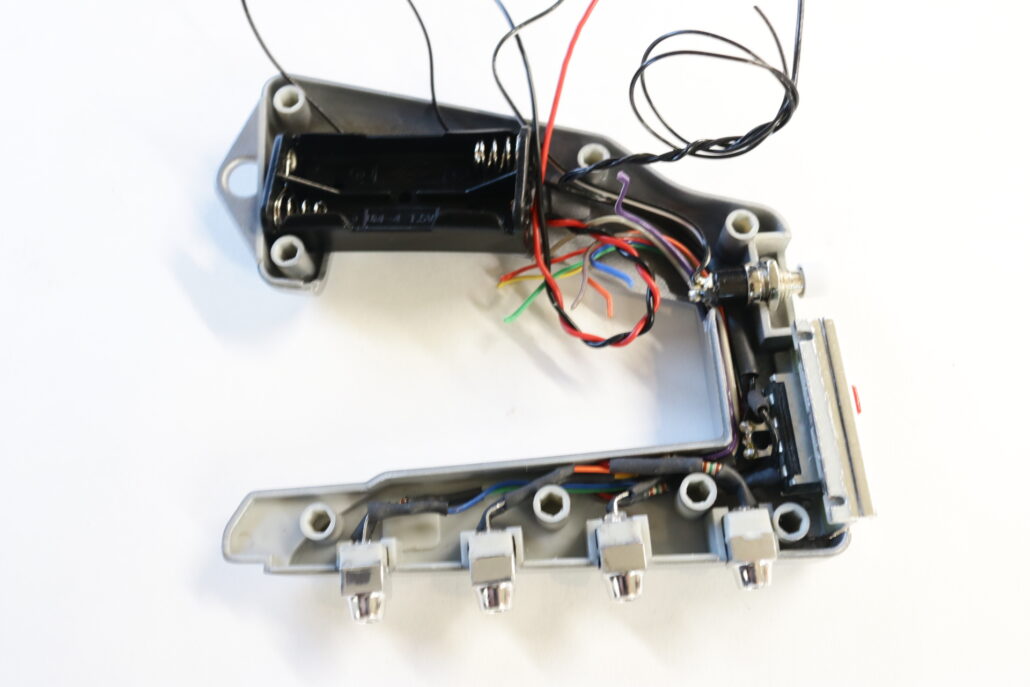
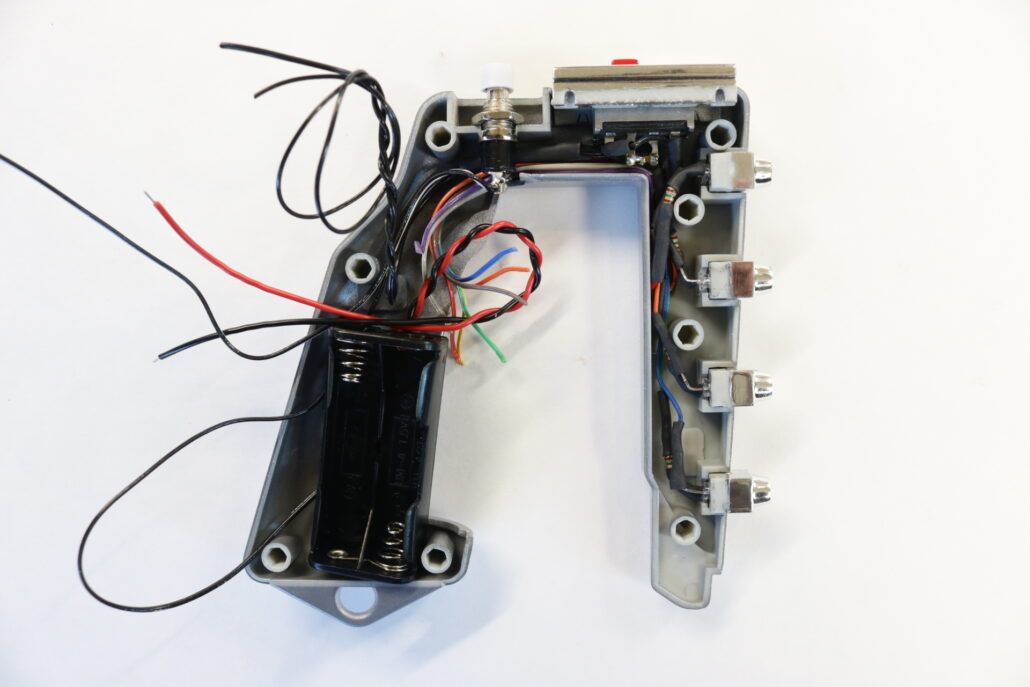
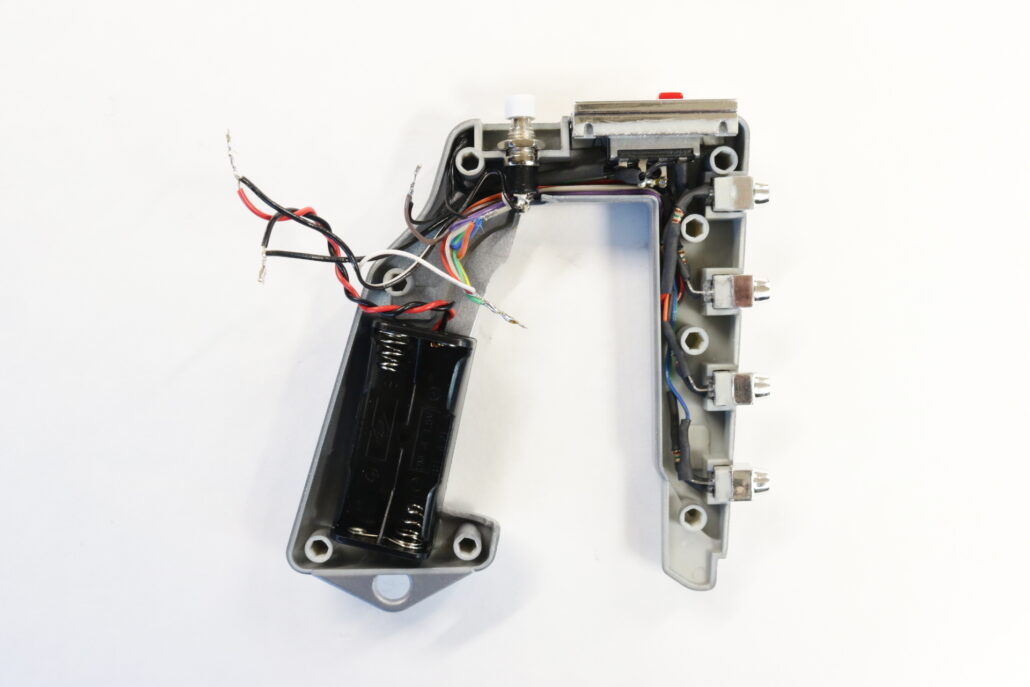
There are a few parts in the kit that will require modification for the lighting system. The four emitters will need to be drilled out on the back side to support a 3mm led. The housing that holds the emitter will also need to be drilled out & can be a little bit larger than the 3mm hole. If you are using the slider mode switch from season 1-2 you will need to cut a slot in the top of the slider mounting part. You must allow enough slack to move it freely back & forth. The firing momentary trigger switch will also need a hole drilled out in the center of the fire button. I also added a small piece of 9/32 tubing on top of the plastic button to extend the button height, giving it a little more range.

Prefabricating Led & Switches:
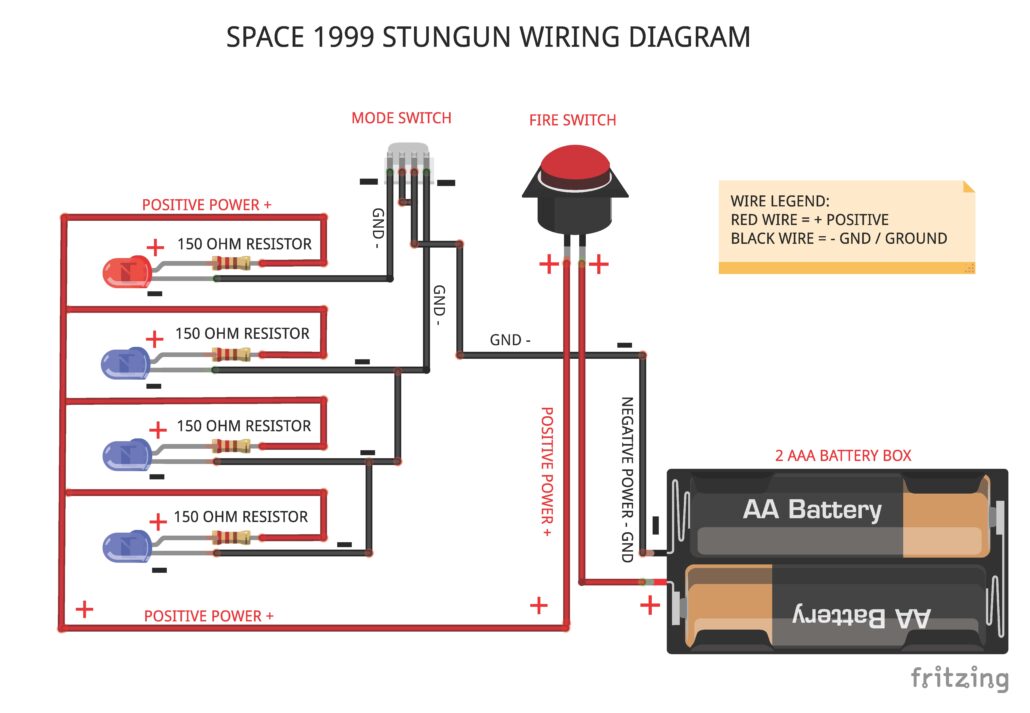
Once you have made the modifications to the model kit parts you can move forward & pre build the leds & wire up the switches. Its best way to start is with the leds first, each leds will require a 150 ohm resistor inline with each led, these are wired to the positive side of each led. The ground wires are tied to the slide switch if your using the selector switch for Stun or Kill. If your not using the selector switch you will tie all the grounds together and bring them to the ground side of the battery. The positive side is used to run the fire button or momentary switch only, all the leds are connected to the positives side and feed back to one side of the momentary. The other side goes straight to positive side of the battery hook up. Look at the wiring diagram for how to wire it.
Wiring Diagram:
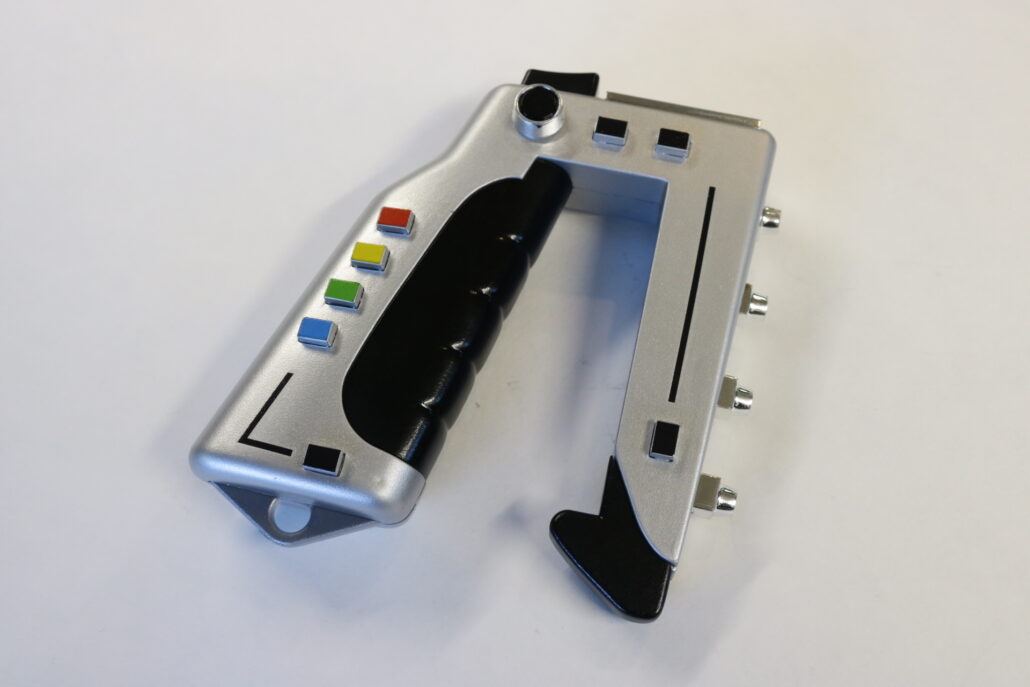
Finished Photos: