Spindrift Lighting Kit
Getting Ready:
First start by getting yourself familiar with all the model kit parts & where they are positioned to assemble the model. Second read all the information regarding the model lighting kit wiring diagram. There are only a few modifications that will need to be made for the lighting system.
Preparing The Parts:
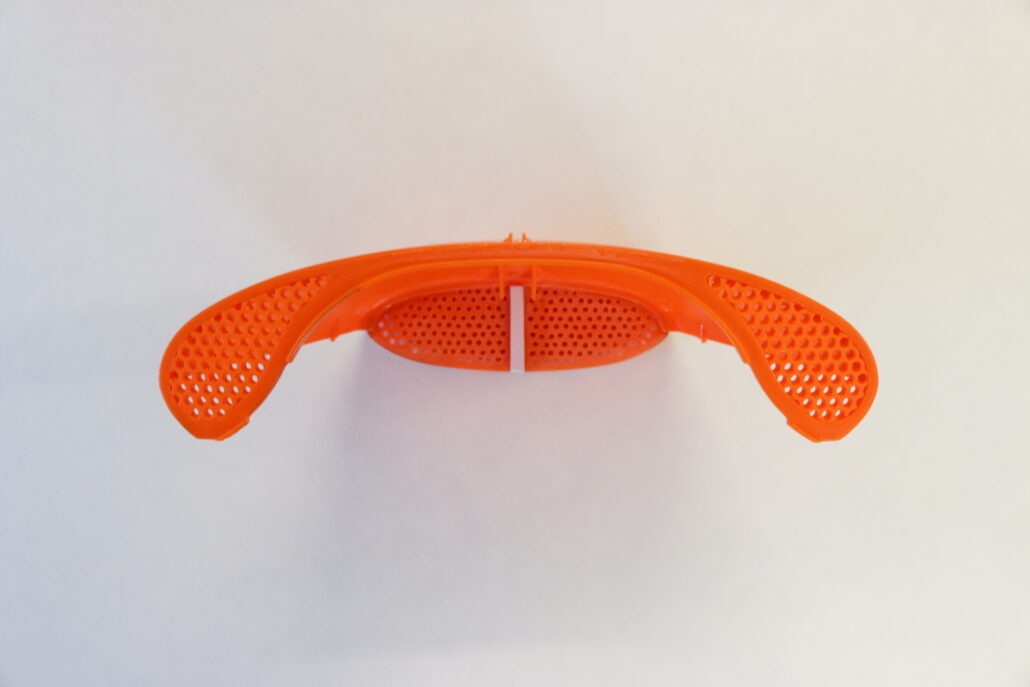
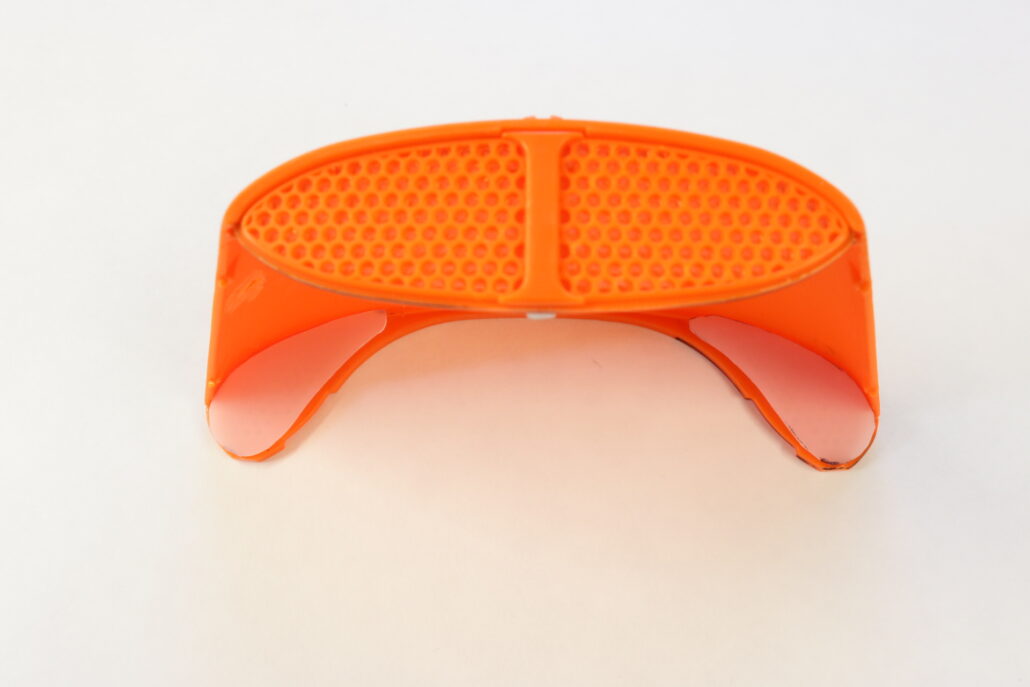
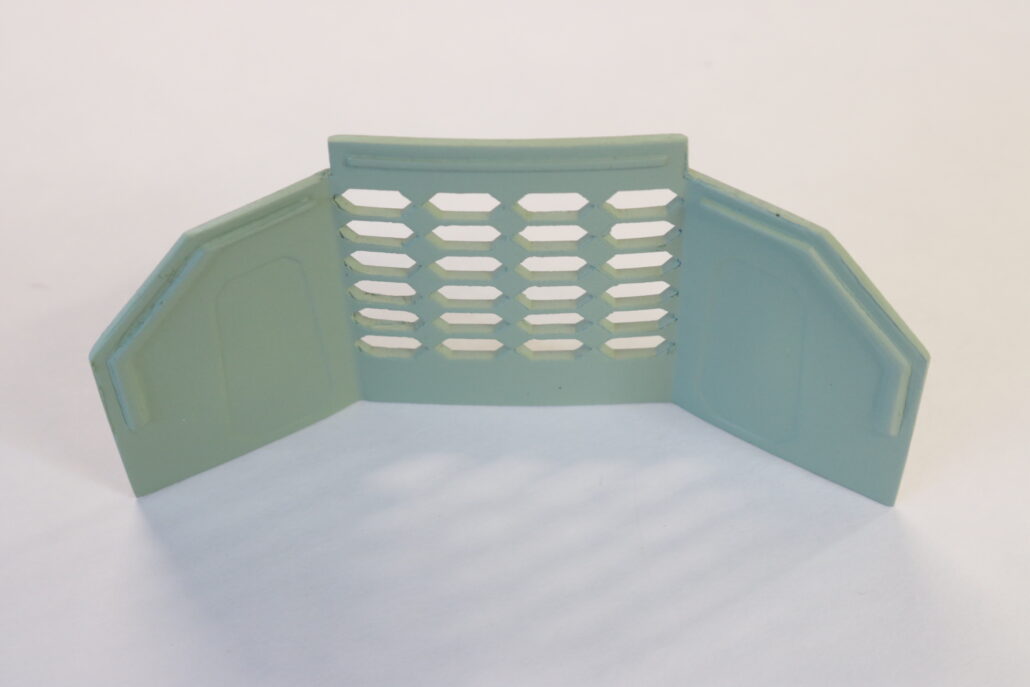
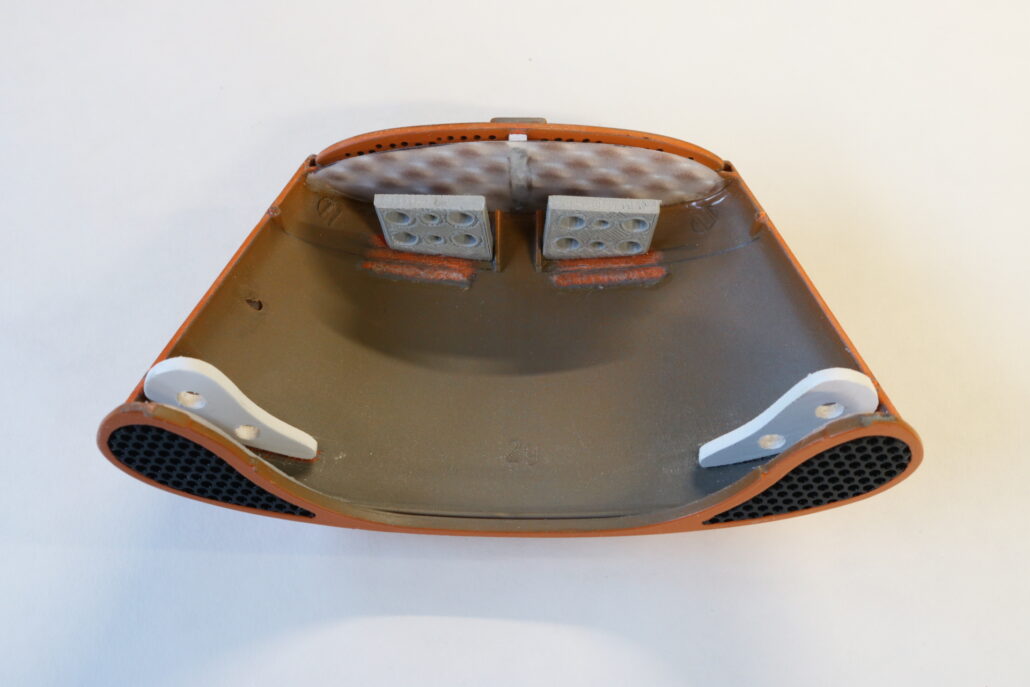
If you have the aftermarket parts from Yaymonsters than you will not need to perform this action. The three main parts that you will need to be drilled out are the Intake Grills, Rear Engine Grill & Interior Fusion Reactor wall. It is best to start with a small pinvise & #64 drill bit or 3/32″ bit. Drill out all the holes for the intake & engine grills, for the reactor wall I make 6 small holes around the diamond shape edge’s, then take a hobby knife & cut from hole to hole, poping out the center section. You will need a small set of files to clean up and trim to edge.
Diffusion Material:
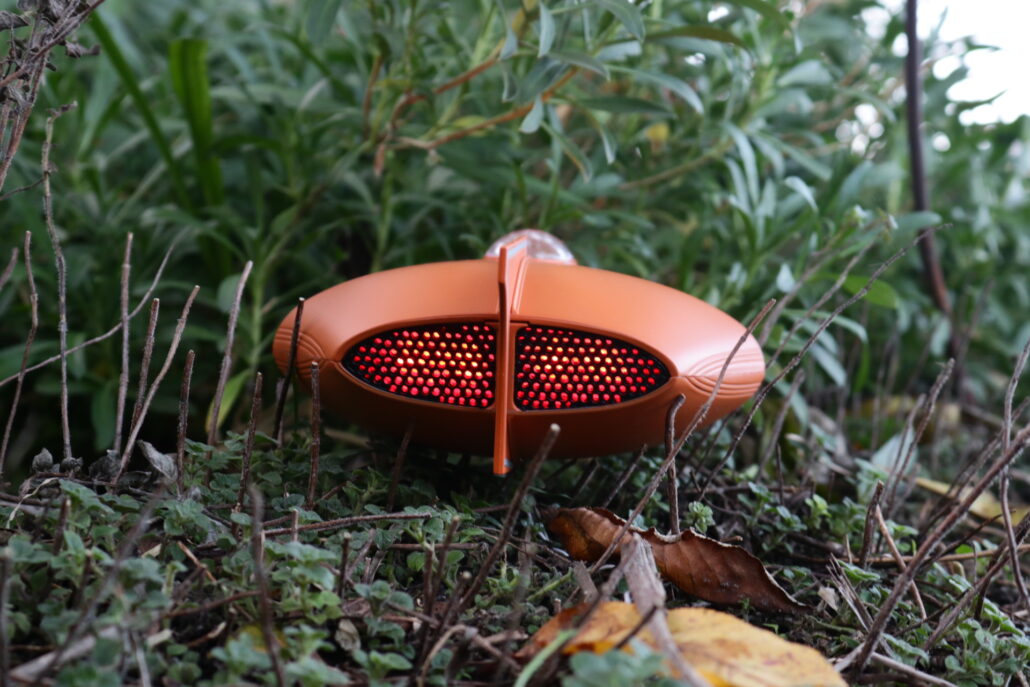
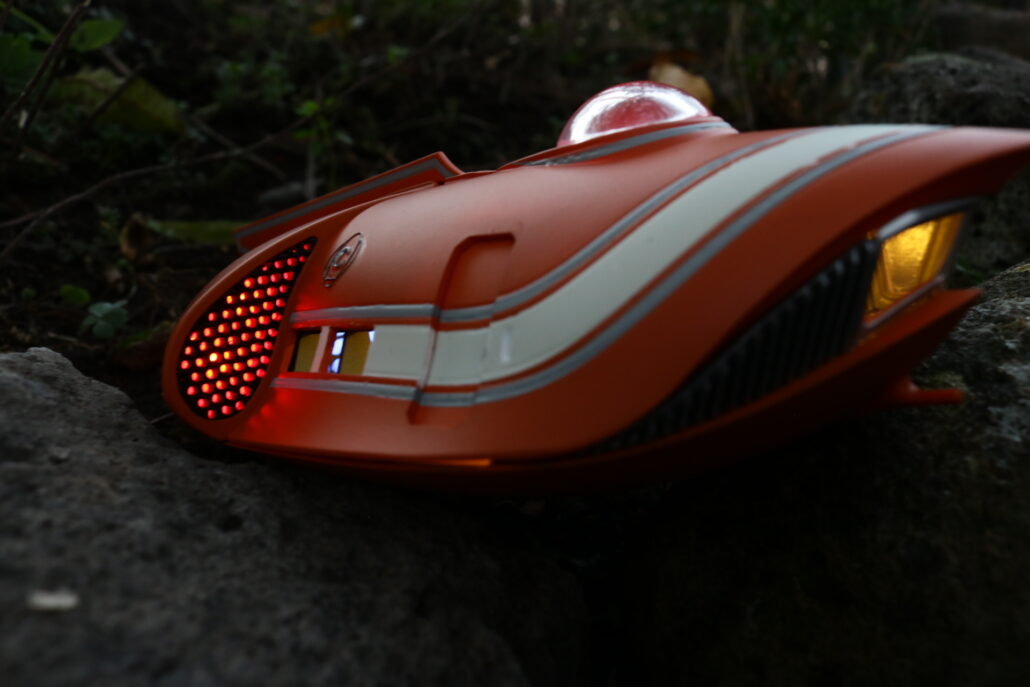
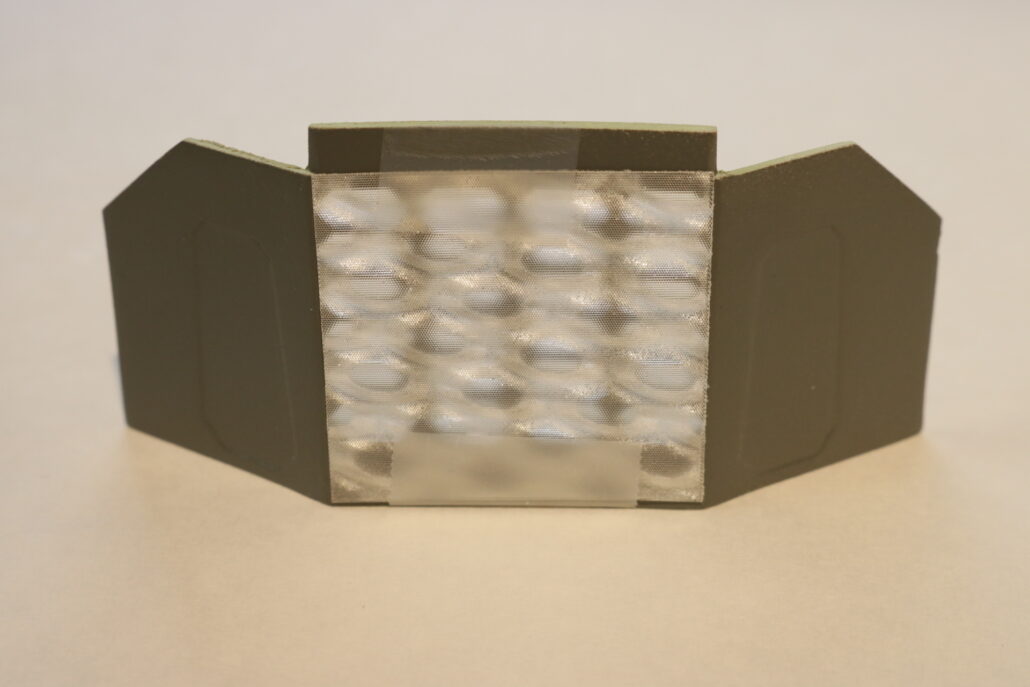
After cutting out all the areas on the intake, engine & reactor wall you will need to back them with some diffusion material. The intake looks the best with the standard “White Milky Diffusion” cut to fit the tear drop shape and glue in place with some standard white glue. The rear engine looks the best with the 3D material, cut to fit and mount. I also preferred to use the 3D material on the reactor wall as well. Mount in place again using the white glue meathode. You will also need to scratch build a set of led brackets to hold the leds in place, I have provided a 3D file link as well if you want to print them on your own. Sorry to say the tear drop ones where done by scratch. When mounting your red leds it would be best to use the 150 Ohm resistor combo to power both the intake & engine effect for the brightest look.

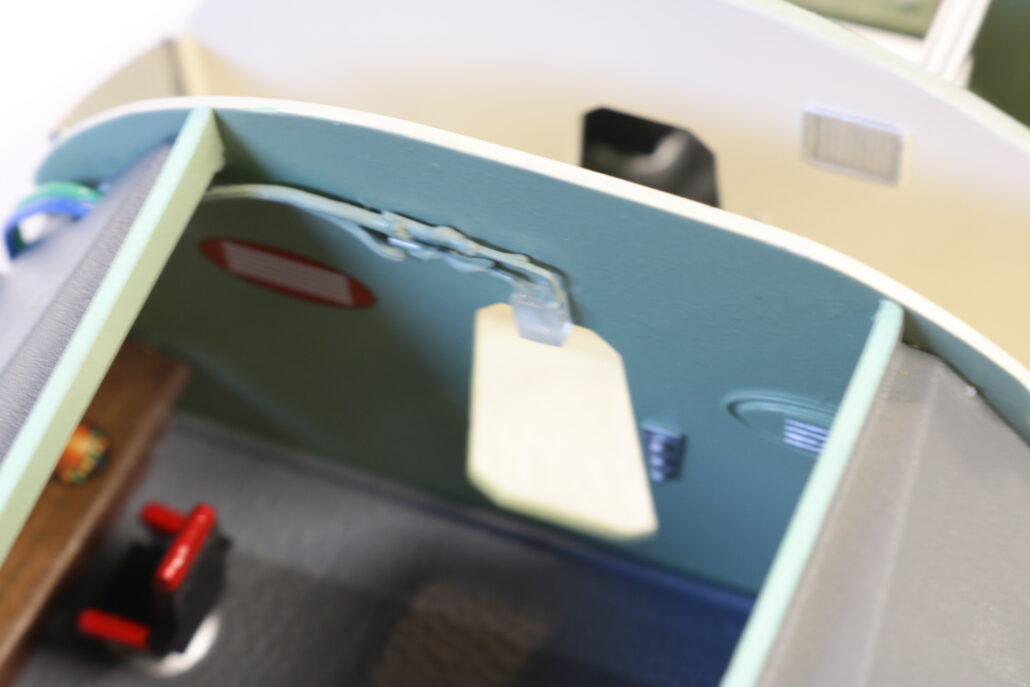
Reactor Wall:
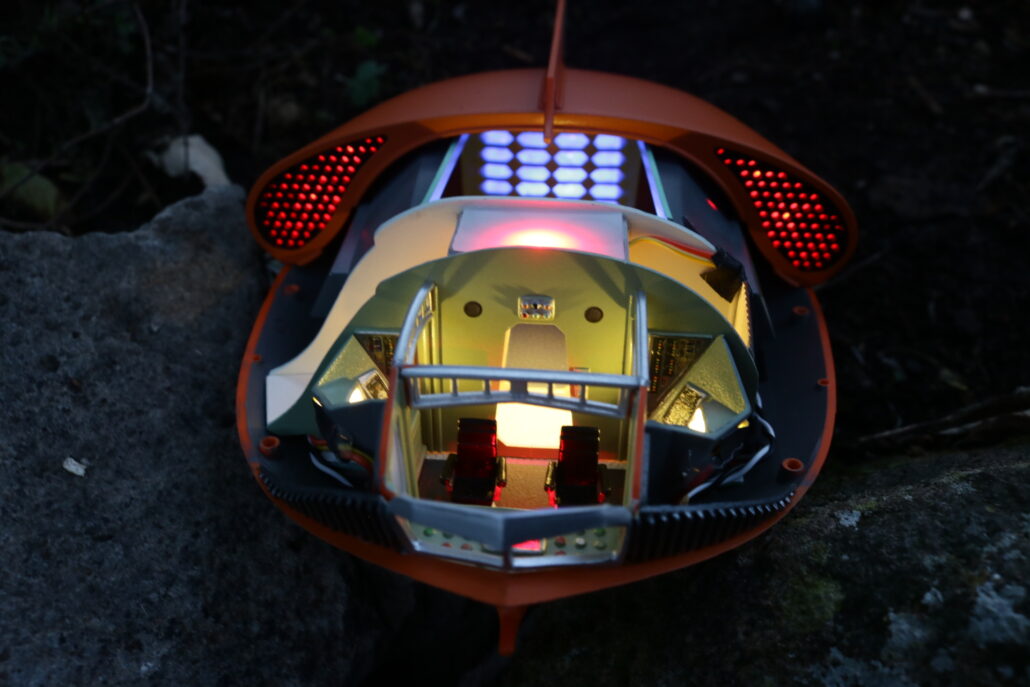
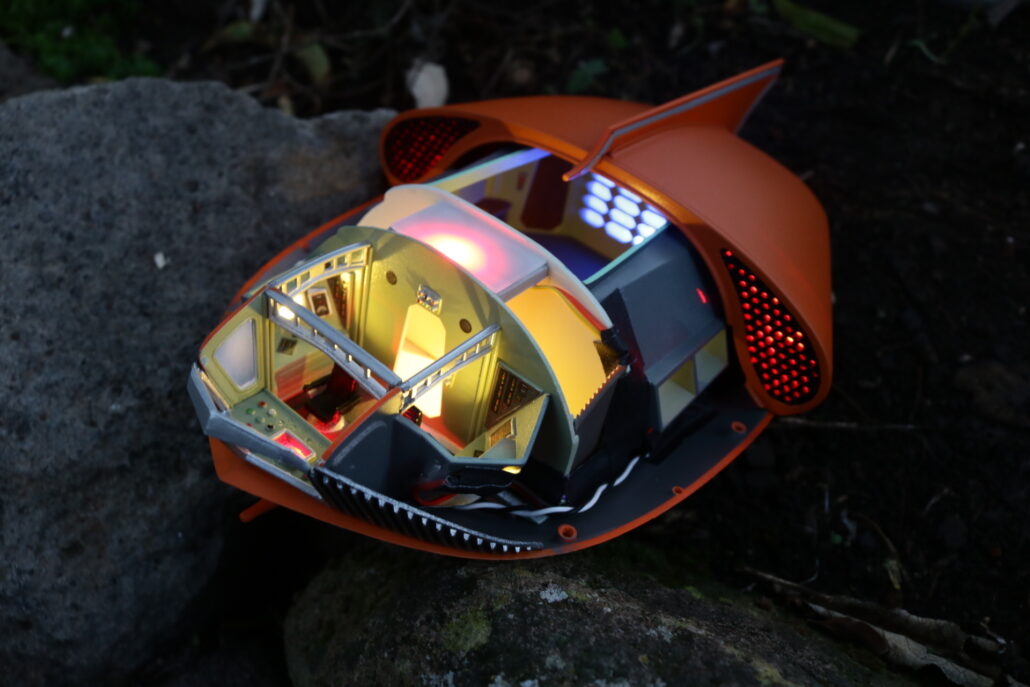
The back interior reactor wall requires a light box to be constructed to hold the light in. You will want to mount the blue led on the bottom of the box, having the led looking straight up. Use the 3D Diffusion material on the back side of the reactor wall, glue in place. It would be best to use the 220 Ohm resistors for effect in this area.

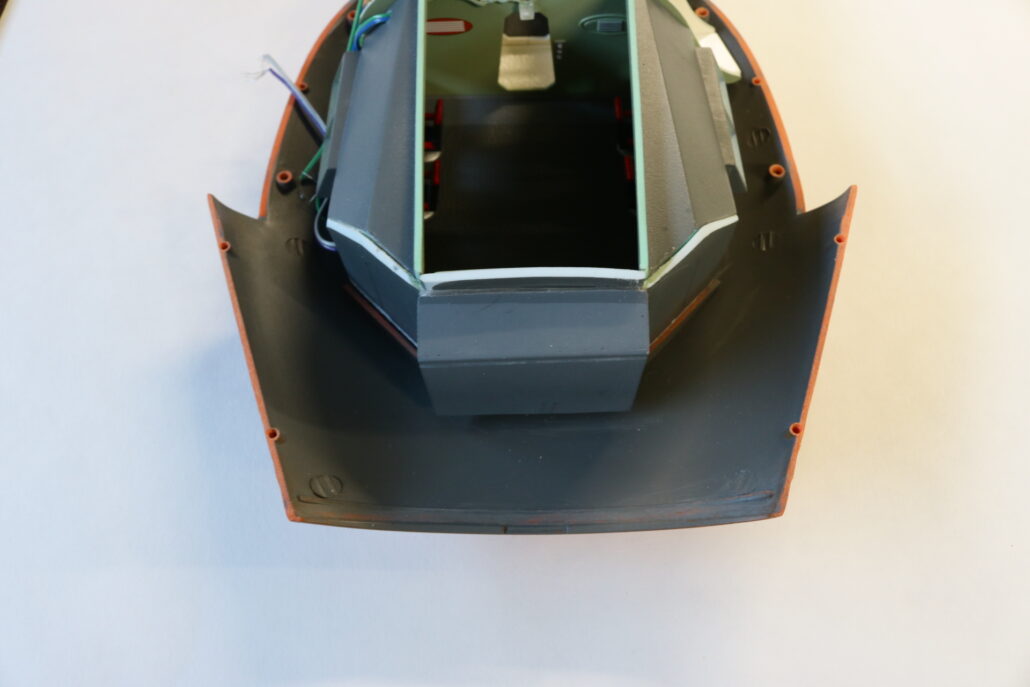
Cockpit & Passenger Area:
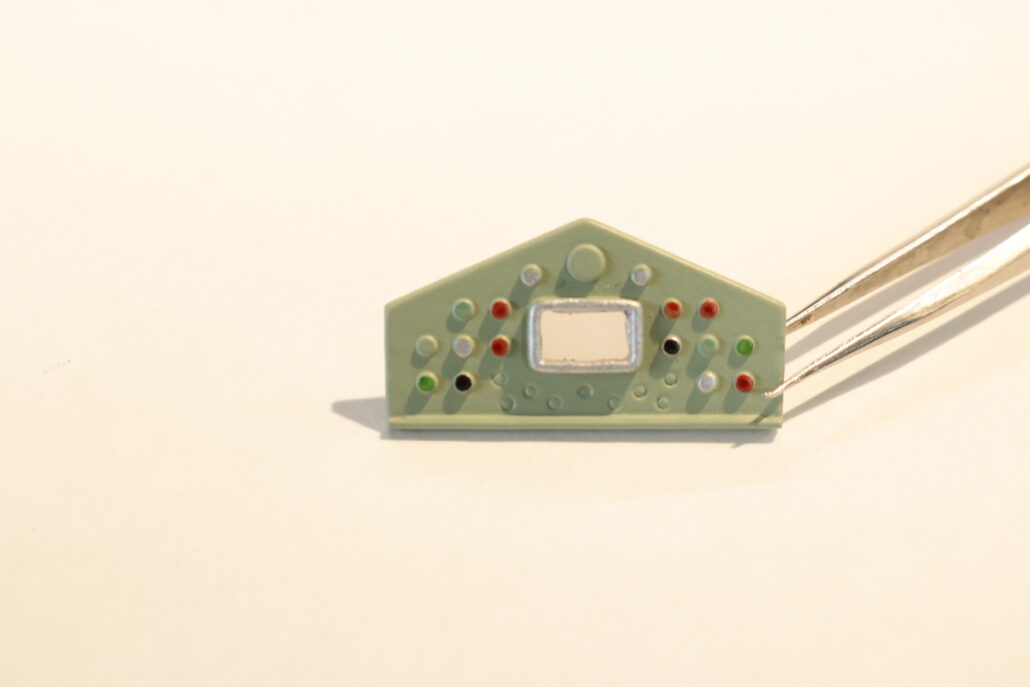
The front cockpit area has three main lighting features. One the main front screen & the two side monitors. You will want to use one red led for the front main screen, use a small piece of milky white diffusion material under the cut out of main screen. The two left & right side monitors is a warm white led mounted be hide diffusion material. The passenger are is also using one warm white led mounted on back wall above the doorway. It would be best to use the 1.5K Ohm resistors for a dimmer effect in these areas.
Dome Light:
The main center dome light is also going to use a red on light only. You will need to scratch build a led support for mounting the light above the walkway roof. It would be best to use the 220 ohm resistors for this feature. A small piece of the white milky material can be placed directly over the top of the led to make more cast light for the dome.


Circuit Board Wiring Diagram:

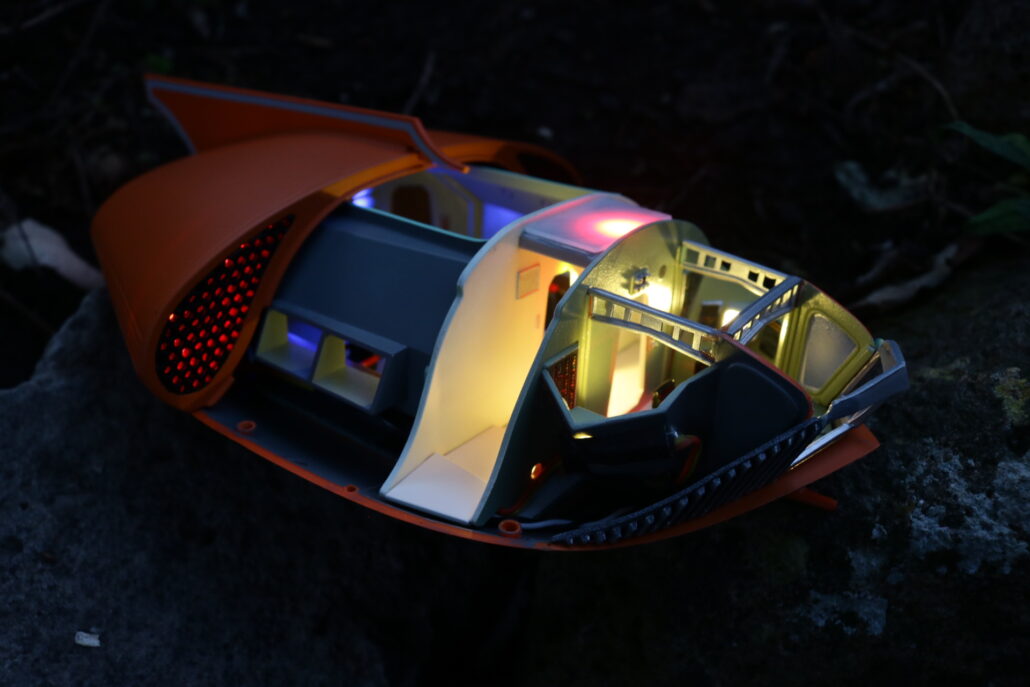
Finished Photos: