
Hasbro Falcon Build Part 2
Getting Ready:
This next phase of the build was removing the side panel areas and pre pairing the parts for fit up. I started by first removing the entire engine area, the next was the rear engine port & starboard side panels. I then moved up to the main cockpit area & engine side detail, the last sections where the front mandible headlight sections. Its best to have the aftermarket parts in hand before you start the cut out, this gives you a much better understanding of how they will be placed into the openings.
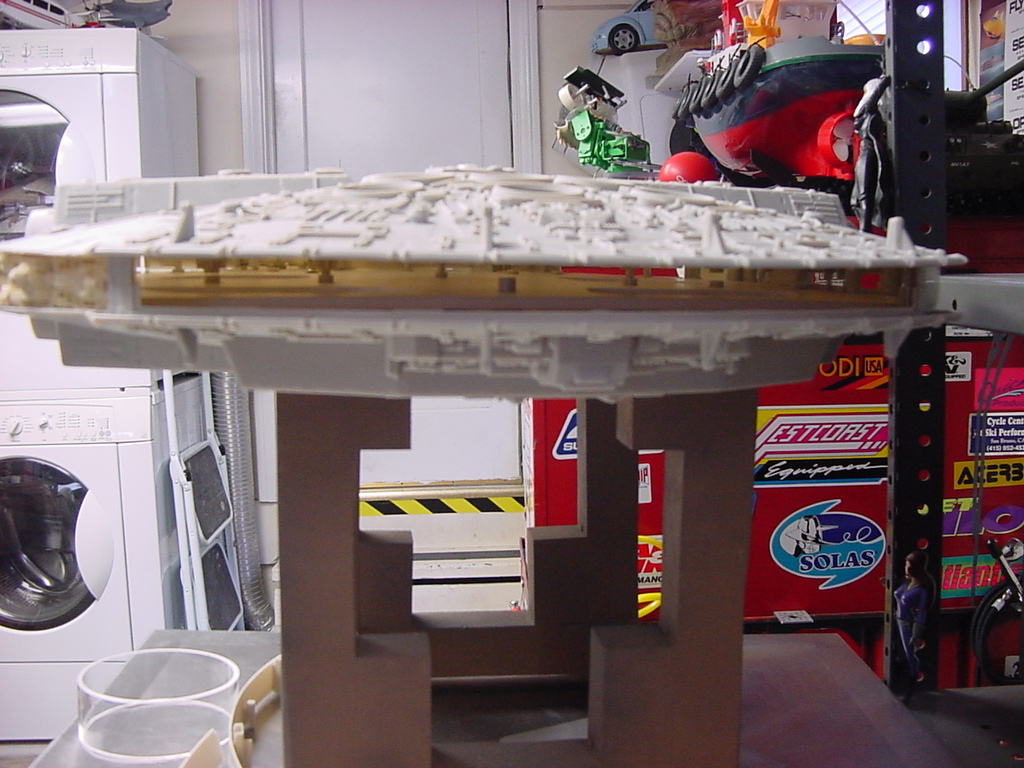
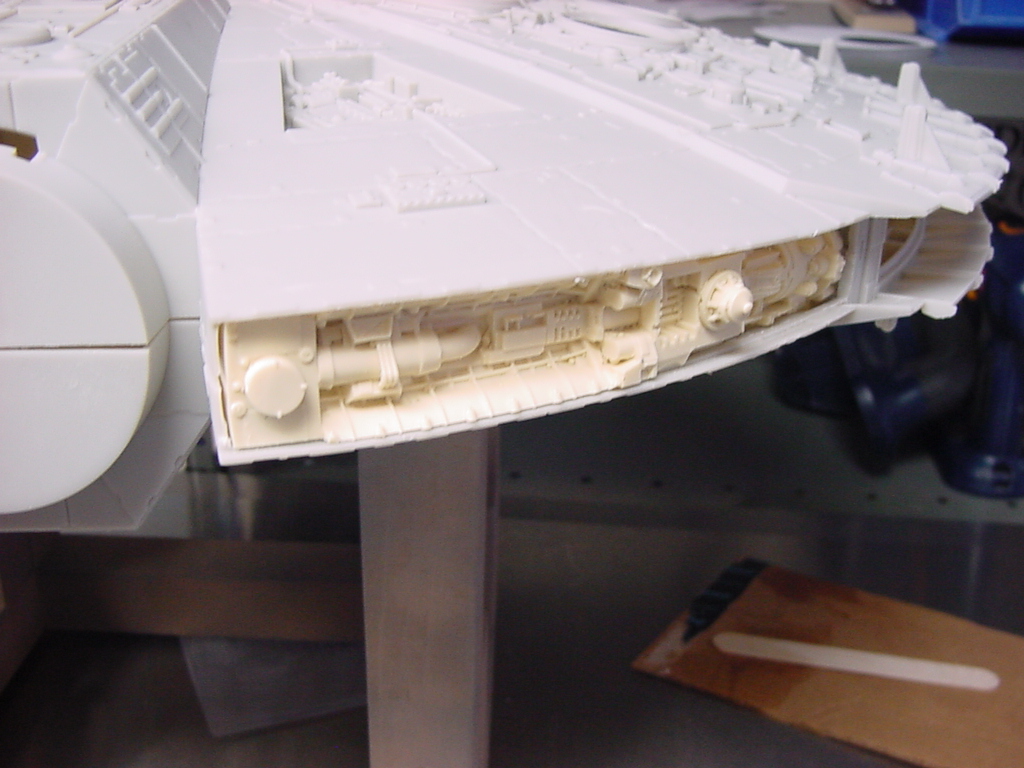
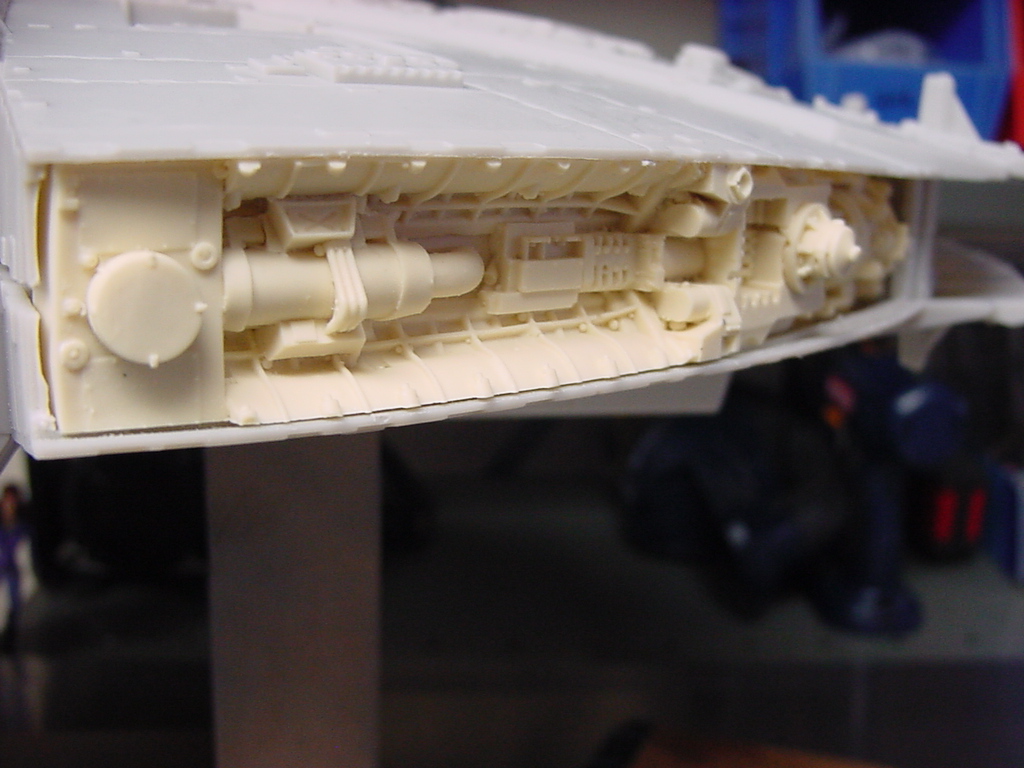
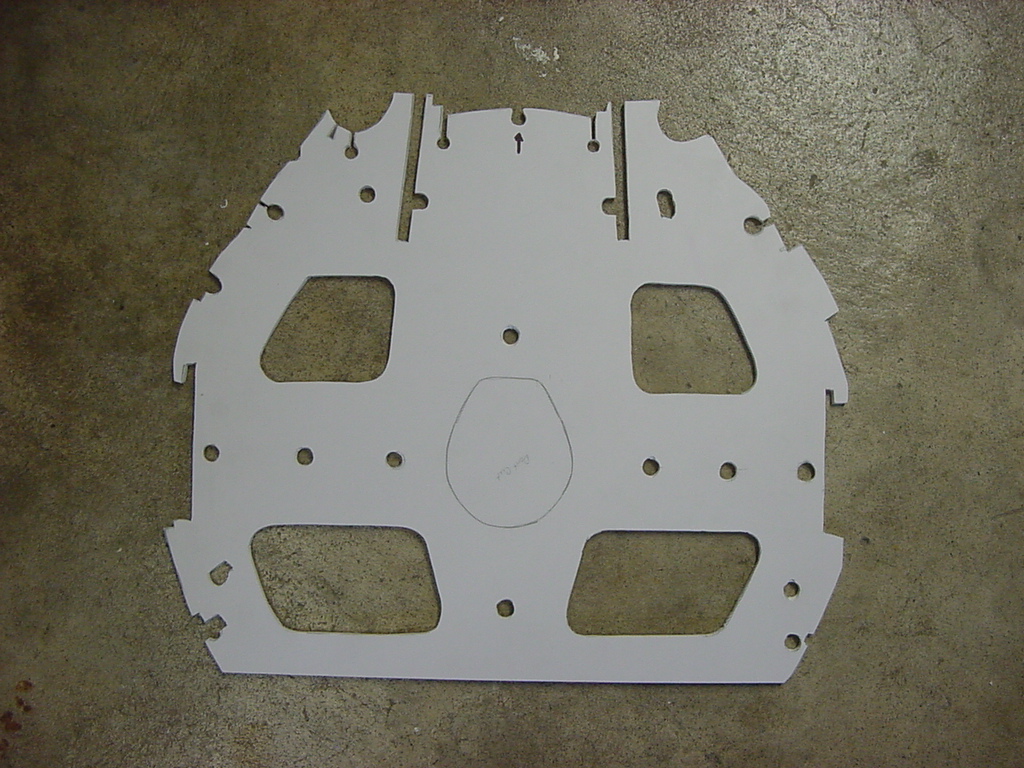
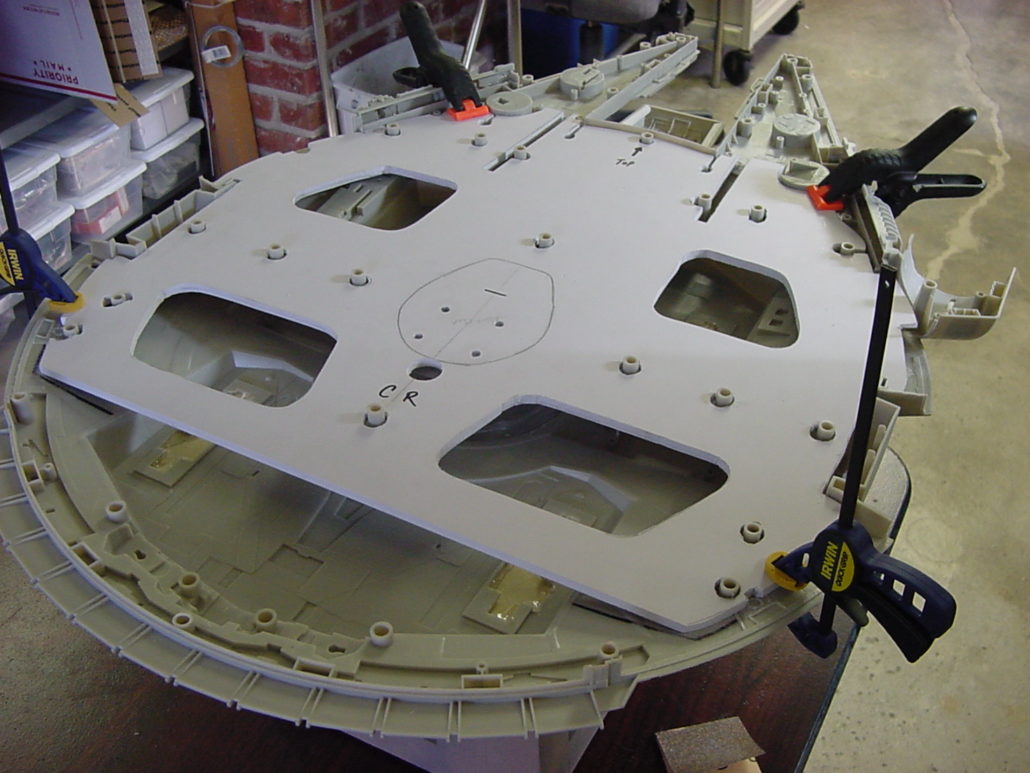
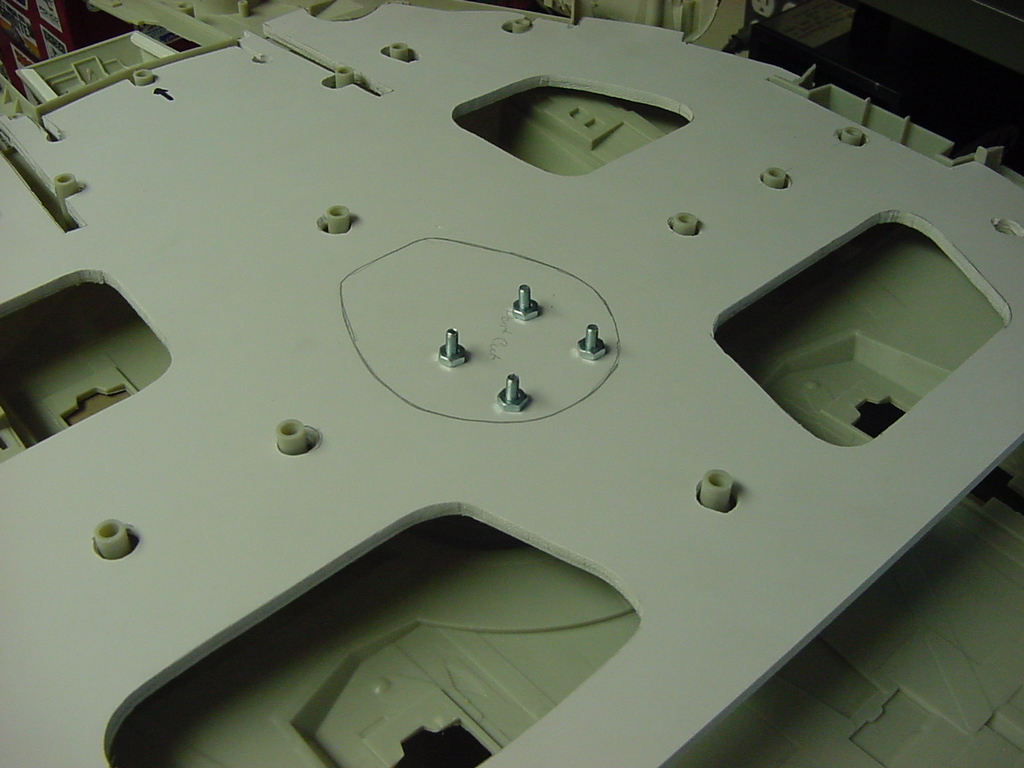
The next stage in the build was to make a mid plate to support all the aftermarket replacement side panels. This mid support plate will give a gluing edge to mount the side parts and better support the front mandibles. I used a piece of Sentra to cut the pattern out, it’s light weight, ridged and perfect for this application. Once you have test fitted the inner plate, make sure that is not hanging up the model half’s from closing. I used 30 minute epoxy here & there to tack it down. It does not like to stick to the model plastic very well, but when all the parts are glued on it seems to hold. I am also incorporating a hard mount through the base. I will go over in the next post.