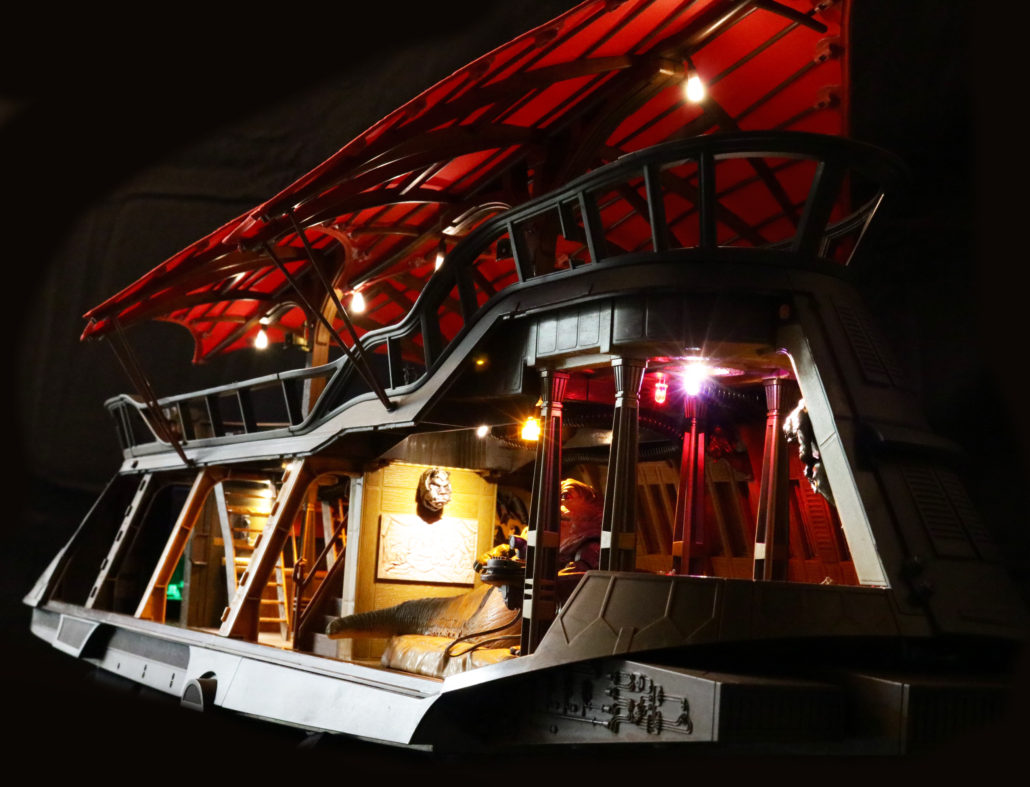
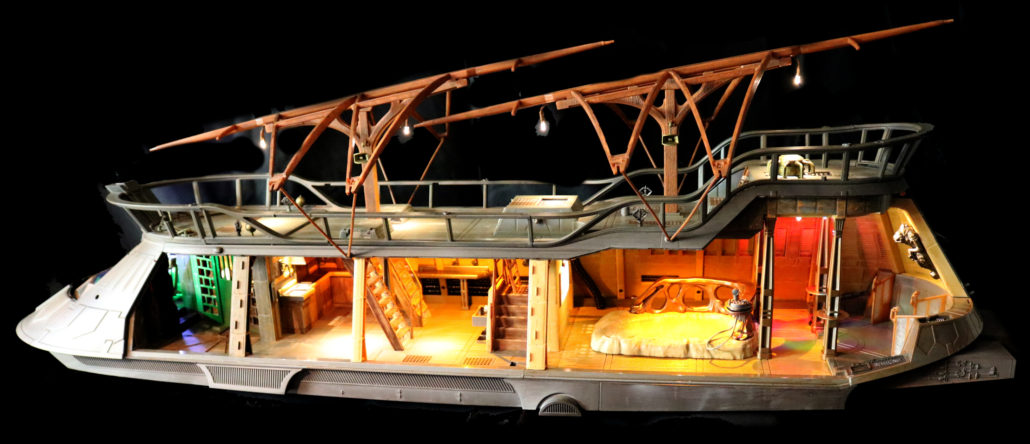
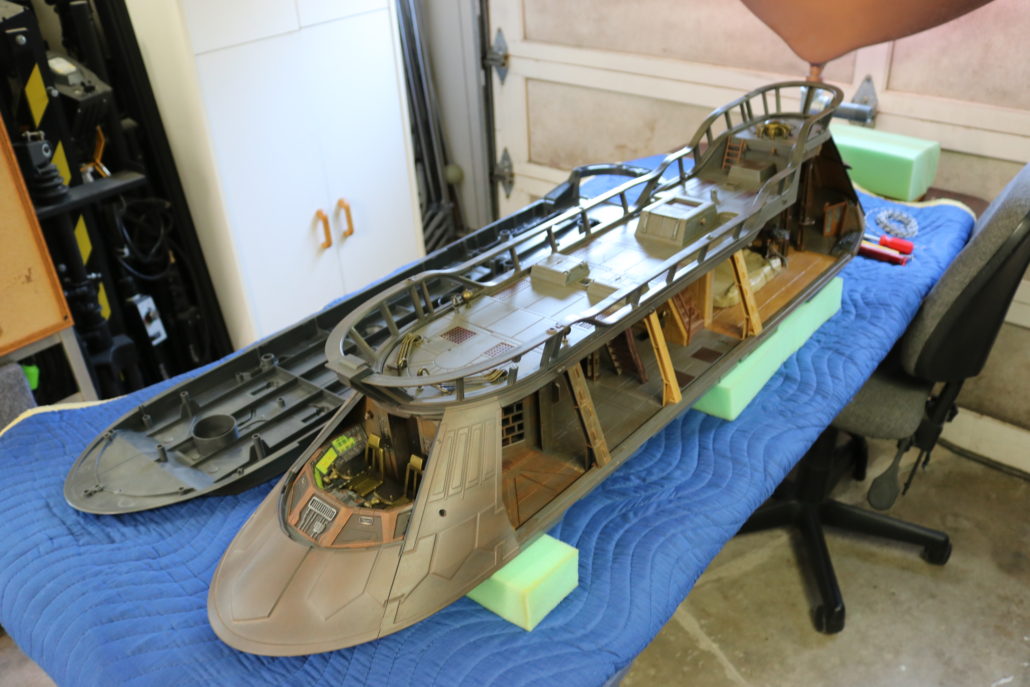
Jabba’s Sail Barge Lighting Kit
Getting Ready:
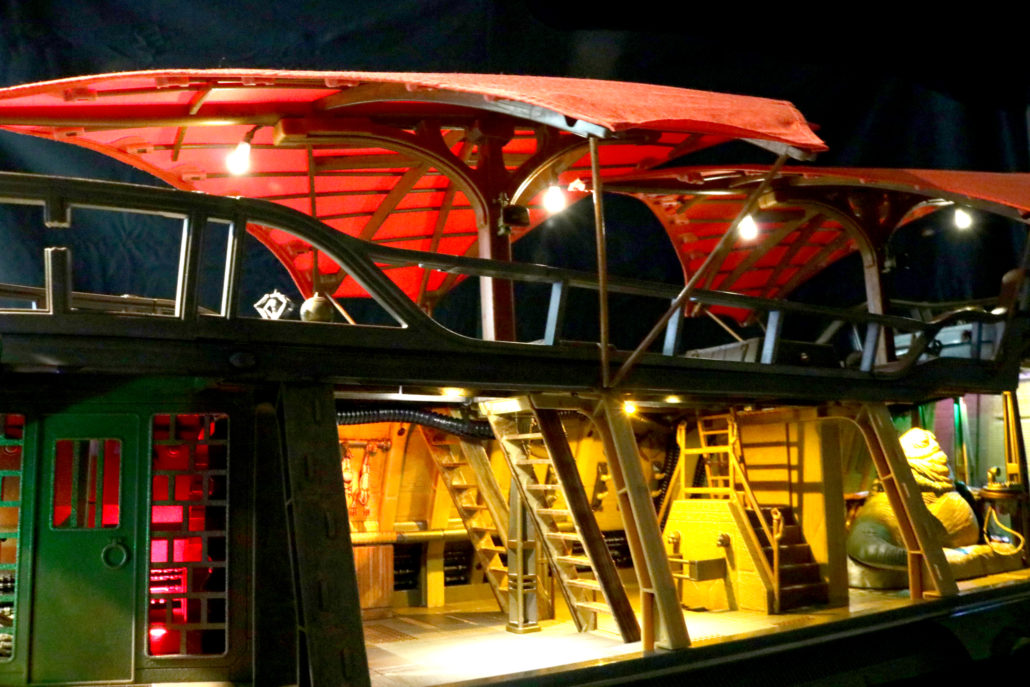
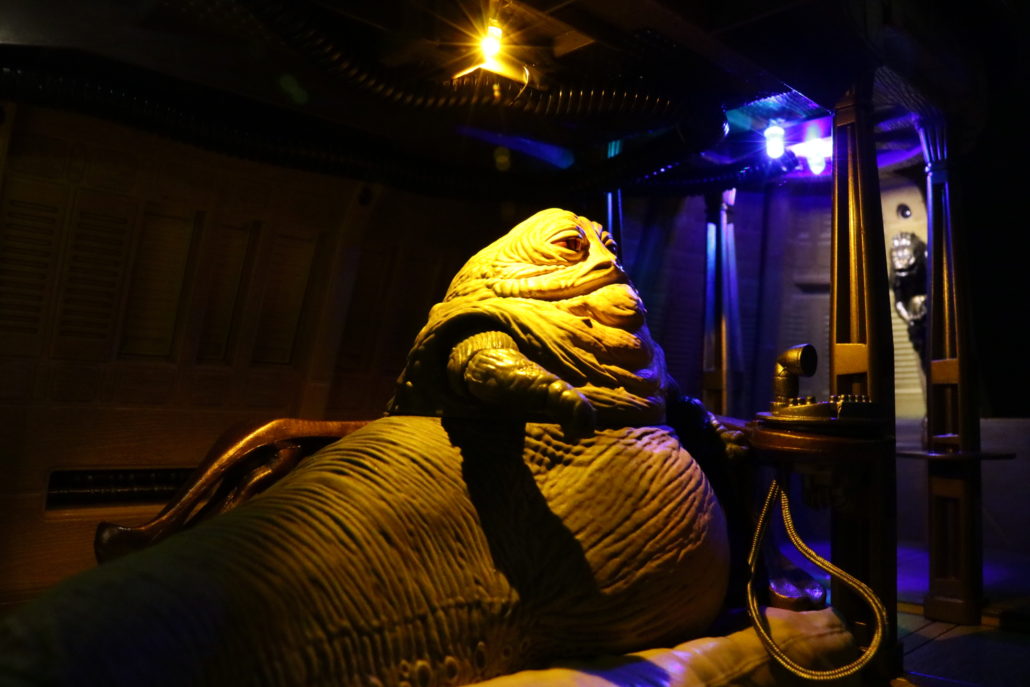
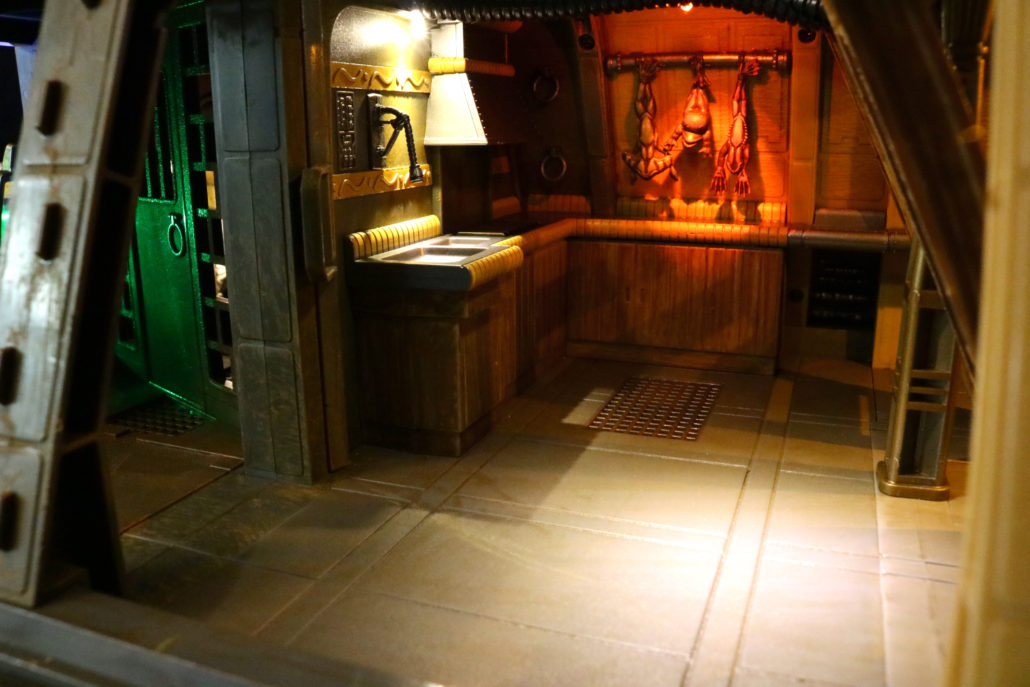
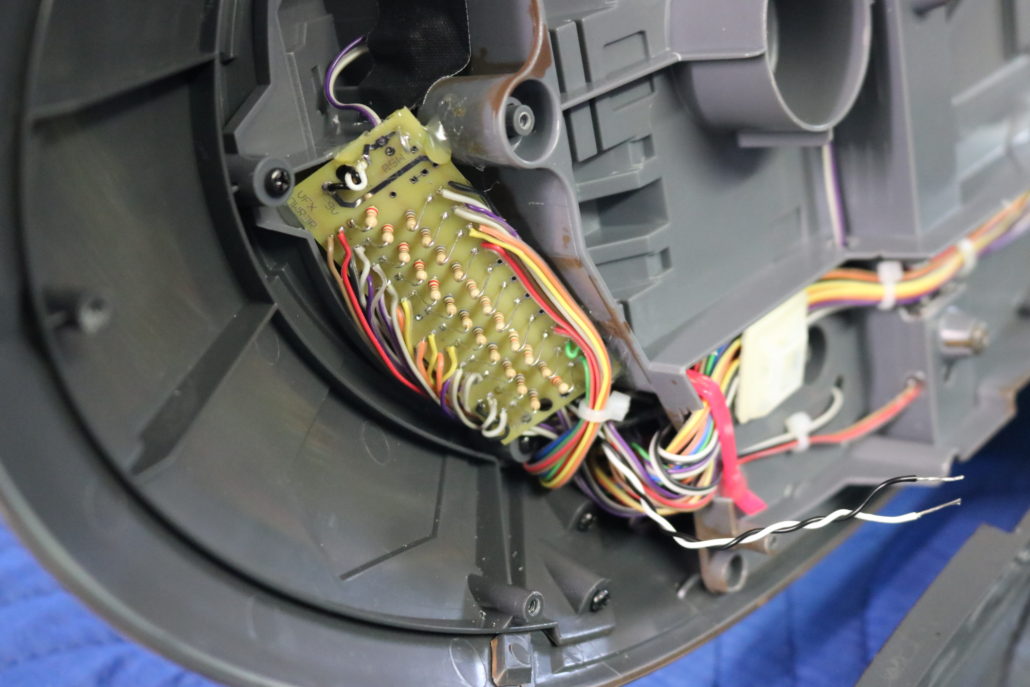
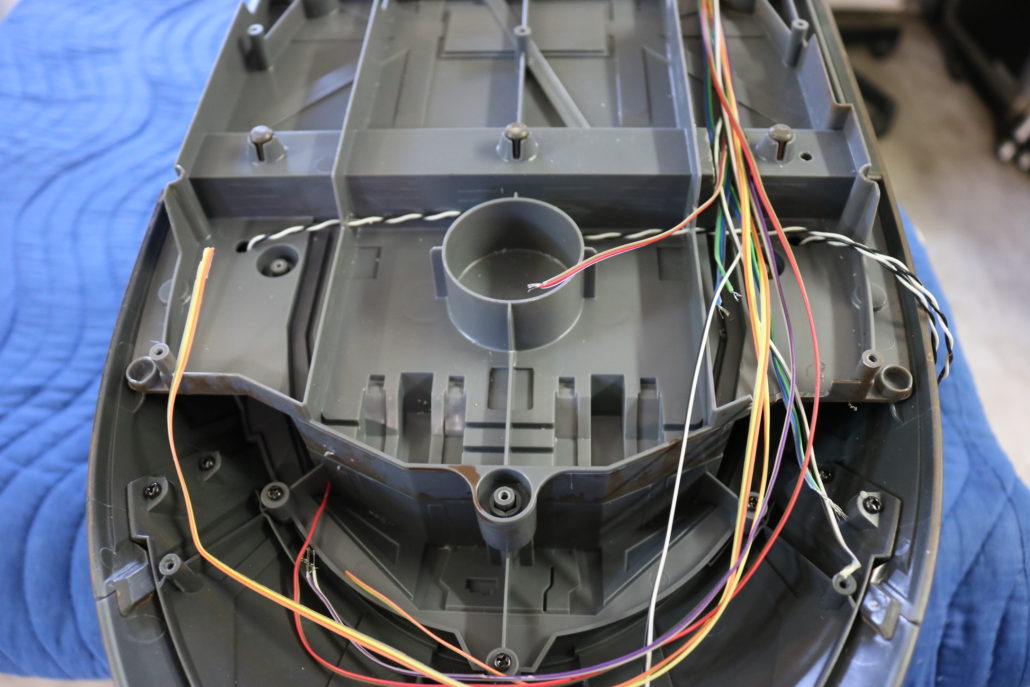
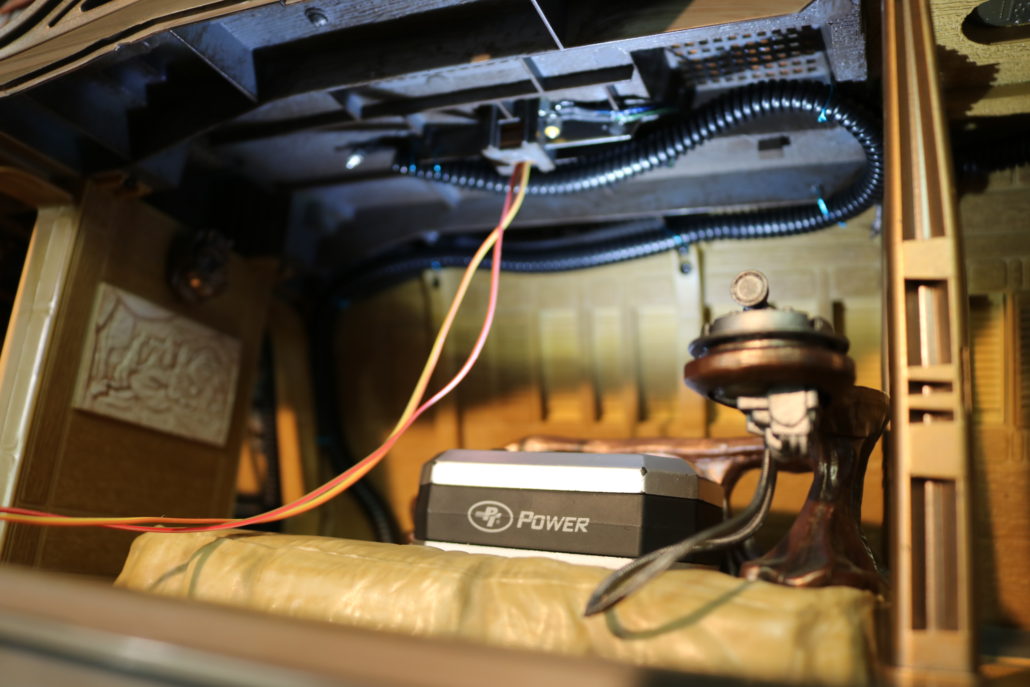
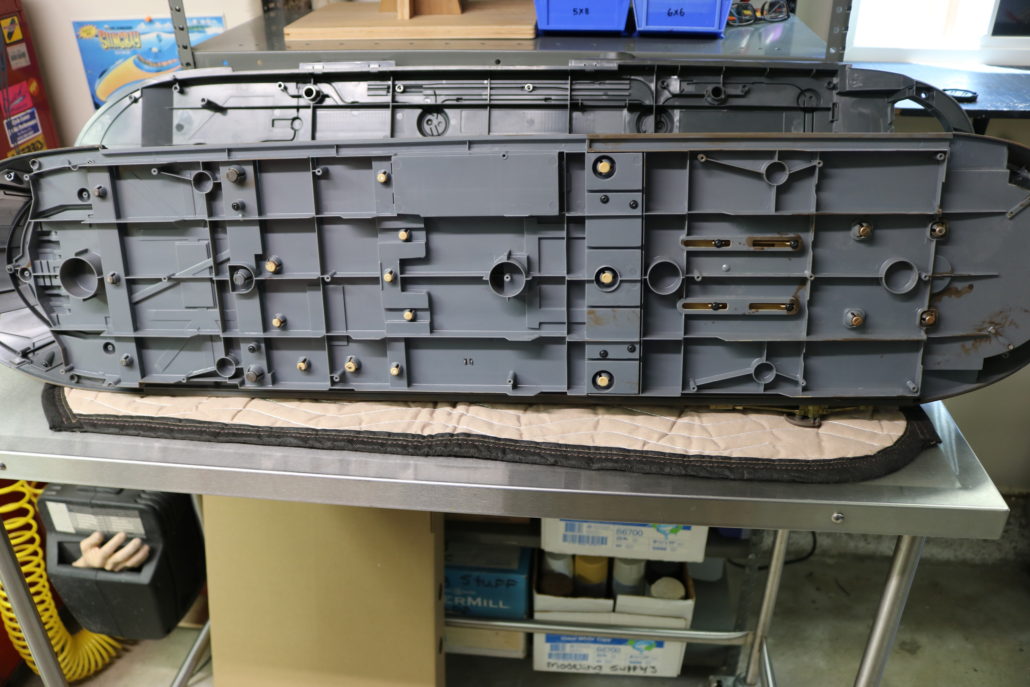
Lighting the Haslab Jabba’s sail barge. This style interior model lighting system can be tailored to fit many applications, for this project; let’s call it “compartment” lighting. A good place to start is by drawing out a rough plan of the zones you will be trying to light. Take into consideration where you will be hooking up the main power to the model; the on/off switch can be planned at this stage as well. Next find the most open and accessible point in the model, this will be the area to house the main LED driver or effect boards. The circuit board becomes the main hub for all the lighting effects, all the leds will be fed from this central location. It is advised to have an open access panel for the circuit boards if possible. The circuit board has ports for different resistor values to be used in the circuit, giving you the availability to control the light output to each individual light source (LED). Most kits come with 220 ohm resistors which will produce a bright lighting effect, or you may also have a 1.5K ohm resistor which produces a dimmer or duller effect. Depending on what effect you’re looking for; use the appropriate resistor value.

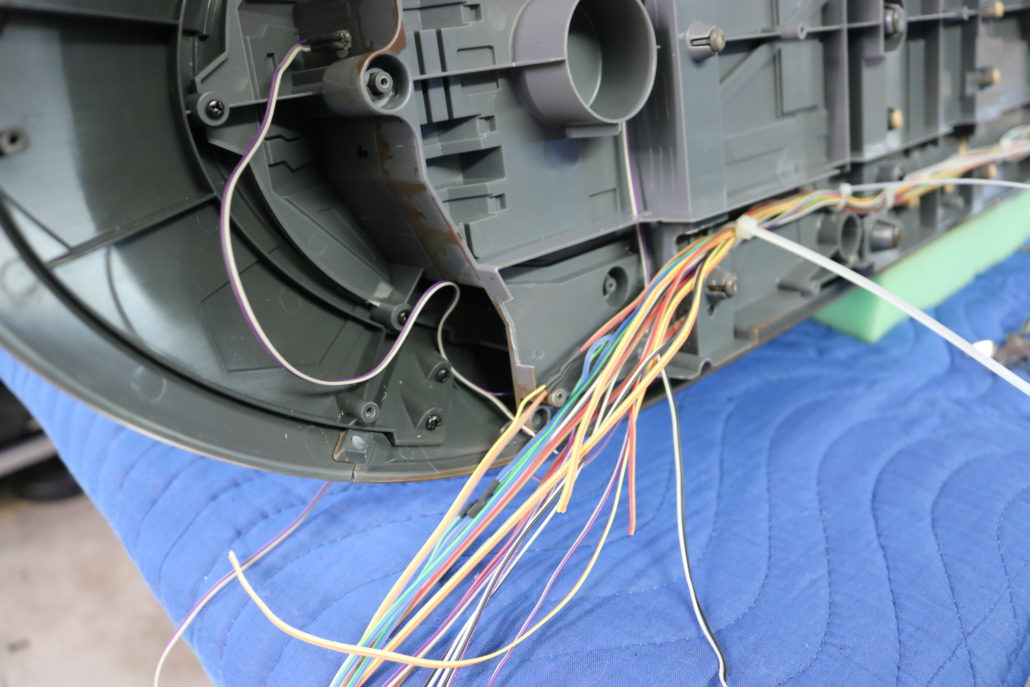

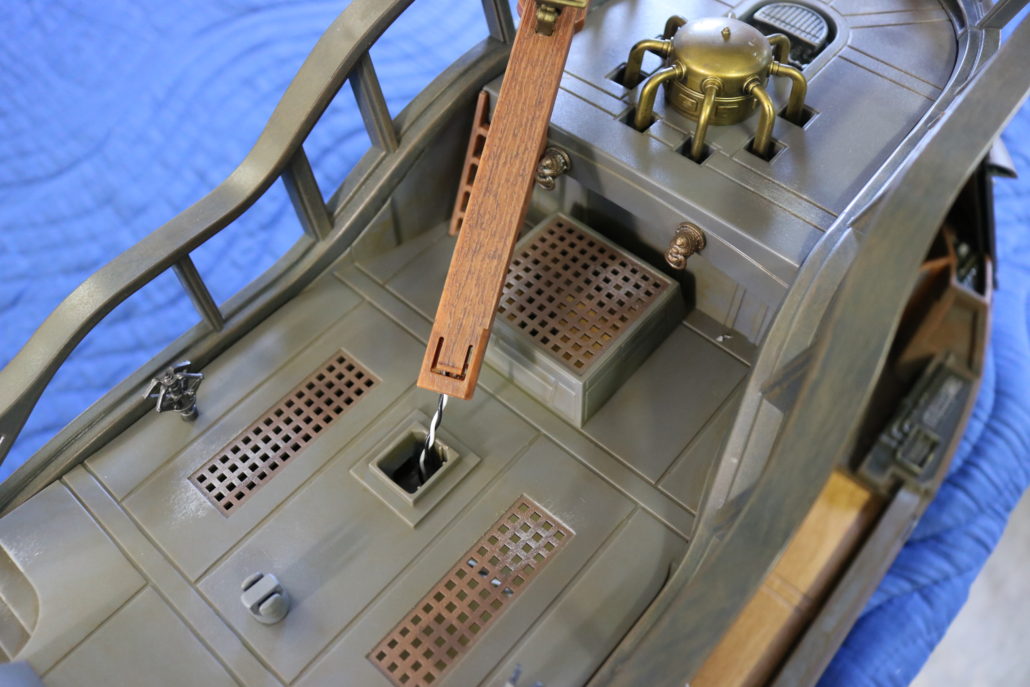
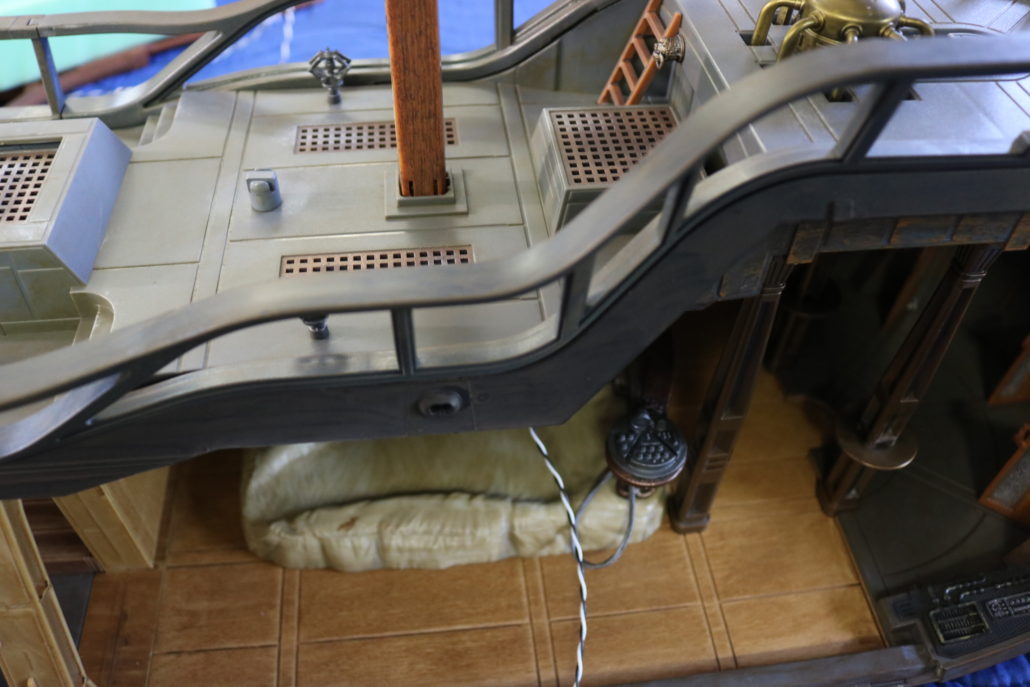
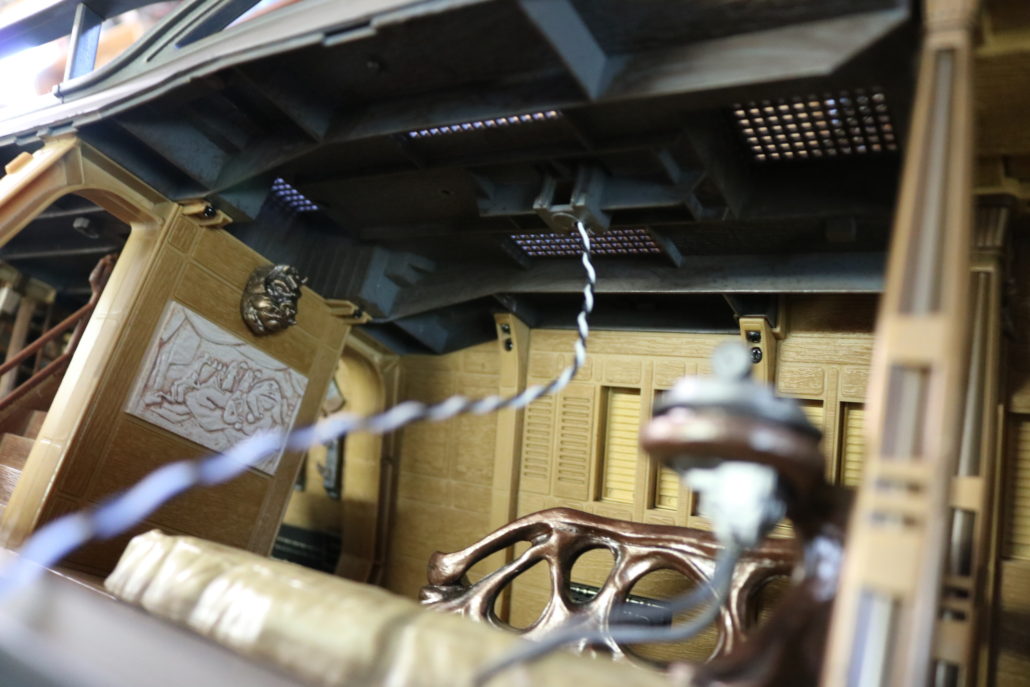
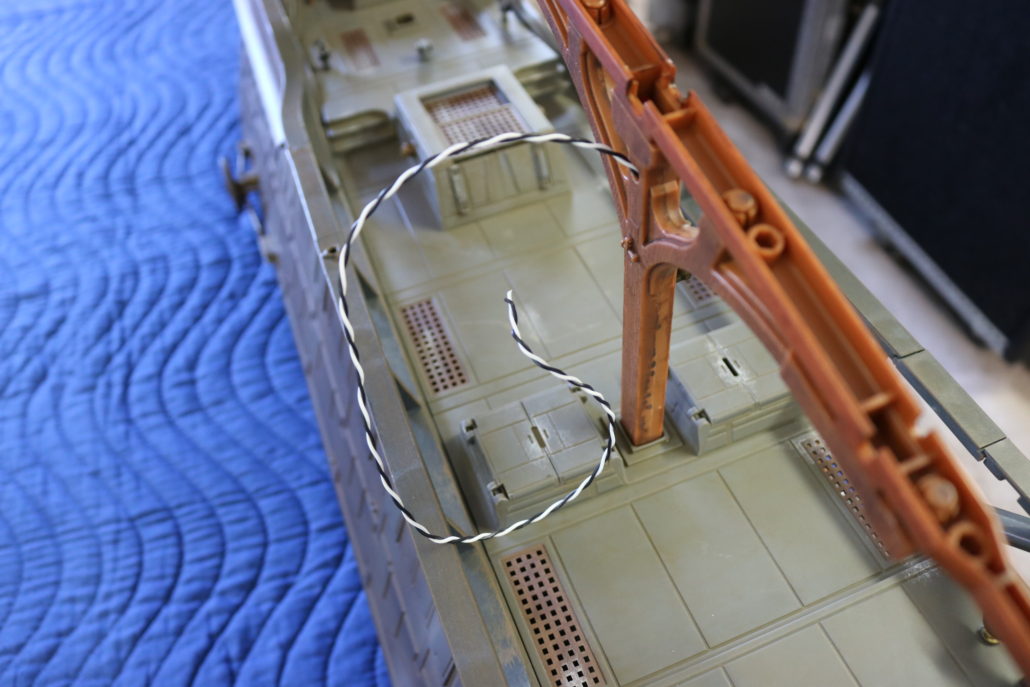
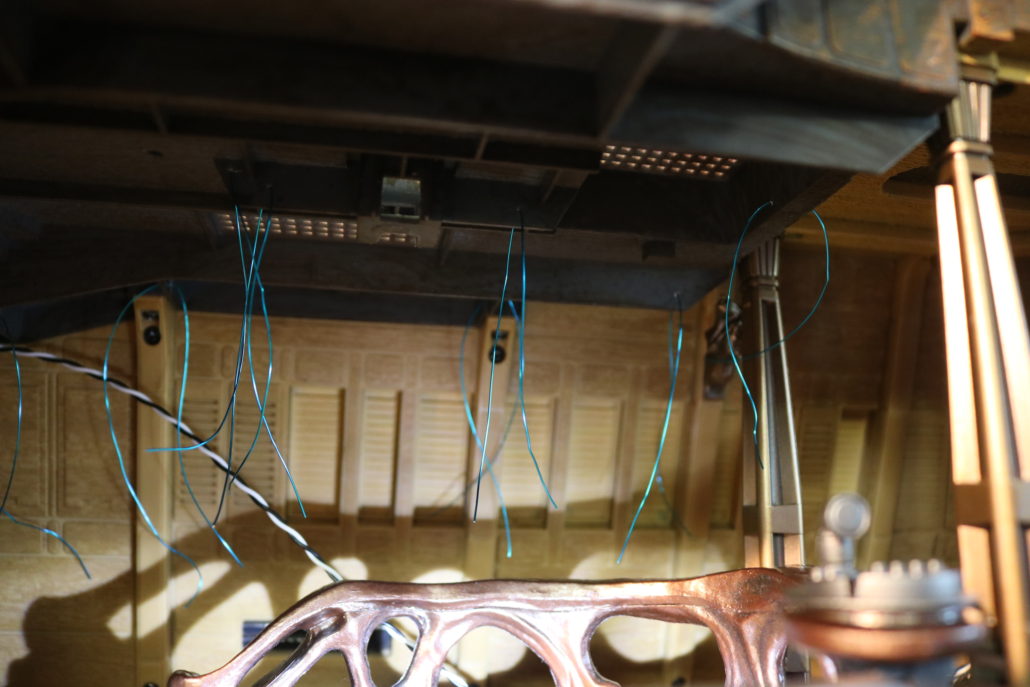
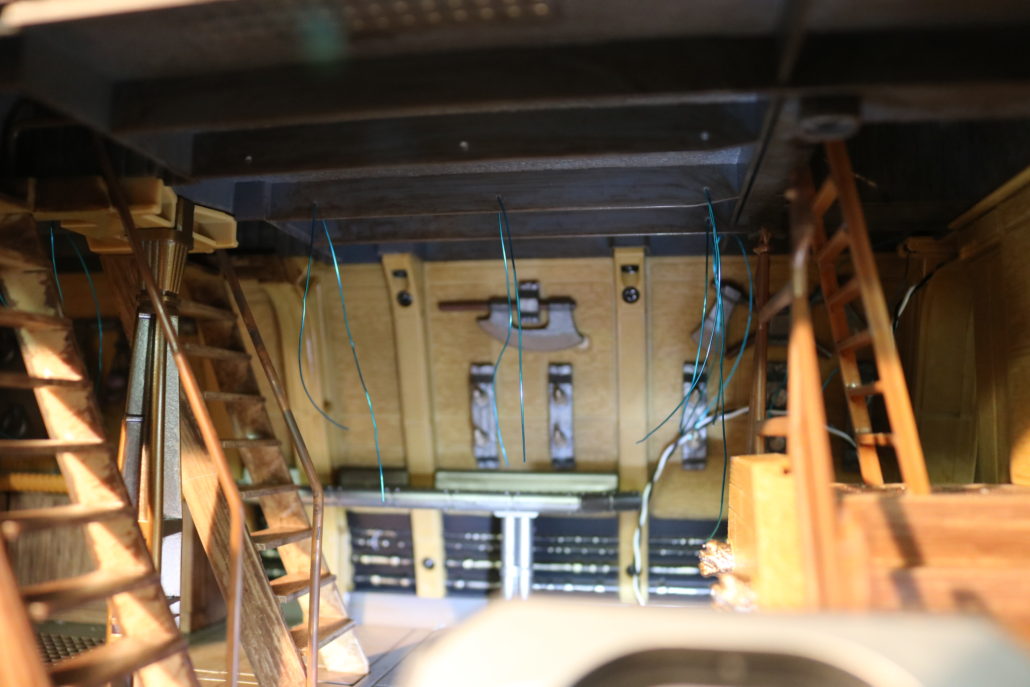
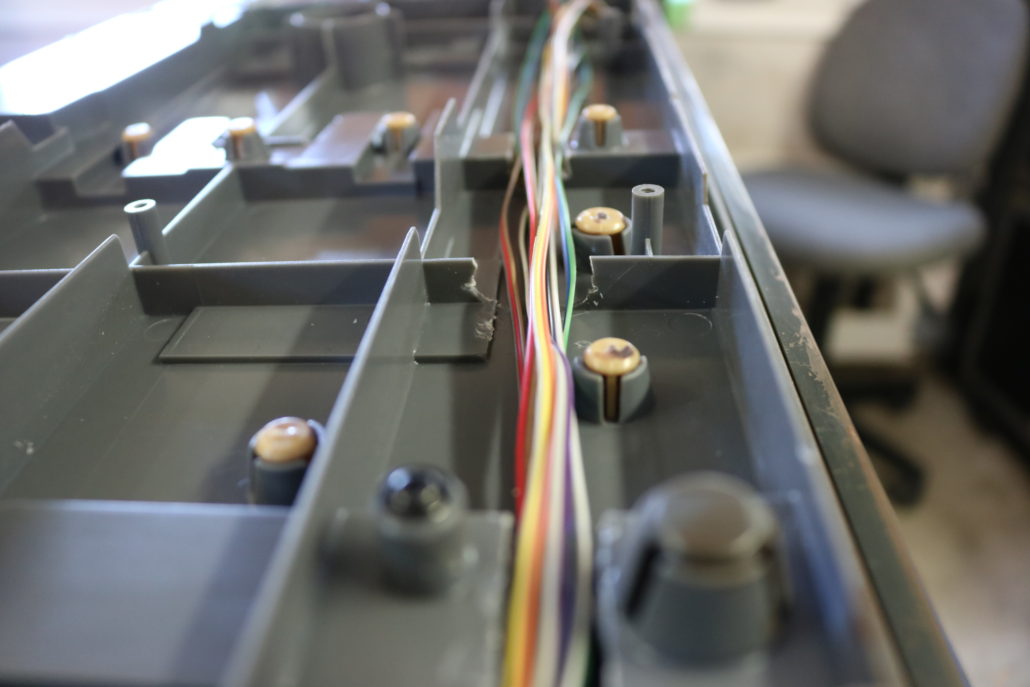
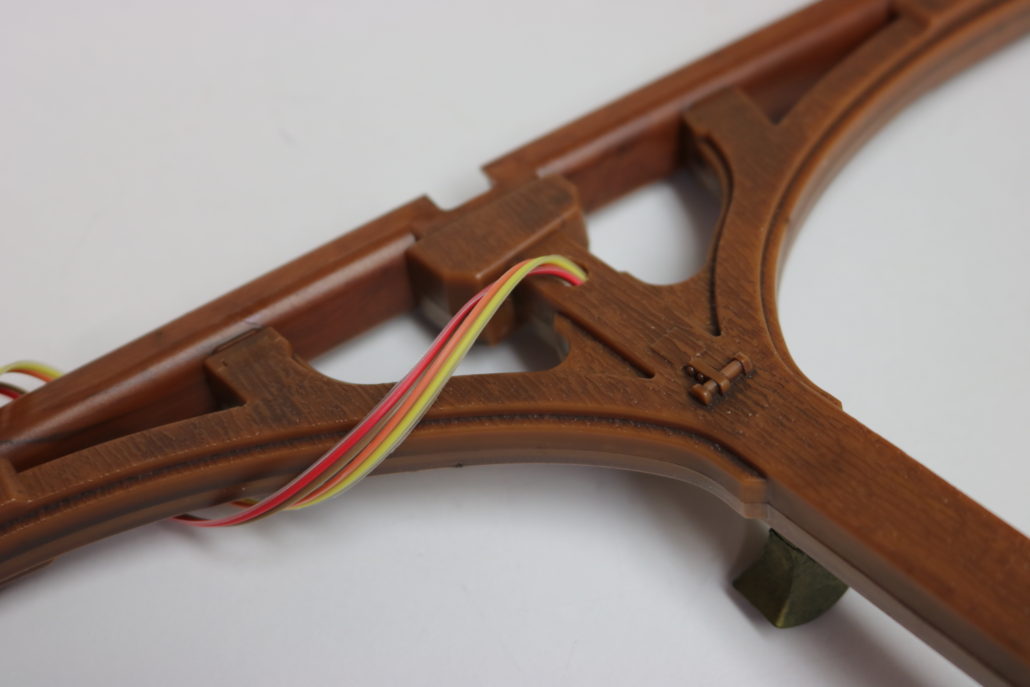
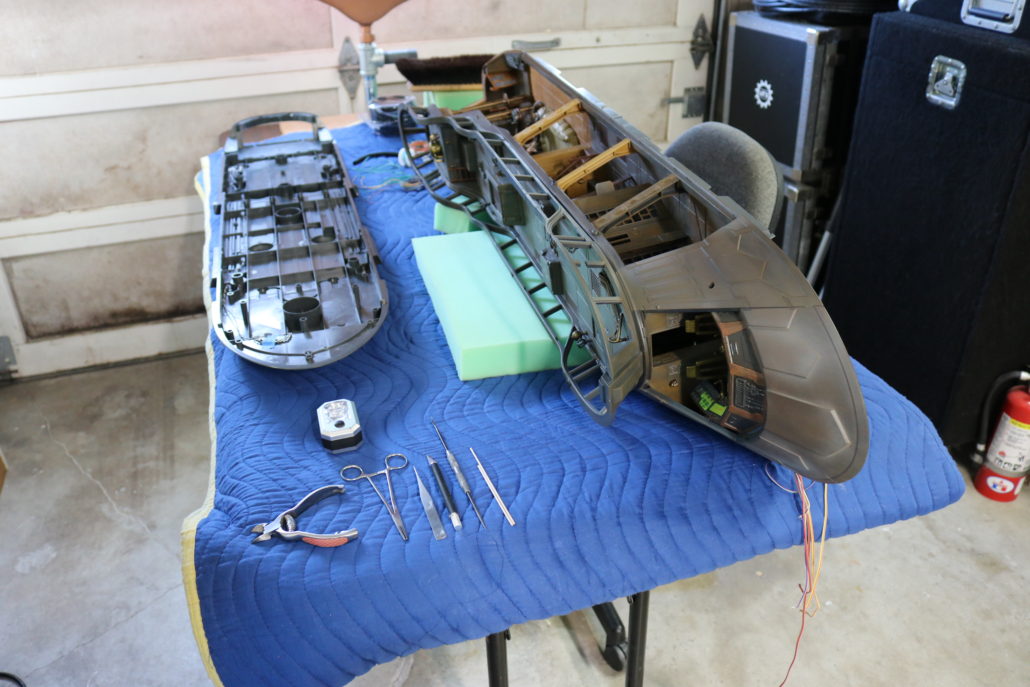
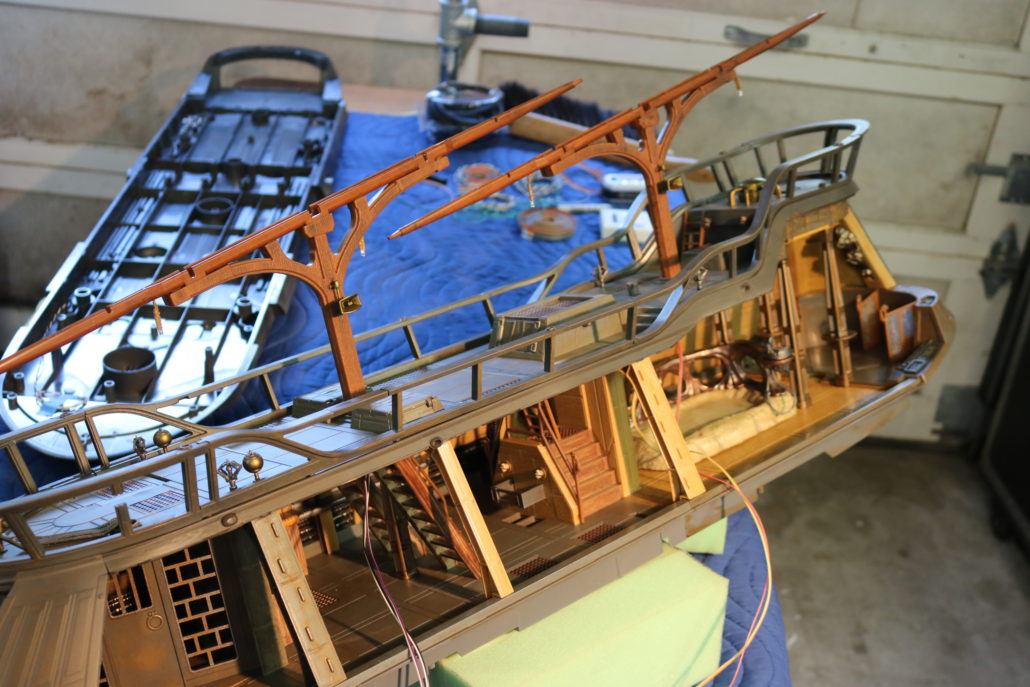
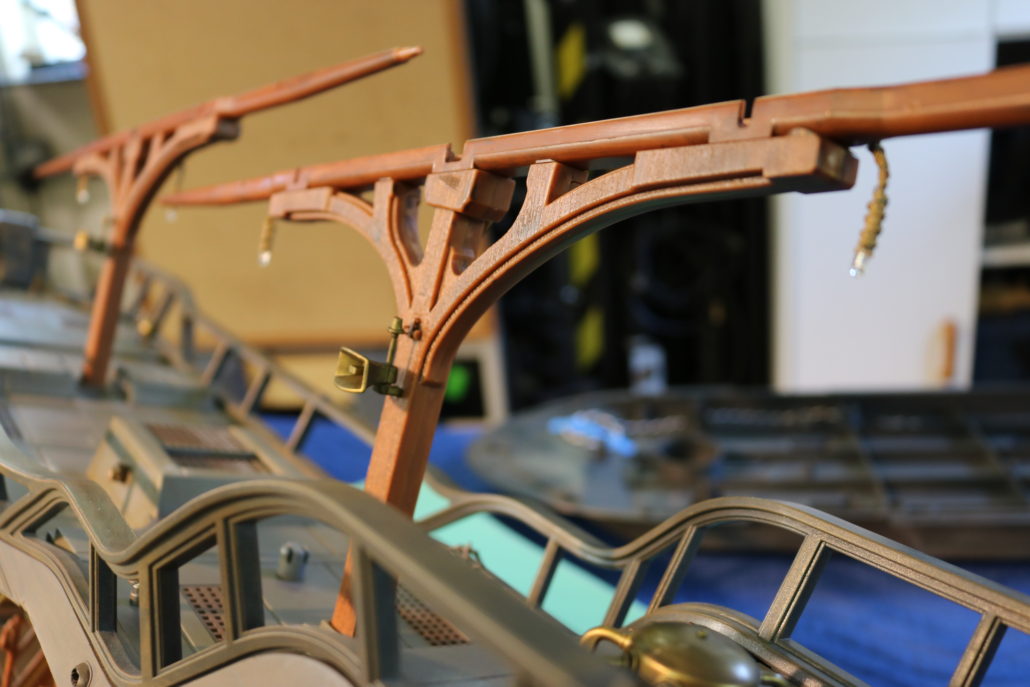
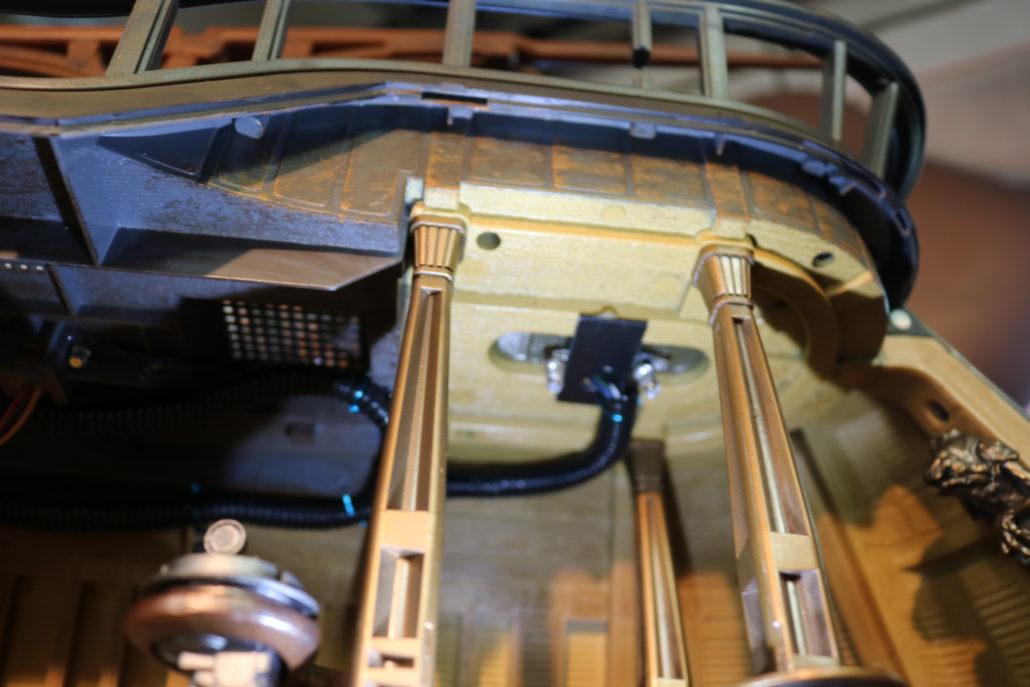
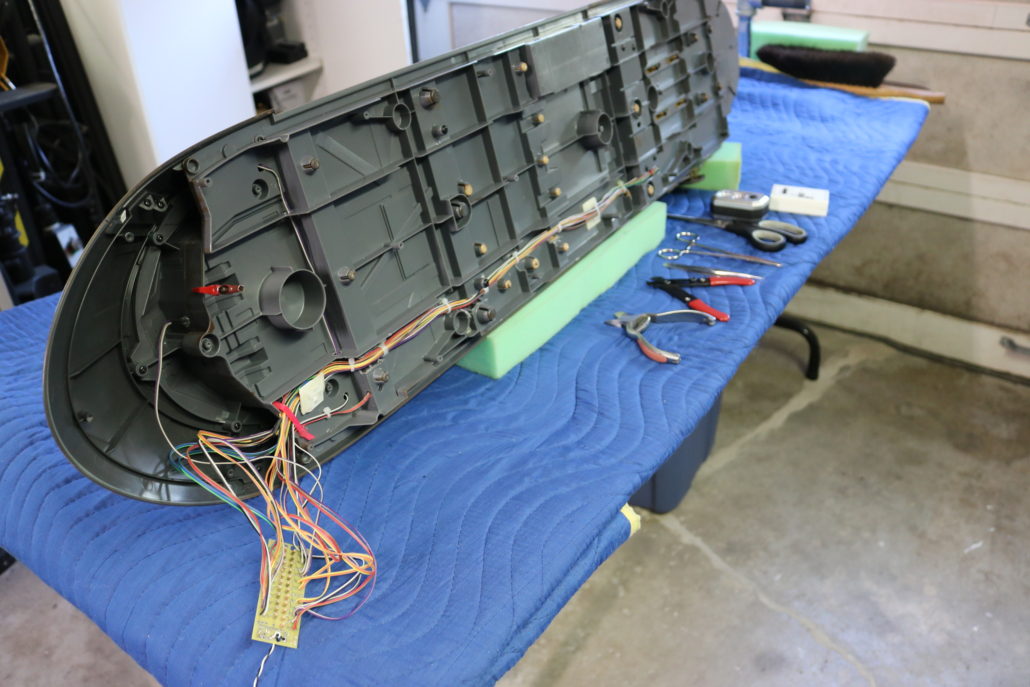
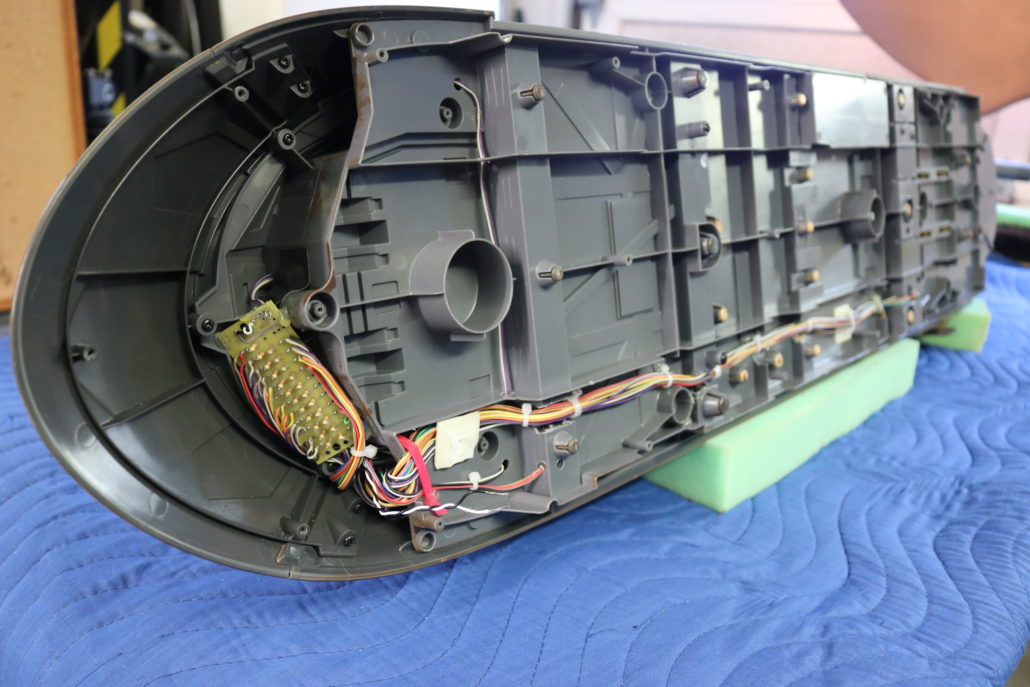

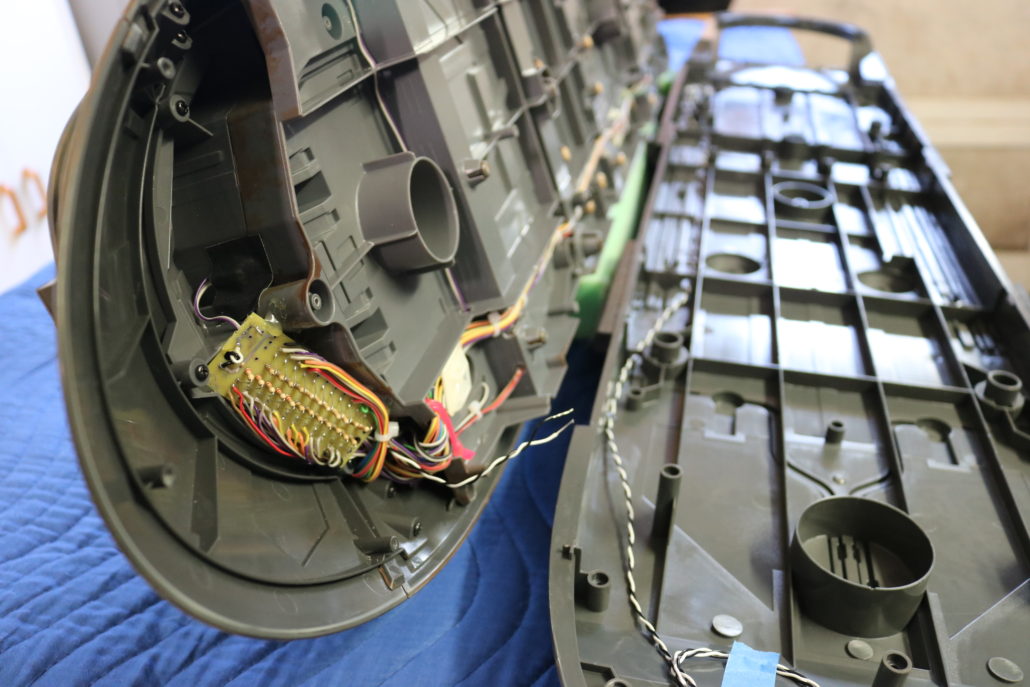
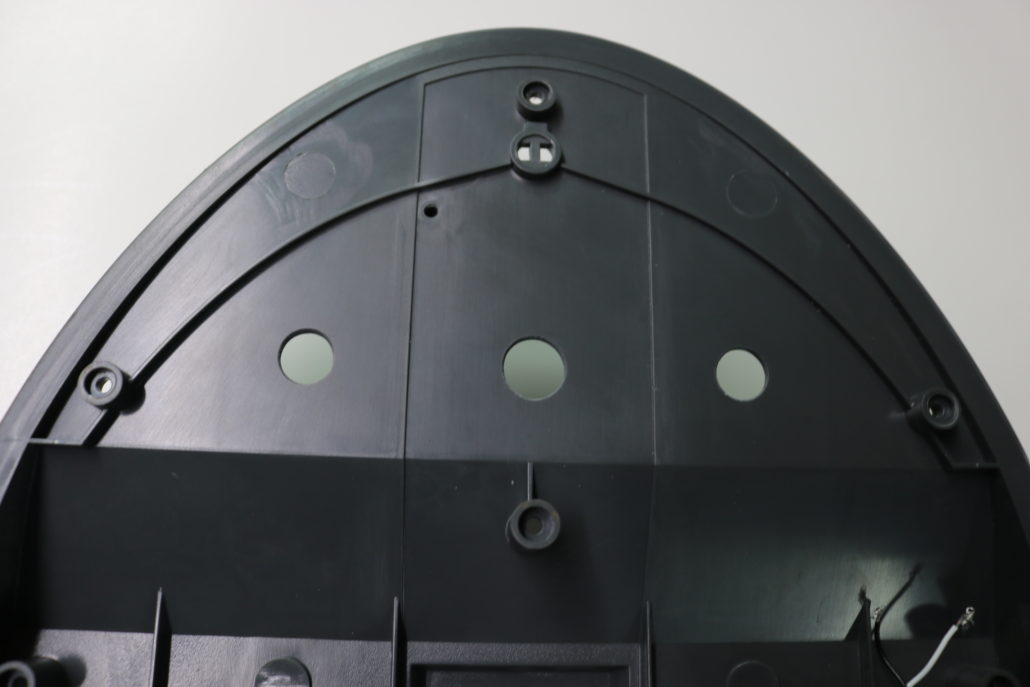
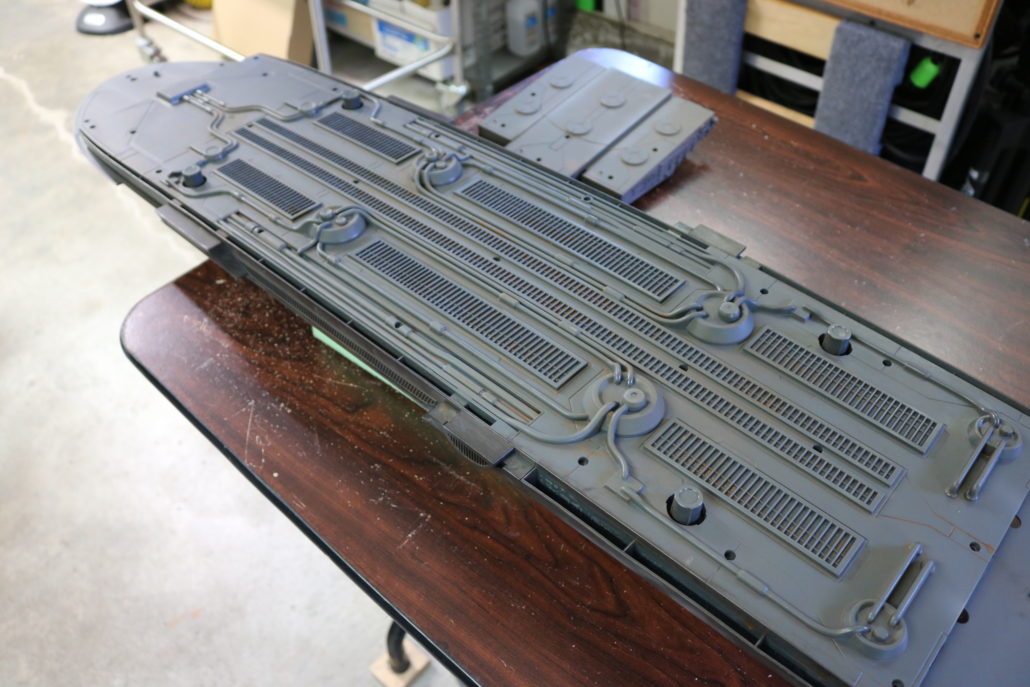
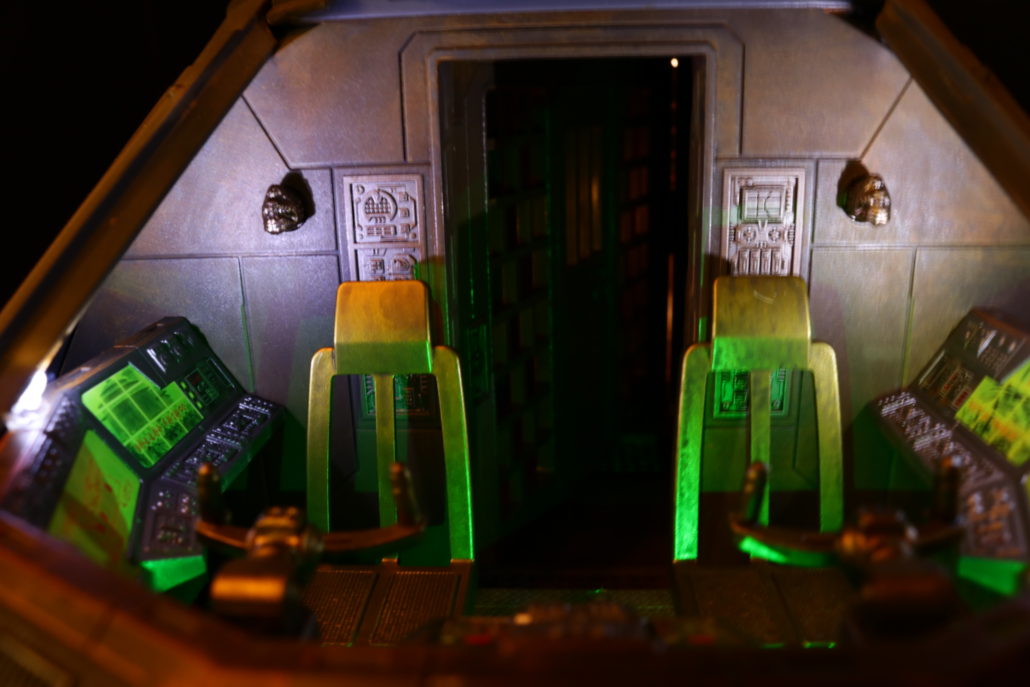
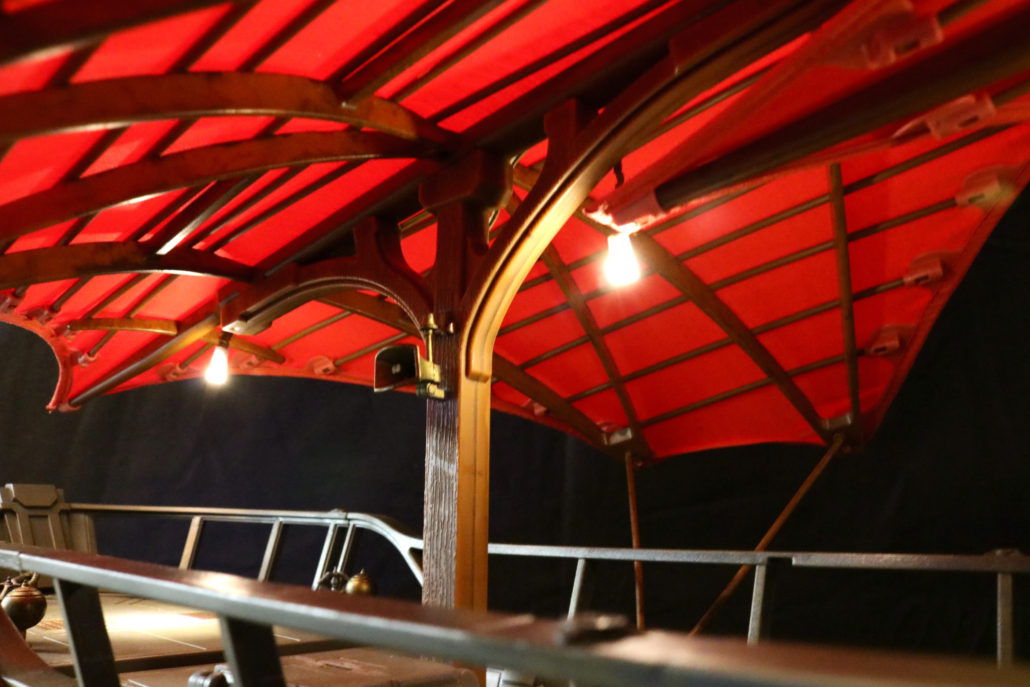
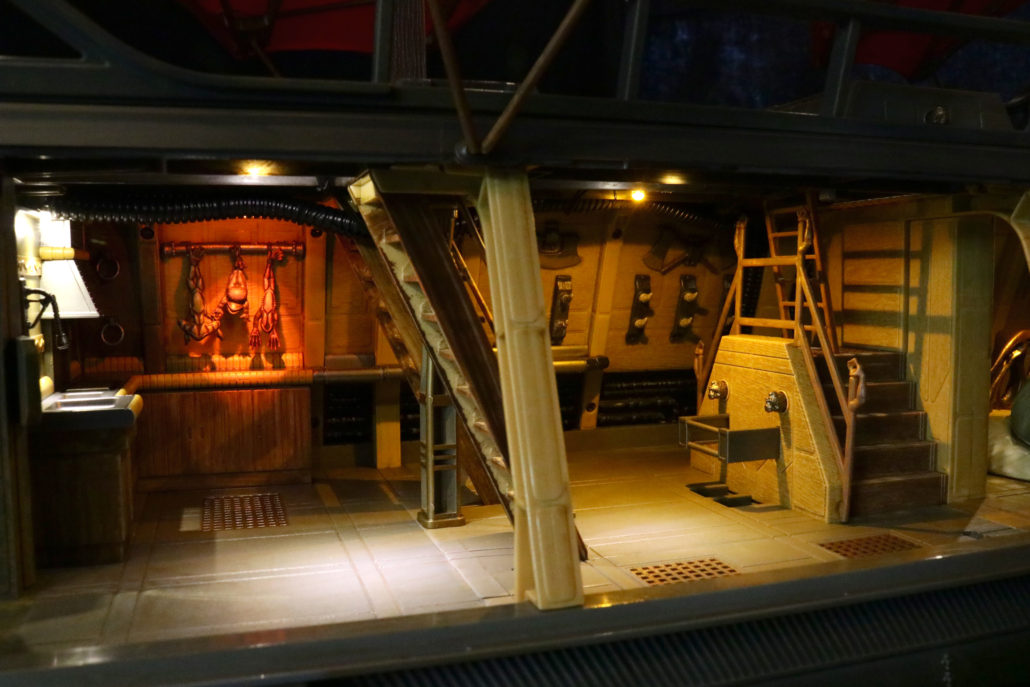
In most cases, interior model lighting is based on LED placement in the area to be lit. If you have open access to the back side of interior walls you can do a test mockup to find the best area to light. Try to prefabricate as much of the lighting where you have full access. It is good practice to test lighting as you go to make sure you have the LED’s properly connected & operational. When running wire, try to keep in mind that parts of the model will need to be modified to access wire. Avoid any pinching or kinking of the wire, and drill out wire porting where needed. The kit contains diffusion material… these are used to create a washed or distorted feature under the lighting. There are many ways to use the materials to produce lighting tricks; it is recommended to test out what is suitable for your application.
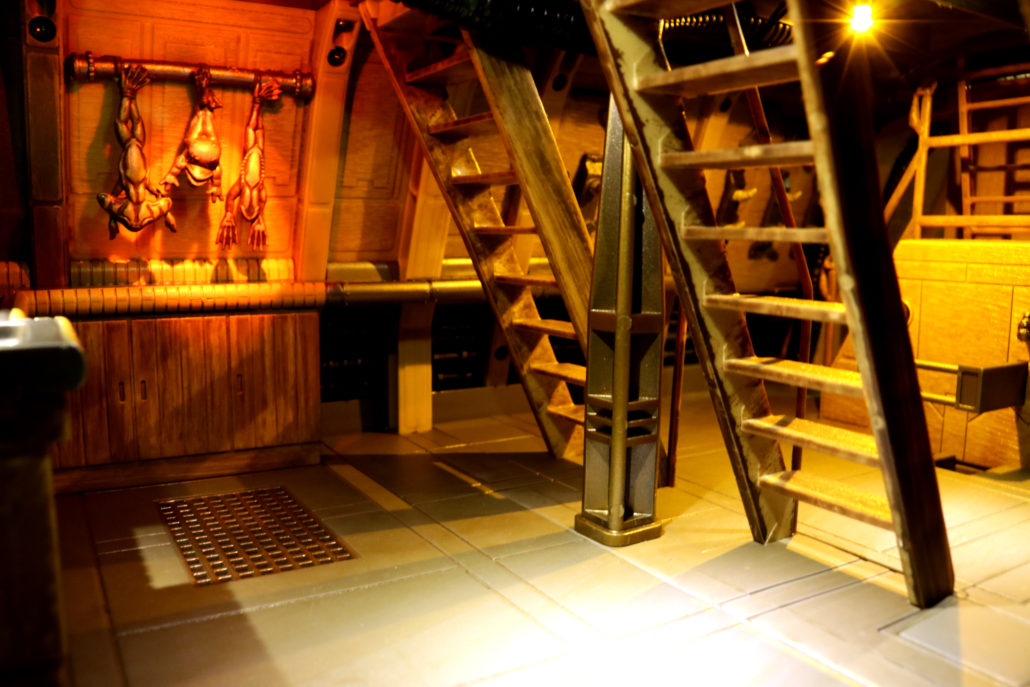
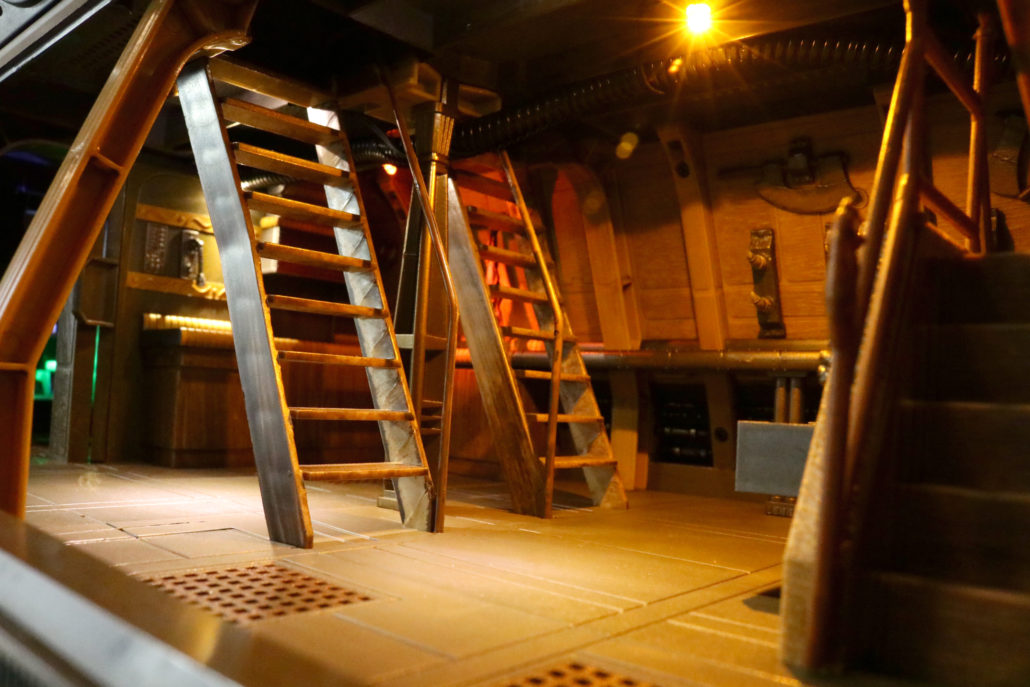

Mounting electronics & LED’s: Use small amounts of hot glue, using gaffing tape for security. Silicone is another way…but takes a long time to set and cure. CA is not recommended. Once all your lighting locations have been set in place, run the system to make sure all lighting is operational. After a short test run, button up any loose wiring & prepare the model for close-up; making sure not to pinch any wires in the process. If you have any questions please check our blog page or email me at randy@voodoofx.com