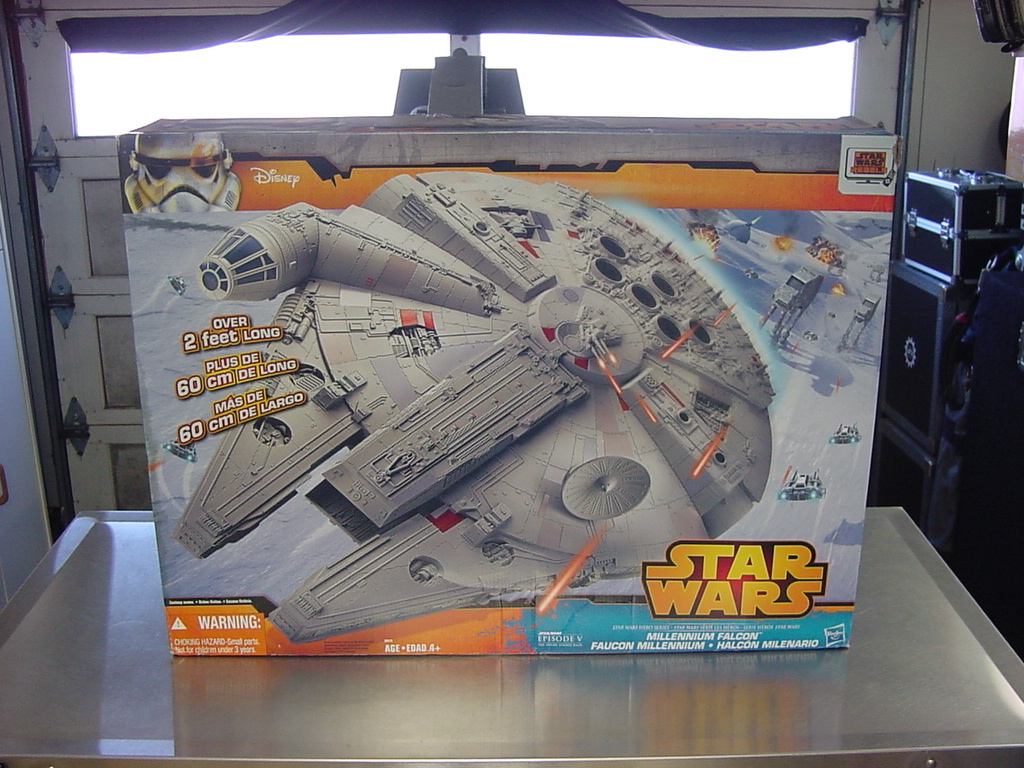
Hasbro Falcon Build
Getting Ready:
I just started a Hasbro Falcon conversion & want to share the build process. I am using a few different aftermarket kits to make the model more studio like and will be putting up links to the parts & companies. I hoping to show case many new model build projects on this page, so please share with your friends & check out the blog frequently.
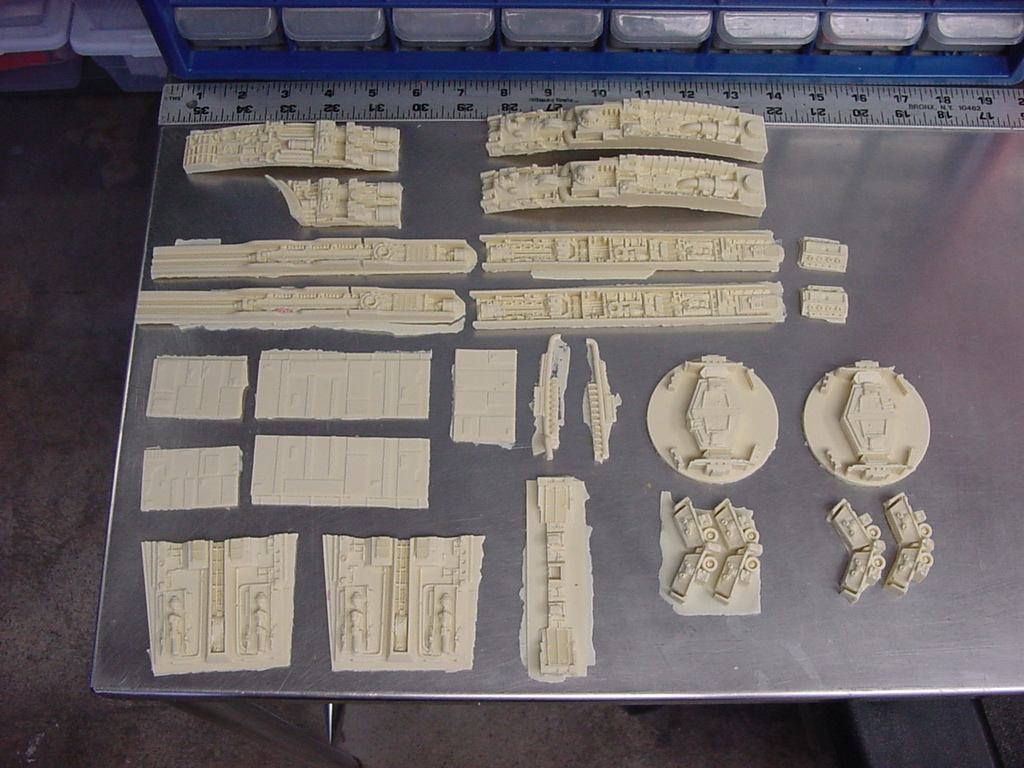
I used the Randy Cooper side replacement kit & the YayMonsters panel kit as well, and a few parts from Shapeways & cockpit replacement from 3D Falcon Parts. The next step is to remove the areas where the new aftermarket parts will fit.
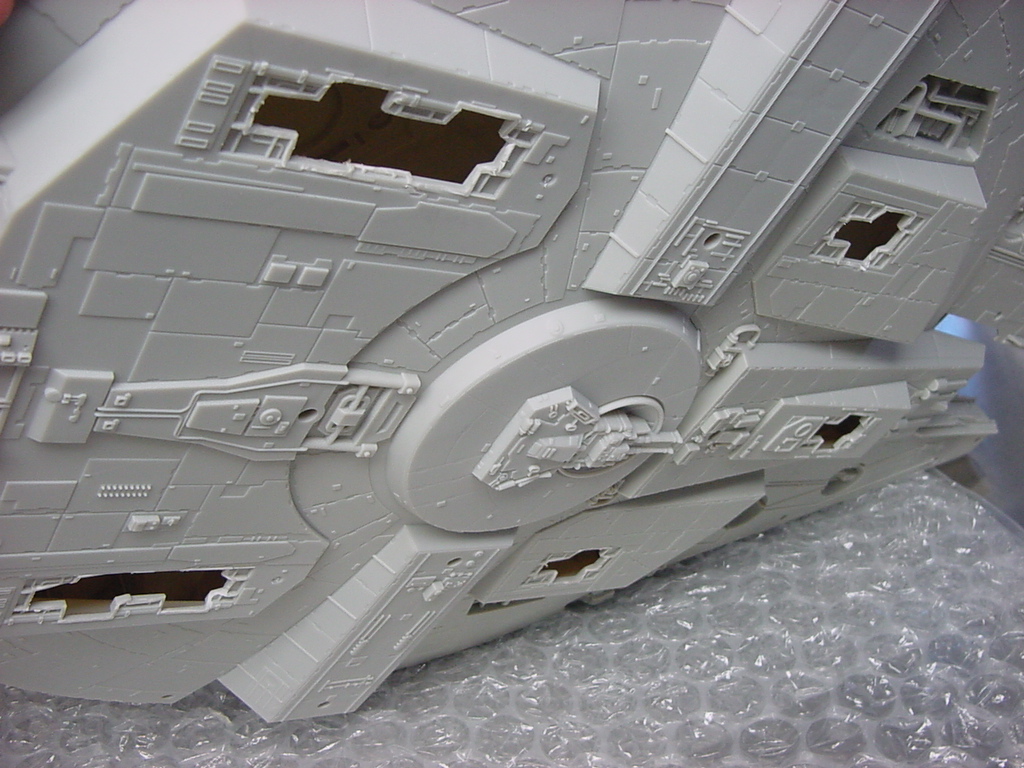
Its best to already have the parts in hand so you can get any idea of how the parts are going to fit. First unscrew all the screws form the model & split the model in half, this will give you access to remove the panel areas easily.
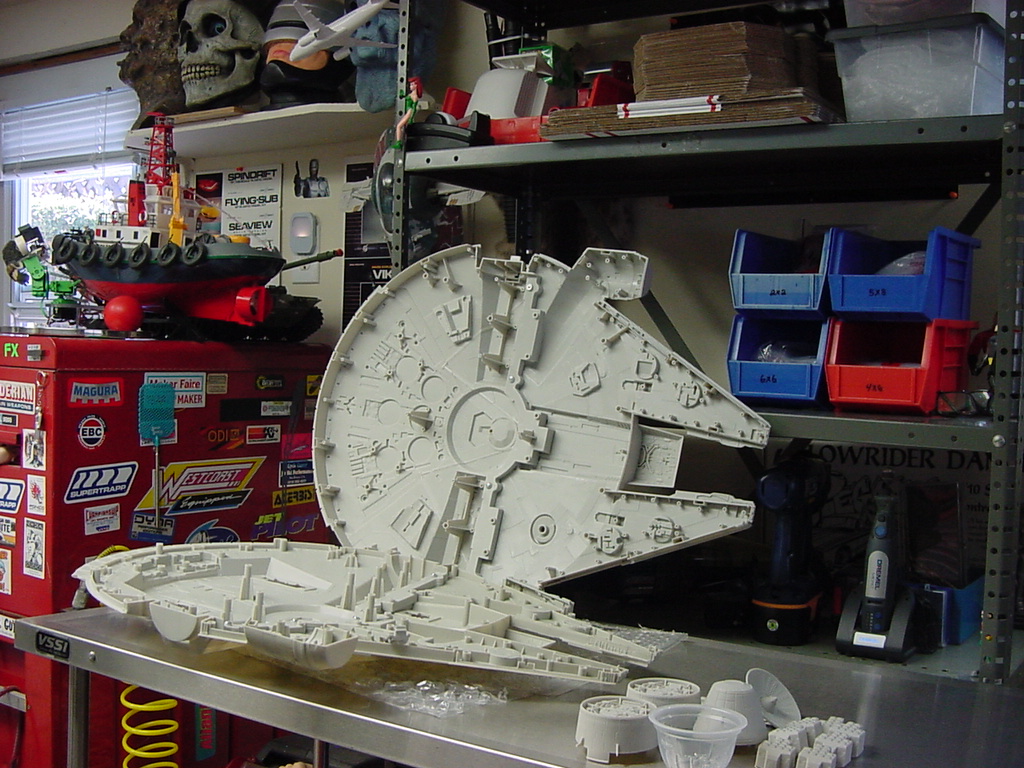
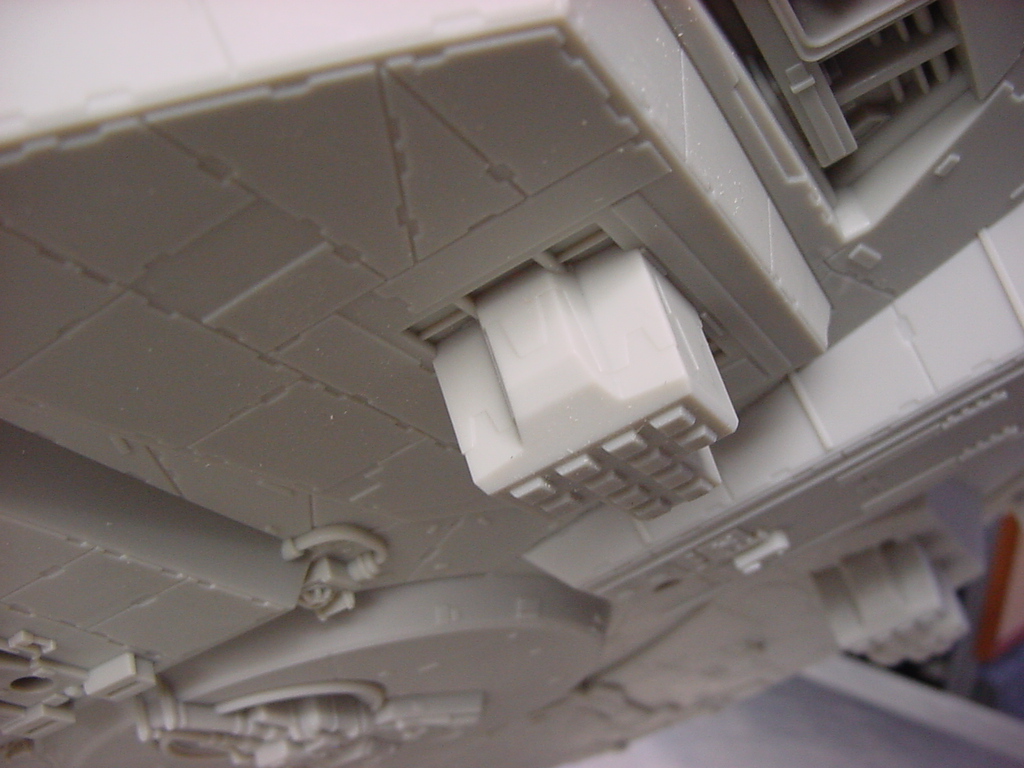
I did start with removing the landing gear pads first, since this build up was going to be in flight. This is a tricky thing to cut out areas that will be replaced, I used a razor knife and almost cut my thumb off, so please use a right angle cut off wheel and take your time removing these areas.